
Next, sift together the flour, cocoa powder, and salt in a separate bowl. Gradually fold the dry ingredients into the wet mixture. Be careful not to overmix; we want those brownies to stay delightfully chewy! Pour the batter into the prepared baking pan and spread it out evenly. Bake for 25-30 minutes, or until a toothpick inserted in the center comes out with a few moist crumbs—just perfect! While the brownies cool, let’s move on to those delicious chocolate-covered strawberries.
Melt your chocolate chips (and coconut oil, if using) using a double boiler or in the microwave in 30-second intervals, stirring as you go until smooth. Meanwhile, make sure your strawberries are thoroughly dried, as any moisture can cause the chocolate to seize. Holding onto the green tops, dip each strawberry into the melted chocolate, letting the excess drip off before placing them on a parchment-lined tray to set. I like to pop them in the fridge to speed up the hardening process!
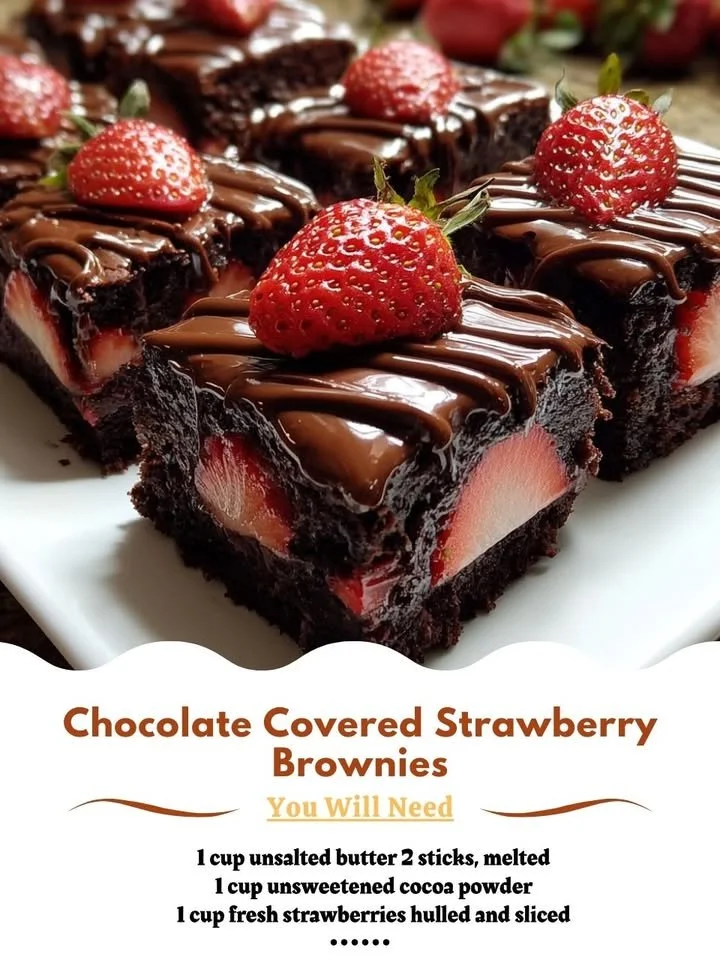
Once the brownies are completely cool, cut them into squares. Top each brownie with a beautiful chocolate-covered strawberry, and there you have it—your show-stopping Chocolate Covered Strawberry Brownies are ready to impress!
Pro Tips for Best Results
I tested this recipe three ways—using different types of chocolate for the coating. Milk chocolate is creamy and sweet, while dark chocolate offers a lovely contrast. I even tried using white chocolate once, which added a fun pop of contrast when drizzled over the dipped strawberries. Each variation had its charm, so feel free to experiment based on your preference!
Make sure to let your brownies cool completely before adding the strawberries. I once rushed the process, and the warm brownies caused the chocolate to melt a bit. The combination turned into a gooey mess, although it still tasted incredible!
For an extra touch, I recommend adding some crushed nuts or sprinkles on top of the chocolate-covered strawberries before they set. It’s not just a feast for the taste buds; it adds a visual appeal that makes the dessert even more inviting.
Common Mistakes to Avoid
One of the biggest mistakes I made was not measuring my applesauce accurately for a healthier version. It’s crucial to get the right proportions in this recipe; otherwise, the texture can suffer. If you’re experimenting with substitutes, stick to the measurements in the original recipe for the best results. **(See the next page below to continue…)**