
Once you’ve mixed everything, carefully pour the batter into your prepared pans, filling them about halfway. Bake for 30-35 minutes or until a toothpick comes out clean when inserted into the center. While the cakes are baking, I recommend preparing your coconut frosting. In a medium bowl, beat the coconut cream until it’s fluffy. Gradually add in the shredded coconut, mixing well. Once the cakes are out of the oven and completely cool on a wire rack, it’s time to layer and frost!
To assemble the cake, I like to place one layer on a serving plate, generously spreading the coconut frosting on top before adding the second layer. Finish off by frosting the top and sides of the cake for that luxurious finish. Ah, there’s something special about seeing all that fluffy coconut frosting against the rich chocolate layers! Once you’re done, let the cake chill for a bit in the fridge to let those flavors meld beautifully.
Pro Tips for Best Results
Here are a few things I learned while perfecting this Chocolate Coconut Dream Cake. First, I tested using both sweetened and unsweetened shredded coconut, and I found that sweetened coconut adds a delightful burst of flavor without making the cake overly sweet. Second, if you want even more chocolatey goodness, you could drizzle some melted dark chocolate over the top of the cake as a finishing touch. Lastly, be patient and let the cakes cool completely before frosting; trust me, it’s worth the wait!
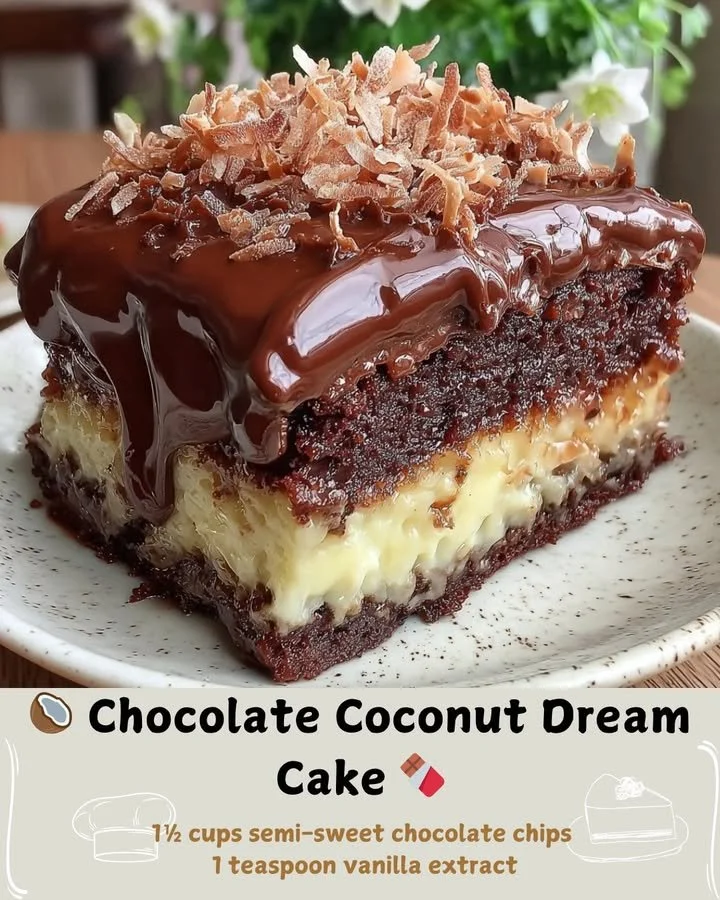
Another pro tip I’ve discovered involves the batter consistency. If you find your batter seems a little too thick, try adding a splash more of boiling water; this helps keep the cake moist and wonderfully tender. I once skipped this step and ended up with a denser cake than I wanted. Finally, if you are a fan of textures, consider adding a layer of toasted coconut on top of the frosted cake for added crunch!
Common Mistakes to Avoid
When I first made this cake, I made a couple of rookie mistakes that I learned from and want to help you avoid! First, be sure to measure your ingredients accurately—especially the flour and cocoa. I once packed my flour rather than spooning it into the measuring cup and ended up with a rather heavy cake. Second, remember that every oven can vary slightly. Keep an eye on your cakes after the 30-minute mark; you want them just set in the center, not overbaked and dry. (See the next page below to continue…)