
Equipment Needed
- Electric mixer (hand or stand)
- Mixing bowls
- Measuring cups and spoons
- Whisk
- Baking sheets
- Parchment paper or silicone baking mats
- Small spoon or piping tip for filling
- Wire cooling rack
Step-by-Step Instructions
We start by creaming the butter and sugar, which is my favorite part. In my stand mixer bowl, I combine the softened butter and granulated sugar. I beat them on medium-high speed for a good 3-4 minutes, until the mixture is pale, fluffy, and almost whipped. This incorporates air and is the secret to a cookie that’s tender, not dense. I then beat in the egg and vanilla extract until everything is smooth and silky. The vanilla might seem simple, but it adds a warm depth that complements the chocolate beautifully.
In a separate bowl, I whisk together the flour, cocoa powder, and salt. This isn’t just busywork—whisking ensures the cocoa is evenly distributed so you don’t get any bitter, dry pockets in your dough. I remember one impatient batch where I just dumped it all in, and the cookies tasted uneven. Now, with the mixer on low, I gradually add the dry ingredients to the wet mixture. I mix just until the flour disappears and a soft, slightly sticky dough forms. It will be thick and smell intensely of chocolate.
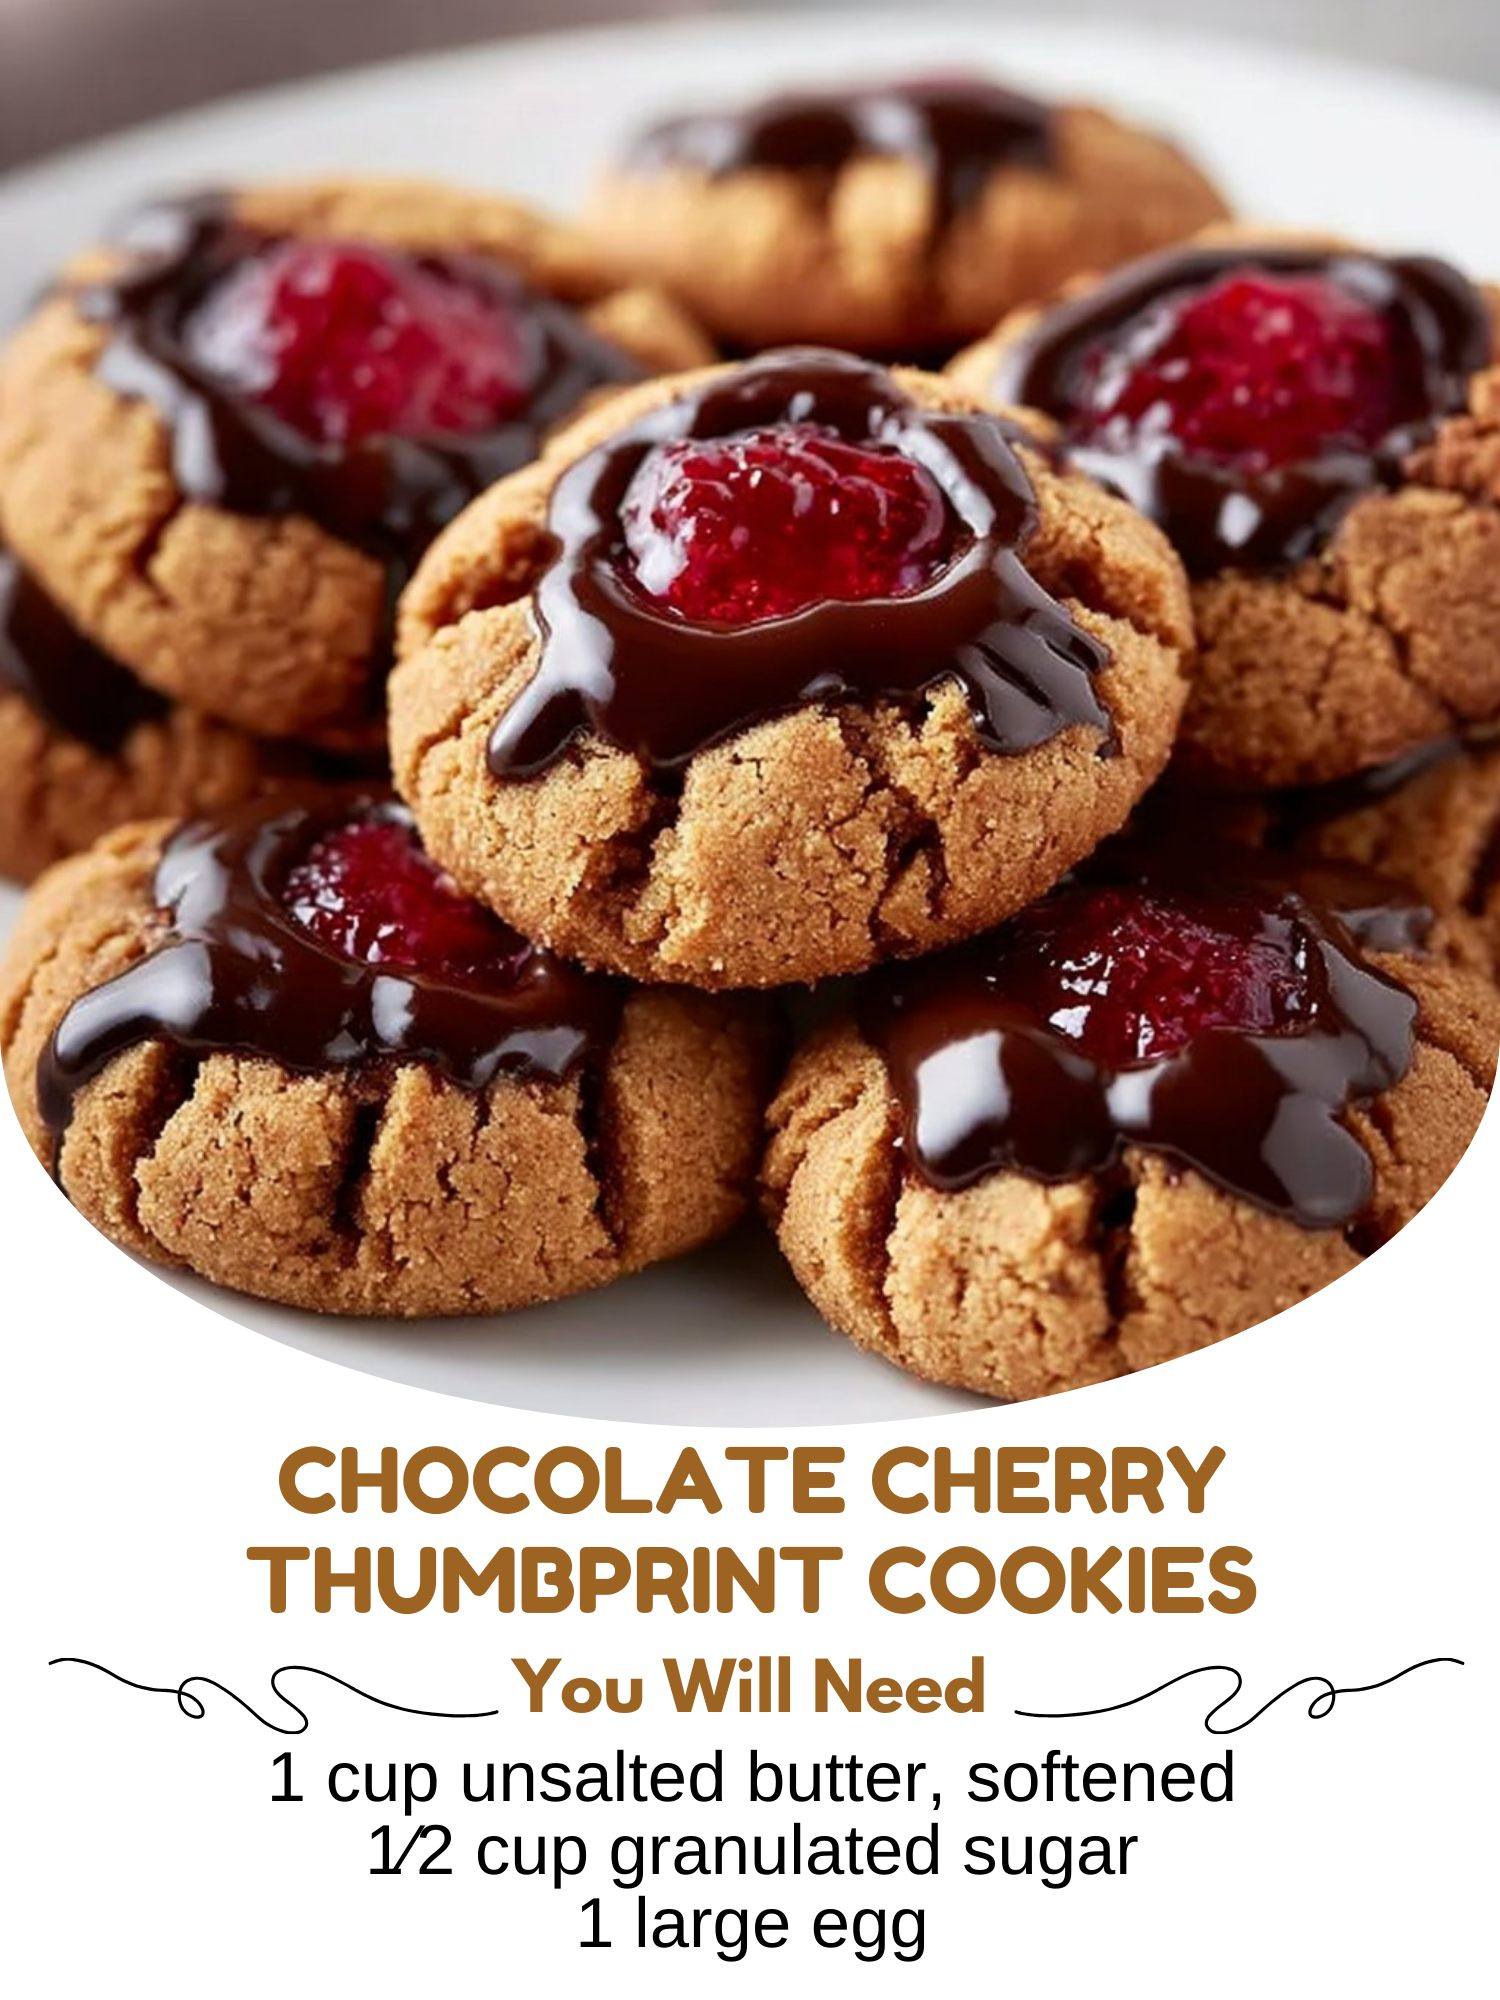
Here comes the fun, hands-on part. I scoop the dough into tablespoon-sized balls, rolling them gently between my palms. I place them about 2 inches apart on my parchment-lined baking sheets. Now, for the “thumbprint.” I’ve tried using my thumb, the back of a teaspoon, and even the end of a wooden spoon. My favorite method is to use the rounded end of a 1/4 teaspoon measuring spoon—it creates the perfect, neat little well. I press firmly but gently into the center of each ball, going about halfway down. The dough will crack slightly, which is part of the charm.(See the next page below to continue…)