
Once the cream is in, I add the unsweetened chocolate and let the mixture simmer while I stir occasionally. The chocolate melts into the cream and syrup, turning the mixture into a glossy, mocha-colored caramel that smells almost intoxicating. I clip my candy thermometer to the pot and let it cook, watching carefully as the temperature climbs. Patience is key here; it takes time to reach the perfect caramel stage, and rushing only leads to burnt chocolate.
When the thermometer hits about 245°F (firm-ball stage), I pull the pot off the heat. At this stage, the caramel will be soft and chewy once cooled—not hard or brittle. I give it one last stir to make sure everything is fully combined, then pour the hot caramel into my prepared pan. After smoothing the top, I let it cool completely at room temperature before lifting it out and cutting it into squares. Every time, I marvel at how silky and beautiful the finished caramels look.
Pro Tips for Best Results
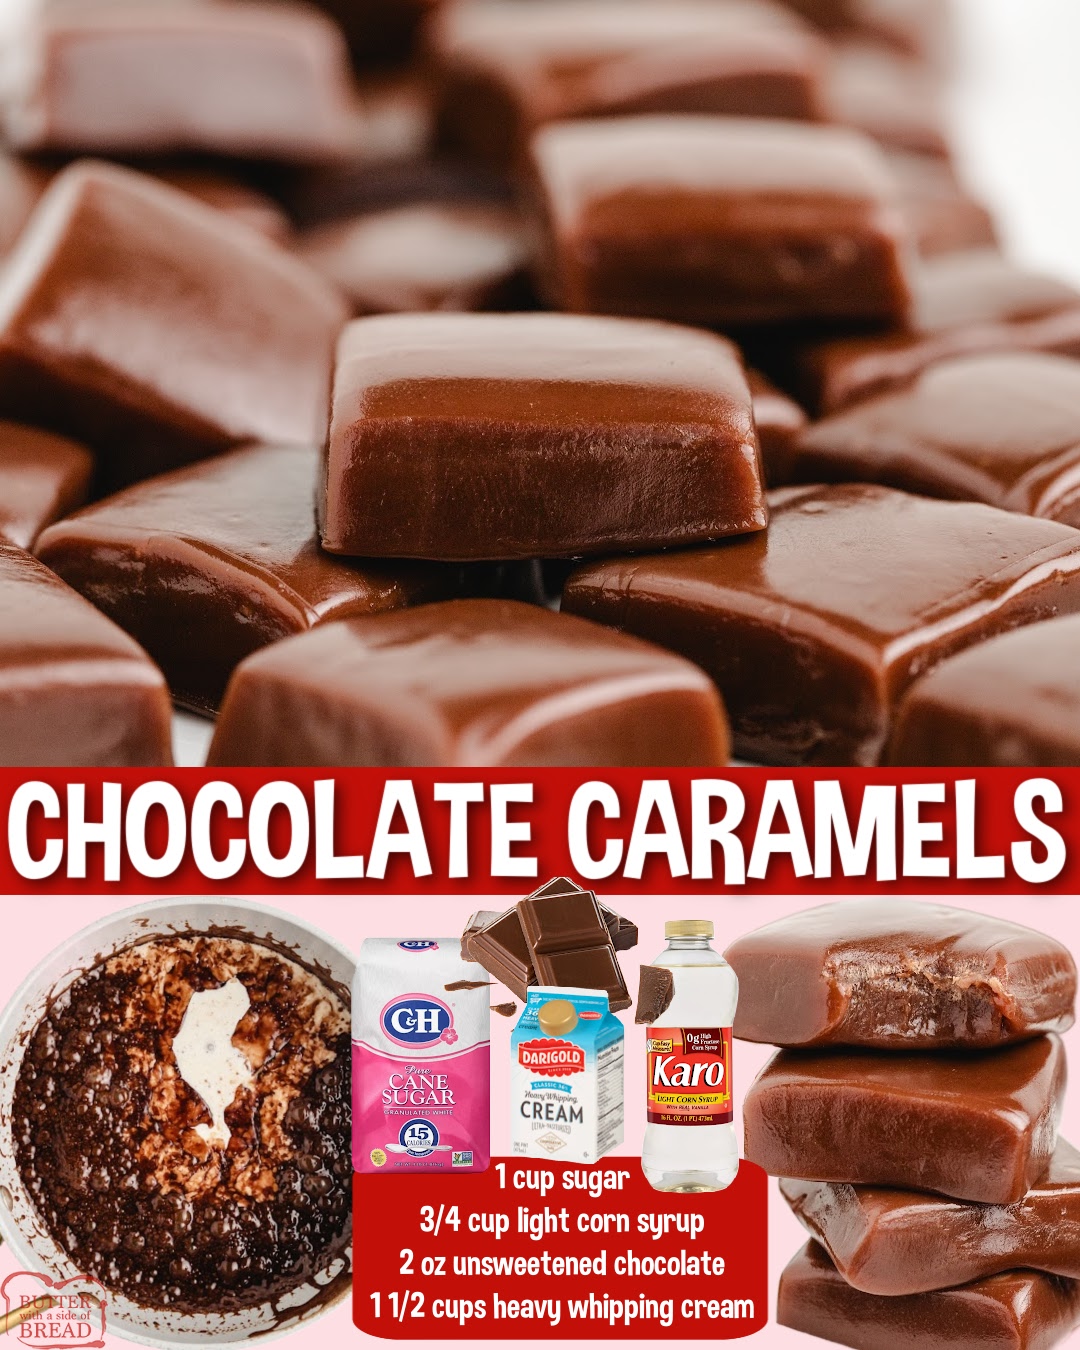
I tested this recipe multiple times to find the sweet spot—literally—and the biggest lesson I learned is that temperature matters more than anything. A difference of even 5 degrees can change your final texture dramatically. If you want caramels that are very soft and even slightly gooey, pull them from the heat at 240°F. If you want a firmer candy, closer to a commercial caramel square, let it reach 248°F. My personal preference is right in the middle.
Another tip is to resist scraping the very bottom of the pan when you pour the caramel into the lined dish. Even with a heavy-bottomed pot, a tiny amount can overheat on the bottom, and scraping it into the pan often results in grainy or burnt bits in your otherwise perfect caramel. I know it’s tempting to get every drop—but trust me, avoid the bottom layer.
I also learned that humidity affects caramel more than you’d expect. On humid days, the mixture takes longer to reach temperature, and the cooled caramel can turn softer than usual. If possible, make caramels on a dry day or give them extra time to firm up in the refrigerator.
Finally, use a very sharp knife for cutting. I lightly butter my knife and warm it under hot water between cuts. This gives smooth, perfect edges, just like professional chocolate shops.
Common Mistakes to Avoid
The first big mistake is stirring too much once the sugar begins to boil. Early on, stirring helps dissolve sugar, but once it’s bubbling, stirring can trigger crystallization and create a grainy caramel. After the mixture starts boiling, stir only occasionally and gently.
Another mistake is walking away from the pot. Caramel goes from perfect to burnt shockingly fast. I once stepped away “just for a second,” and came back to a dark, bitter-smelling mixture with blackened edges. Now, I stay close and keep an eye on the thermometer the whole time.(See the next page below to continue…)