
Finally, we give them their beautiful, glossy coat. Melt your white chocolate or candy melts according to package instructions, usually in 30-second intervals in the microwave, stirring between each. Using a fork or dipping tool, dip each chilled peppermint patty into the melted coating, let the excess drip off, and place it back on the parchment paper. If you’re adding sprinkles or crushed candy canes, sprinkle them on immediately before the coating sets. Let the candies sit at room temperature until the coating is completely hardened, which takes about 30 minutes. The contrast of the crisp shell and the soft, chewy center is pure perfection.
Pro Tips for Best Results
For the smoothest dough and to avoid a gritty texture, sift your powdered sugar before adding it. I learned this the hard way after a batch had tiny lumps that wouldn’t knead out. Sifting takes an extra minute but ensures your candy centers are flawlessly smooth and creamy.
When dipping, make sure your peppermint centers are very cold, but your coating is just warm, not hot. If the coating is too hot, it will melt the outer layer of the dough and create a messy, thick base. I let my melted coating cool for a minute or two after melting before I start dipping for the cleanest results.
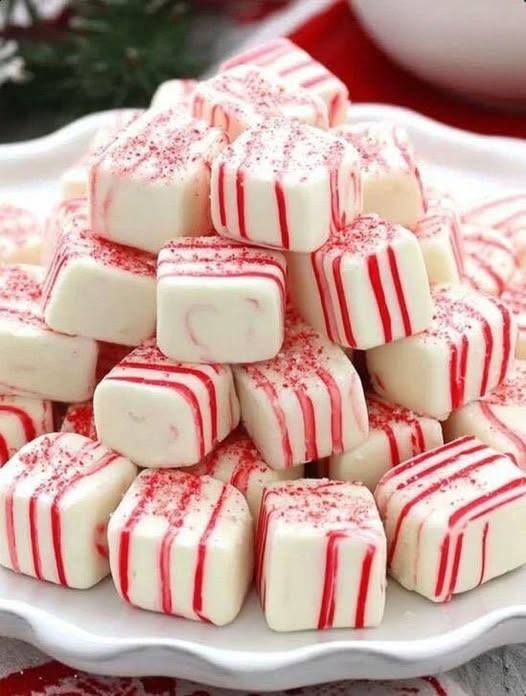
To create a lovely marbled effect, don’t fully mix the red food coloring into one dough portion. Knead it just enough to create streaks of white and red. When you roll the balls, each one will have a unique, beautiful pattern. It looks incredibly festive and professional with almost no extra effort.
Common Mistakes to Avoid
My biggest first-time mistake was using mint extract instead of peppermint. The flavor was off-putting and herbal, not sweet and festive. Check your bottle label carefully. Peppermint extract is clear and smells sharply of candy canes. This is the single most important flavoring in the recipe.(See the next page below to continue…)