
Another pitfall is not allowing sufficient chill time for the crust. Pressing it into the dish and expecting it to set immediately can lead to a crumbly base that doesn’t hold together when you slice. Trust me, giving it at least 30 minutes in the fridge is worth the wait!
Overmixing the cheesecake layer can also be an issue. I used to get a bit too enthusiastic, and while it would still taste delicious, it didn’t have that lovely, light texture I craved. Just mix until you see everything combined, and let those air bubbles do their magic when you fold in the whipped cream.
Finally, when it comes to layering, I recommend being gentle. I remember the first time I made this lush dessert; I was so excited to layer that I made a mess of it. Patience is key—take your time, and you’ll be rewarded with beautiful, defined layers!
Serving Suggestions
When serving my Cherry Pecan Cheesecake Lush, I love to sprinkle a few extra pecans on top for that added crunch. It not only looks gorgeous but also elevates the texture. I recommend pairing this dessert with a side of freshly whipped cream—it’s simply divine! On special occasions, I might even drizzle a little chocolate sauce over the top for an extra touch of indulgence.
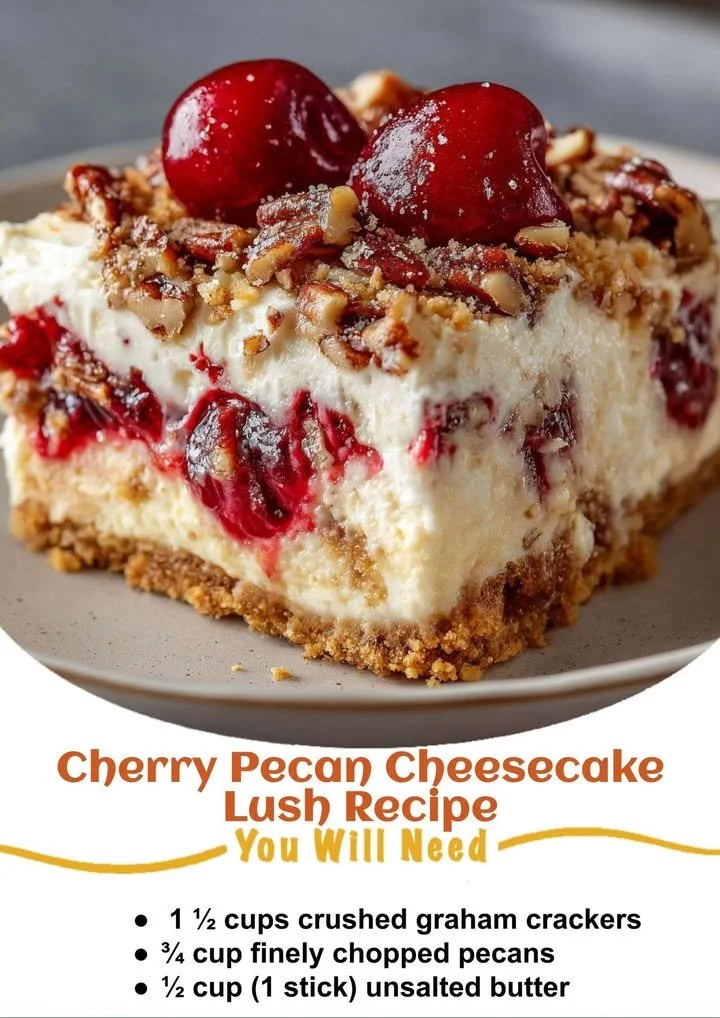
This dessert is perfect for family gatherings and potlucks. I often make it for our family get-togethers and watch as everyone’s eyes light up when I unveil it. The colorful cherries and crunchy pecans always steal the show! They’re not just delicious; they’re also visually stunning on any dessert table.
For a more casual setting, I sometimes serve it in individual cups or jars, making it easier for guests to grab and enjoy. I use small mason jars, and it becomes a charming presentation. It’s perfect for summer parties or barbecues, and they’re easy to transport, ensuring everyone gets a delightful serving!
Variations & Customizations
One of the things I love about this recipe is how customizable it is! If I’m in the mood for something a bit different, I might swap out the cherry pie filling for fresh strawberries or blueberries. The result is just as delicious and adds a fresh twist to the flavor. I’ve even made it with a mix of berries for a colorful celebration in a dish!
For a nut-free version (great for those with allergies), I’ve tried using crushed digestive biscuits instead of graham crackers for the crust, and it worked beautifully! The swap gives a lovely flavor while keeping the texture consistent. I’ve also toyed with adding a touch of almond extract instead of vanilla for a unique taste—the nutty undertone pairs wonderfully with the creamy cheesecake.
Another fun variation is to add some zest! A teaspoon of lemon or orange zest in the cream cheese layer brightens the flavors significantly. It adds a refreshing note that contrasts beautifully with the sweetness of the cherries. I often find that a touch of citrus amplifies the entire dessert experience!
How to Store, Freeze & Reheat
When it comes to storing leftover Cherry Pecan Cheesecake Lush, I always recommend placing it in an airtight container in the fridge. It keeps well for about 3 to 4 days, though I’m betting it won’t last that long in my house with everyone gobbling it up! The flavors deepen as it sits, making it delightful for days to come.
If you need to store it longer, this dessert can be frozen, but it’s best to do so before adding the cherry topping. I cover the cheesecake layers with plastic wrap, then aluminum foil to prevent freezer burn. When I’m ready to enjoy it again, I thaw it overnight in the fridge and add the cherry topping before serving. It still retains its texture and taste beautifully!
As for reheating, since this is a no-bake dessert, it’s best enjoyed cold. I don’t recommend microwaving because it can cause the cream cheese to separate and lose its creamy texture. Instead, I just serve it straight from the refrigerator, allowing everyone to enjoy the cool, refreshing treat!
Conclusion
I hope you enjoy making this Cherry Pecan Cheesecake Lush as much as I do! It’s a treat that never fails to delight my friends and family, and I love seeing their smiles as they take their first bites. Whether it’s a special occasion or just a sweet treat for the week, this recipe is bound to become a favorite in your kitchen. Happy baking, and enjoy the luscious goodness!