
Overbaking is the enemy of juicy chicken. Once the cheese is melted and bubbly and the chicken hits 165°F, it’s done. The residual heat will carry it a few degrees further as it rests. Leaving it in “just to brown the cheese a bit more” can quickly lead to dry meat. Set a timer and trust your thermometer, not just the clock.
Skipping the rest time is a mistake I’ve made in my eagerness. Cutting into the chicken immediately lets all those precious juices run out onto the plate. Letting it rest for 5 minutes allows the fibers to relax and reabsorb the juices, ensuring every single bite is moist and flavorful. It’s a short wait for a massively better result.
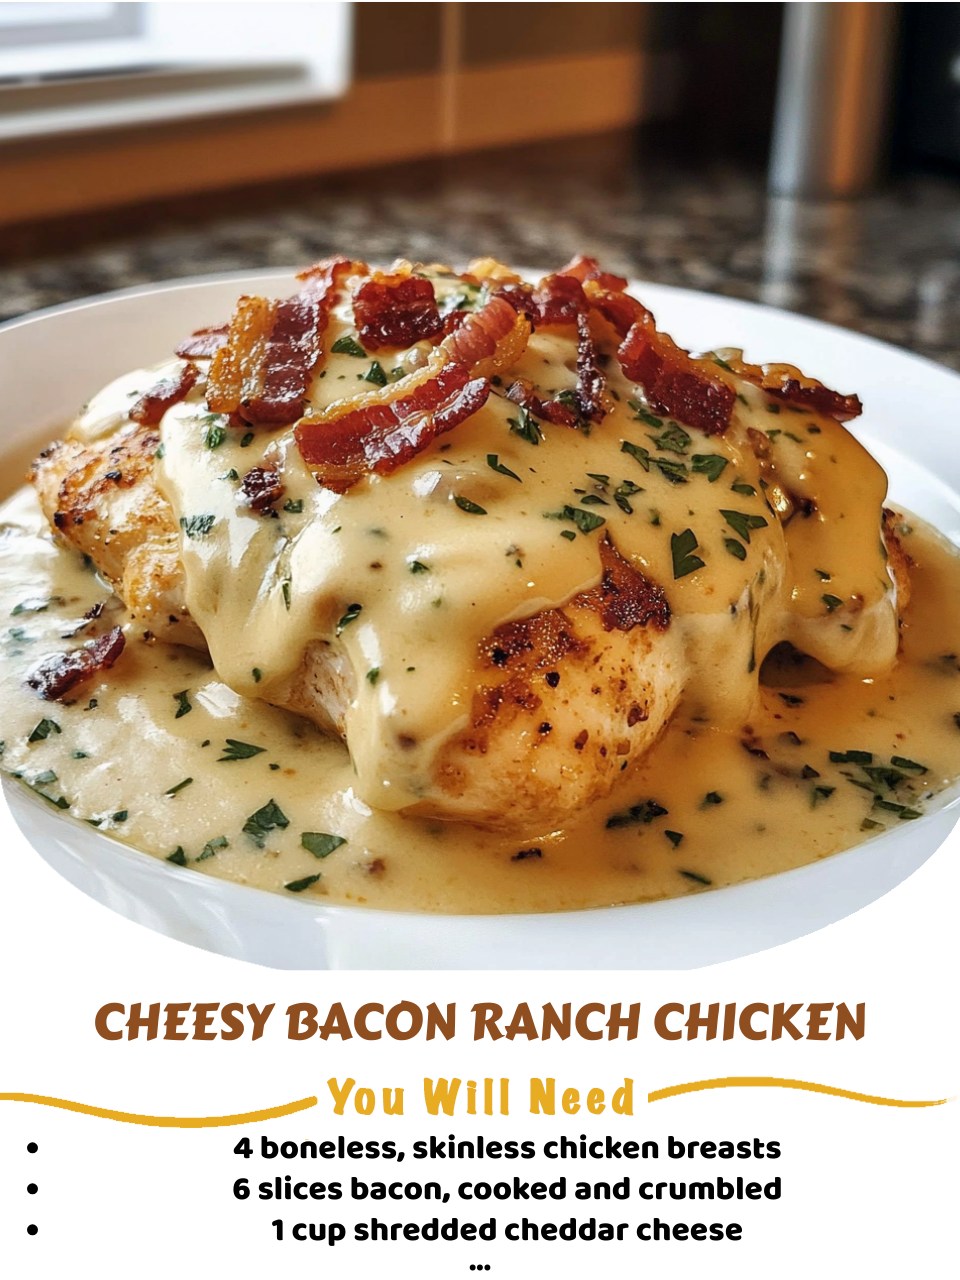
Serving Suggestions
I love serving this chicken right from the skillet, placing it in the middle of the table for a family-style feast. My absolute favorite pairing is with a big, crisp wedge salad drizzled with blue cheese dressing. The cool, crunchy lettuce and tangy dressing are the perfect, refreshing contrast to the rich, savory chicken. It’s a match made in heaven.
For a classic, comforting weeknight plate, I serve one chicken breast alongside a pile of creamy mashed potatoes and steamed green beans or roasted asparagus. The creamy potatoes are ideal for soaking up any extra cheesy, bacony sauce from the plate. It’s a balanced, satisfying meal that feels like a hearty treat.
If I’m looking for a lighter option, I’ll slice the chicken and serve it over a big bed of mixed greens, cherry tomatoes, cucumber, and avocado for a fantastic warm chicken salad. I’ll use a little of the pan drippings mixed with lemon juice as a warm dressing. It’s a fantastic way to enjoy the flavors in a fresher format.
For a fun, low-carb twist, I’ll serve the chicken sliced on top of cauliflower rice that I’ve sautéed with a little garlic and onion. The “rice” soaks up the flavors beautifully, and it makes for a delicious, satisfying meal that’s packed with flavor but lighter on the carbs. It’s become a go-to in my household.
Variations & Customizations
You can easily swap the cheddar for another melty cheese. Pepper Jack adds a wonderful kick, Colby Jack is mellower, or smoked Gouda adds a fantastic depth. A Italian-inspired version with mozzarella, Parmesan, and a sprinkle of Italian seasoning in place of the ranch is also a huge hit in my house. The basic method is so versatile.
Try using different proteins. This method works wonderfully with boneless, skinless chicken thighs (just adjust the cooking time slightly), thick-cut pork chops, or even a firm white fish like cod or halibut (reduce the bake time significantly). The creamy ranch topping and cheese complement so many different meats beautifully.
For a veggie-packed version, I sometimes sauté sliced mushrooms and spinach and spoon that mixture under the chicken before adding the creamy topping. You can also mix finely chopped broccoli or sun-dried tomatoes right into the mayo-sour cream mixture. It’s a great way to sneak in extra nutrients and color.
Turn it into a casserole! I’ve cubed the seared chicken, mixed it with the bacon, cheese, and sauce, poured it over cooked pasta or rice in a baking dish, topped with more cheese, and baked until bubbly. It stretches the meal further and is the ultimate comfort food bake for feeding a crowd.
How to Store, Freeze & Reheat
To store leftovers, I let the chicken cool completely, then place portions in an airtight container in the refrigerator. It keeps well for 3-4 days. The topping will soften, but the flavor is still fantastic. I find it reheats beautifully, making for an excellent next-day lunch.
This dish freezes well either before or after baking. To freeze unbaked, assemble the seared chicken with the toppings in a freezer-safe dish, wrap it tightly in plastic wrap and foil, and freeze for up to 2 months. Thaw overnight in the fridge and bake as directed, adding a few extra minutes if needed.
To freeze after baking, let it cool completely, wrap individual portions tightly, and freeze. Reheat from frozen by placing the frozen portion in a baking dish, covering with foil, and baking at 350°F for 25-35 minutes until heated through. The microwave can make the topping greasy and the chicken rubbery, so the oven is best.
For reheating refrigerated leftovers, I prefer the oven or toaster oven at 350°F for 10-15 minutes to restore some of the cheese’s texture. To prevent dryness, I sometimes add a tiny splash of chicken broth to the dish before reheating. Covering it with foil for the first half of reheating helps it heat evenly without over-browning.
Nutrition Information
Let’s talk about this dish honestly. It’s a rich, satisfying meal that’s high in protein from the chicken and bacon, and also contains significant fat from the cheese, mayo, and bacon. It’s a calorie-dense dish that’s perfect for an active day or when you need a hearty, comforting dinner. It’s not a light, everyday meal, and that’s perfectly fine.
You can make some adjustments for a lighter version. Use light mayo and sour cream, reduced-fat cheese, and center-cut bacon or turkey bacon. You can also increase the vegetable side portions to fill half your plate. I’ve made these swaps, and while the texture is slightly less indulgent, the core flavors still shine through beautifully.
A single chicken breast is very filling, so portion control happens naturally. I always pair it with a large serving of non-starchy vegetables or a salad to create a more balanced plate. This allows you to enjoy this delicious, cheesy main event while still getting plenty of fiber and vitamins from the sides.
In my kitchen, this recipe is about celebration and satisfaction. It’s about enjoying a flavorful, homemade meal that brings people together. The joy and comfort it provides are valuable. It’s a dish to be enjoyed mindfully and gratefully as part of a varied and balanced approach to eating and living well.
FAQ Section
Can I use chicken thighs instead of breasts?
Absolutely! Boneless, skinless thighs work wonderfully and are often more forgiving and juicy. Because they’re smaller and cook faster, reduce the initial sear time to about 2-3 minutes per side and check the oven time at 12-15 minutes. Their richer flavor pairs perfectly with the bacon and cheese.
My topping slid off the chicken. How can I prevent this?
Make sure you pat the chicken completely dry before searing, and don’t over-sauce it. A thin, even layer of the mayo mixture is enough. Also, pressing the bacon crumbs gently into the creamy layer helps “anchor” the cheese on top. Searing creates a slightly textured surface that helps the topping adhere better than raw chicken.
Can I make this without an oven-safe skillet?
Yes! Simply sear the chicken in a regular skillet, then transfer the chicken to a greased 9×13 baking dish. Add the toppings and bake as directed. You’ll miss out on the pan drippings, but you can add a tablespoon of the drippings from the skillet to the baking dish for extra flavor. It works great.
What’s the best way to cook the bacon for this?
I bake my bacon on a foil-lined sheet at 400°F for 15-20 minutes. It cooks evenly, gets super crispy, and is much less messy than pan-frying. I can cook the bacon while I prep the chicken, making the whole process more efficient. Plus, I save the bacon fat for cooking vegetables another day!
Can I prep this ahead of time?
You can! Season and sear the chicken, let it cool, and prepare the topping mixture. Store them separately in the fridge for up to 24 hours. When ready to cook, assemble the chicken with toppings in your baking dish and bake, adding 5-10 minutes to the bake time since you’re starting from cold.
Conclusion
This Cheesy Bacon Ranch Chicken has earned its spot as the most-requested, most-relied-upon dinner in my kitchen. It’s the delicious answer to “what’s for dinner?” that never disappoints. I hope this recipe brings as much easy joy, flavorful satisfaction, and happy dinnertimes to your home as it has to mine. Now, go preheat that oven—your new favorite chicken dinner is just a few simple steps away.