
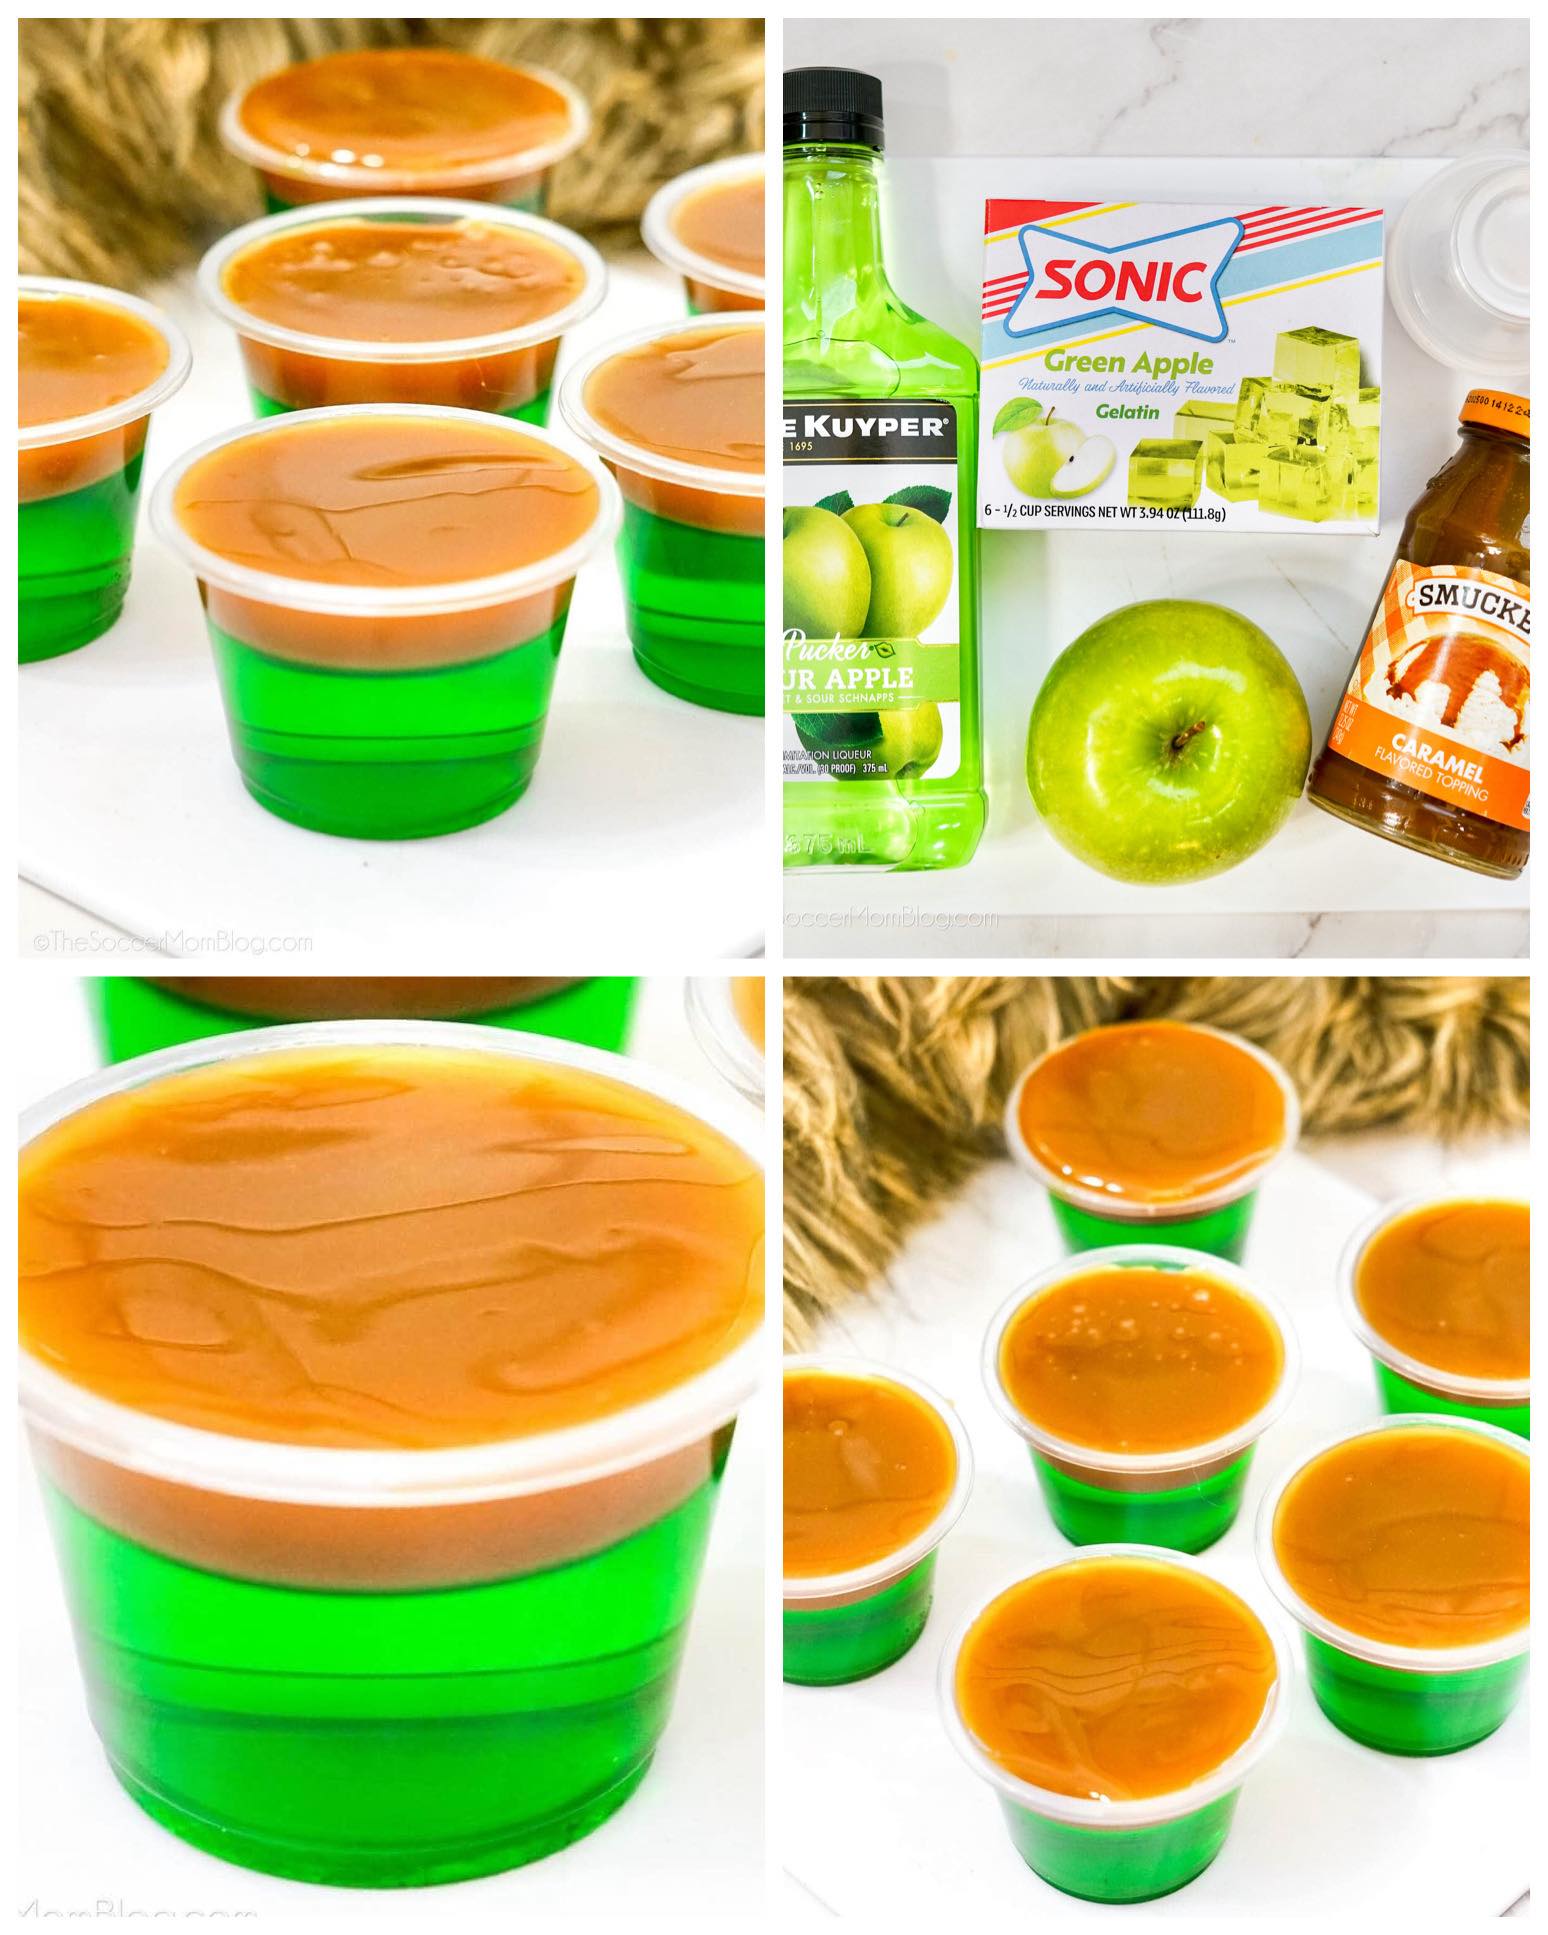
In a medium bowl, I pour in the green apple gelatin powder and add the boiling water, whisking until I can’t see a single grain of undissolved gelatin. This step is crucial—if you rush it, the mixture won’t set properly and you’ll end up with uneven or rubbery shots. After that, I add the cold water and the sour apple schnapps, whisking again until everything is fully blended. The smell at this moment is incredible, like a burst of tart green apples.
Next, I carefully pour the mixture into the shot cups, filling each one about three-quarters full. I always pour slowly to avoid making bubbles on the surface—those bubbles set in place, and they’re not cute. Once all the cups are filled, I slide the baking sheet into the refrigerator. They usually take about two to three hours to firm up, though sometimes I leave them overnight if I’m prepping for a party.
After the gelatin layer is completely set, I warm my caramel sauce just enough to make it pourable. If it’s too hot, it will melt the gelatin; if it’s too cold, it won’t spread properly. I spoon a thin layer onto each shot, smoothing it carefully. The caramel firms slightly as it chills, creating a perfect soft, silky topping. I place the cups back in the fridge for at least 30 minutes before serving so the layers settle together beautifully.
Pro Tips for Best Results
I tested this recipe three different ways before settling on the method I now swear by. One thing I learned early on is that you cannot rush the chilling process. If you try to add the caramel before the gelatin is fully set, the caramel will sink straight through and you’ll lose the clean two-layer look. It really is worth waiting the full chill time.
Another tip I picked up is to whisk the gelatin thoroughly but gently. The moment you whisk too vigorously, you introduce air bubbles, and those stubborn bubbles stay trapped, creating little dimples on top. It doesn’t affect the flavor, but for presentation—especially if you’re serving these for a holiday gathering—it makes a difference.
If you want extra-strong shots, you might be tempted to replace all the cold water with more alcohol. I did that once, and I regretted it. The gelatin simply wouldn’t set firmly enough, and the texture was almost slushy. Keeping at least half the cold liquid as water helps everything hold together properly.
Finally, when warming the caramel, I learned the hard way that microwaving it too long makes it scorch. I now warm it in 5–8 second bursts, stirring each time, until it’s smooth. The perfect caramel topping should glide onto the gelatin, not sink into it or sit stiffly on top.
Common Mistakes to Avoid
I made the mistake once of using room-temperature caramel straight from the bottle, thinking it would spread easily. It didn’t. It plopped down in thick blobs and made the shots look messy. Always warm it slightly so it spreads into a smooth layer.
Another easy mistake is overfilling the cups with gelatin. If you fill them too high, you won’t have space for the caramel topping, and even if you add it, it will run down the sides and make everything sticky. Leaving one-quarter of the cup empty is the perfect formula for clean layers.
I also once tried using a generic gelatin flavor because the store was out of green apple. It turned the shots into a vague fruity mixture that tasted nothing like caramel apples. The green apple flavor really makes the whole recipe shine, so it’s worth tracking down.(See the next page below to continue…)