
The very first time I made these Caramel Apple Jello Shots, my whole kitchen filled with that crisp, sweet scent that instantly reminds me of fall carnivals and caramel apples on a stick. I remember stirring the bright green gelatin, feeling like a kid again as the color deepened and shimmered. When I added the caramel layer on top, it felt like creating a little grown-up treat disguised as festival candy. These shots are fun, delicious, and always get smiles when I bring them out.
Why You’ll Love This Recipe
You’ll love this recipe because it captures everything irresistible about a caramel apple but turns it into a party-ready treat that’s easy to serve, fun to make, and even more fun to enjoy. From the sweet tartness of the apple gelatin to the silky caramel layer, each shot has that nostalgic flavor you know—just with a boozy twist that makes it perfect for gatherings.
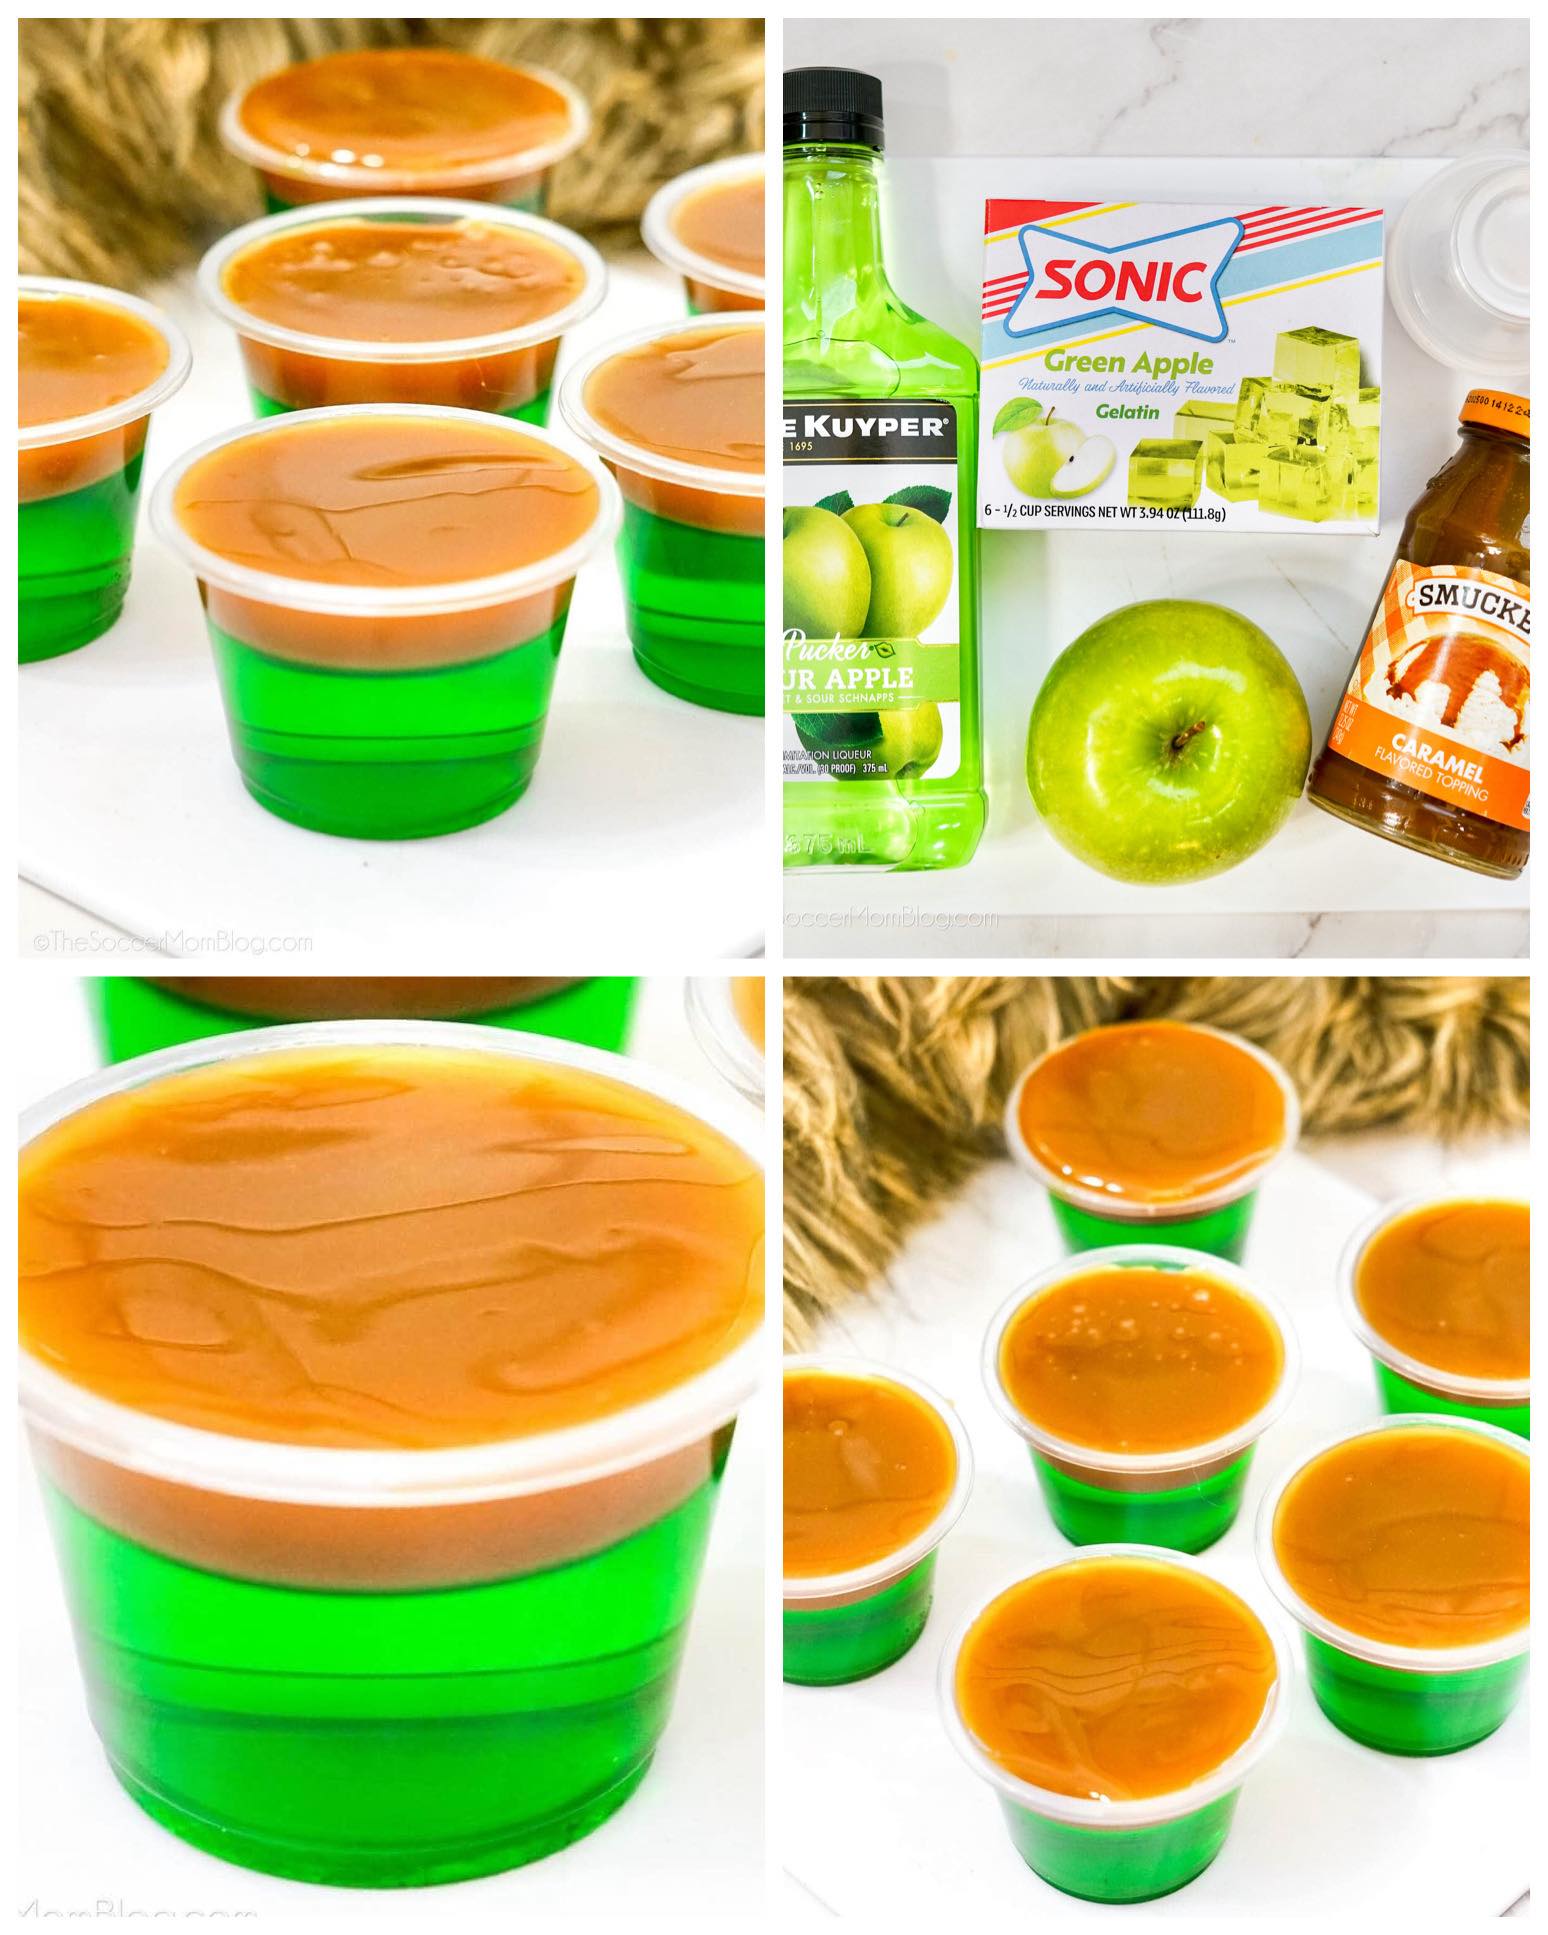
Ingredients
• 1 box (3 oz) green apple gelatin
• 1 cup boiling water
• 1 cup cold sour apple schnapps (or vodka)
• 1/2 cup cold water
• 1–1.25 cups caramel sauce (store-bought or homemade)
• Optional: pinch of salt for the caramel
• Optional: whipped cream for serving
After gathering everything, I always check my caramel sauce. Some store-bought versions are thicker, and some are runny, so you might need to warm it slightly so it spreads smoothly. You can also swap the schnapps for vodka if you want a milder apple flavor or adjust the alcohol amount depending on your group. The gelatin flavor really matters here—green apple gives that signature tartness, so I wouldn’t substitute unless you absolutely can’t find it.
Equipment Needed
• 12–16 plastic shot cups with lids
• Medium mixing bowl
• Small saucepan or microwave-safe cup
• Whisk
• Spoon for topping the caramel layer
• Baking sheet for moving the cups easily
I like using a baking sheet because once all the shot cups are filled, I can transfer them to the fridge without juggling individual cups. If you don’t have lids, plastic wrap works fine, but lids make stacking and transporting so much easier. A whisk helps dissolve the gelatin completely, which is important for a smooth, clean layer.
Step-by-Step Instructions
The first thing I do is arrange all my little plastic shot cups on a baking sheet. I’ve tried skipping this setup step before, thinking I’d save time, and every time I regretted it. Having them in place before I start mixing ensures I can pour the gelatin mixture quickly before it begins setting. I also bring my kettle to a boil so I’m ready to mix as soon as everything is laid out.(See the next page below to continue…)