
utterfinger Fudge is an easy, no‑fail chocolate fudge loaded with chopped Butterfinger candy bars for crunch and that classic peanut‑butter‑toffee flavor in every bite. It uses a simple “melt and mix” method with chocolate chips, peanut butter chips, and sweetened condensed milk, so there’s no need for a candy thermometer or tricky timing.
What is Butterfinger Fudge?
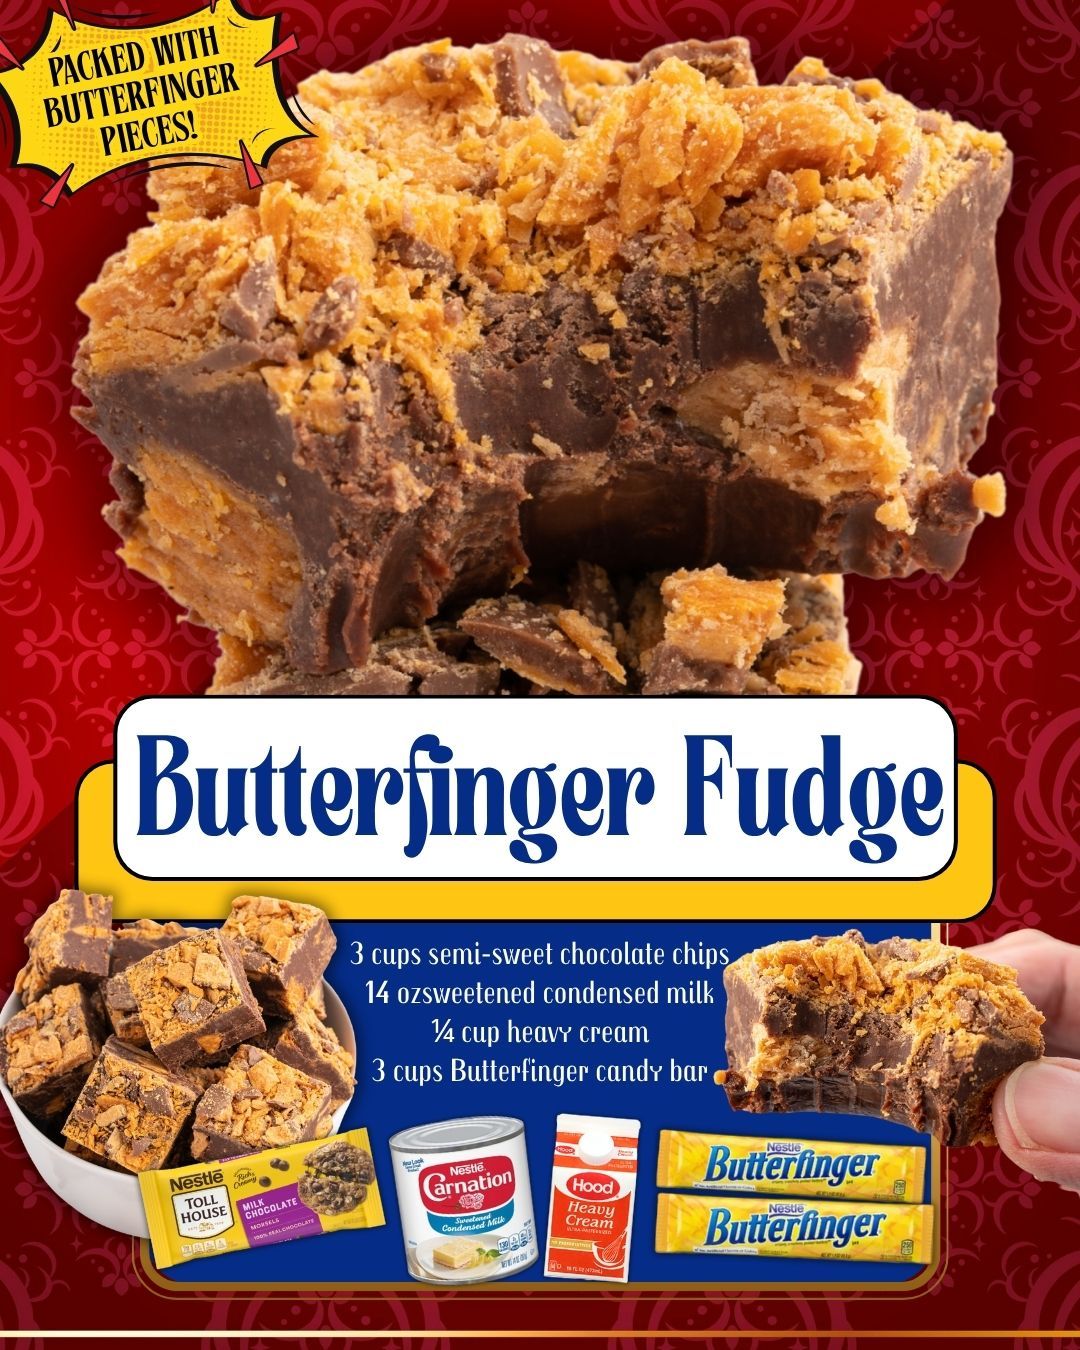
Butterfinger Fudge is a shortcut fudge recipe that combines a rich chocolate base with lots of chopped Butterfinger bars stirred in and sprinkled on top. The base is made by gently melting chocolate chips, peanut butter chips, and sweetened condensed milk together until smooth, then folding in Butterfinger pieces before spreading it into a lined pan to set. Because sweetened condensed milk is already thick and sweet, the fudge sets up soft and creamy without the precise sugar‑boiling required for old‑fashioned fudge.
Most recipes aim for a strong chocolate backbone with supporting peanut butter and toffee notes from the candy bars and peanut butter chips, so it tastes like a mash‑up of classic chocolate fudge and a Butterfinger bar. It’s especially popular at Halloween and Christmas for using up fun‑size bars and for filling candy trays and gift boxes with something a little different from plain fudge.
Equipment
- 8×8‑inch or 9×9‑inch square baking pan; an 8×8 pan gives thicker, taller pieces, while a 9×9 makes slightly thinner squares that are easier to portion small.
- Parchment paper or wax paper to line the pan, with overhang on two sides to lift the slab out for clean slicing.
- Medium saucepan for stovetop melting OR a large microwave‑safe bowl if using the microwave method.
- Heat‑resistant spatula or wooden spoon for stirring the fudge mixture; a flexible spatula also makes it easier to scrape everything into the pan.
- Sharp chef’s knife for chopping the Butterfinger bars into small pieces and for cutting the set fudge into neat squares.
- Measuring cups and spoons for chips, condensed milk, and butter.
- Optional: Small offset spatula for smoothing the top of the fudge in the pan.
- Optional: Plastic wrap or lid to cover the pan while the fudge chills in the refrigerator.
Ingredients
Base fudge mixture:
- 14 ounces sweetened condensed milk (1 standard can; make sure it is sweetened condensed, not evaporated milk, or the fudge will not set properly).
- 12 ounces semi‑sweet or milk chocolate chips (about 2 cups); semi‑sweet keeps the fudge from being overly sweet, while milk chocolate makes it more candy‑bar‑like.
- 1 cup peanut butter chips to reinforce the Butterfinger’s peanut‑butter flavor and make the fudge taste like the candy bar itself.
- 1 tablespoon unsalted butter, which adds a bit of richness and helps the finished fudge look glossy and slice smoothly.
- Pinch of salt to sharpen the chocolate and peanut butter flavors and balance the sweetness.
- Optional: ½ teaspoon vanilla extract for a subtle flavor boost and a more rounded sweetness.
Butterfinger candy pieces:
- About 1½ cups chopped Butterfinger candy bars (roughly 10–12 fun‑size bars or 4–5 full‑size bars), divided into:
Optional add‑ins and tweaks:
- Additional ¼–½ cup chopped Butterfinger or crushed Butterfinger bits if you want a heavily loaded top layer.
- 1–2 tablespoons extra peanut butter chips or butterscotch chips stirred into the top for a mixed‑chip look.
- A pinch of flaky sea salt sprinkled on top before chilling, for a sweet‑salty finish.
Step-by-step instructions
Butterfinger Fudge is easiest if you set up your pan and candy before you start melting the chocolate. Begin by lining an 8×8‑inch (or 9×9‑inch) baking pan with parchment or wax paper, leaving an overhang along two opposite sides to act as handles when lifting the fudge out. Lightly mist the pan or paper with nonstick spray if you want extra insurance against sticking, though the paper alone is usually enough.
Next, chop the Butterfinger bars into small pieces. Aim for pea‑ to marble‑sized chunks so they distribute well without dominating each bite. Measure out about 1–1¼ cups into one bowl for folding into the melted fudge and ¼–½ cup into a separate bowl for sprinkling over the top later.
For the stovetop method, add the chocolate chips, peanut butter chips, sweetened condensed milk, and butter to a medium saucepan. Set the pan over low heat and stir constantly with a spatula or wooden spoon as the mixture warms.
The chips will slowly start to melt into the condensed milk and butter; keep the heat low so nothing scorches on the bottom. As soon as the mixture turns smooth, thick, and glossy, remove the pan from the heat. Overcooking at this stage can cause the chocolate to seize or become grainy, so the goal is to stop as soon as everything is melted and combined.
For the microwave method, combine chocolate chips, peanut butter chips, sweetened condensed milk, and butter in a large microwave‑safe bowl. Microwave on high for 30 seconds, then stir well. Continue microwaving in 20–30 second bursts, stirring after each interval, until the mixture is fully melted and smooth—typically 1–2 minutes total. Stirring between bursts not only helps melt the chips evenly but also prevents hot spots and burning.
Once the base mixture is smooth and off the heat, stir in a pinch of salt and vanilla extract if using. Immediately add the larger portion of chopped Butterfinger pieces and fold them through the warm fudge until they are evenly distributed.
The mixture will thicken further as the candy cools the chocolate, so it’s best to work quickly and thoroughly at this point.
Scrape the Butterfinger fudge into the prepared pan, spreading it into an even layer with a spatula and pressing gently into the corners to avoid air pockets.
While the fudge is still warm and soft, scatter the reserved Butterfinger pieces over the surface and press them lightly into the top so they adhere as the fudge firms up. If you are using flaky sea salt or extra chips, sprinkle them over now as well.
To set, place the pan in the refrigerator and chill for at least 2–3 hours, or until the fudge is fully firm when pressed gently in the center. Some recipes note that it can set at cool room temperature after several hours, but chilling ensures a clean slice and is more reliable in warm kitchens.
Once the fudge is completely set, lift it out of the pan using the parchment overhang and transfer it to a cutting board. Use a sharp knife to cut it into small squares—about 1‑inch pieces are plenty because the fudge is rich. For the neatest presentation, wipe the knife clean between cuts, and if needed, briefly warm the blade in hot water, then dry it before slicing so it glides through the candy bits and chocolate.
Texture and flavor tips
The best Butterfinger Fudge has a smooth, creamy base that almost melts on your tongue, punctuated by crunchy, flaky bits of Butterfinger that mimic the texture of biting into the candy bar. Sweetened condensed milk is what gives the fudge its soft yet sliceable consistency—its high sugar content and concentrated milk solids set firm without the graininess that can happen when boiling sugar syrup goes wrong.
Using enough chocolate relative to condensed milk helps the fudge hold its shape even at room temperature.
Keeping the heat low and removing the mixture as soon as it’s melted prevents scorching and preserves a silky texture. If the chocolate is overheated, it can seize or become dull, which affects both mouthfeel and appearance. Semi‑sweet chips are often recommended so the fudge doesn’t become cloyingly sweet once the Butterfinger chunks are added, though some recipes use a mix of semi‑sweet and milk chocolate to soften the flavor for kids.
Chopping the Butterfinger bars to a consistent size ensures even distribution and prevents huge chunks that might break the fudge when slicing. Folding the candy in at the end, rather than melting it with the chocolate, keeps the crunchy texture intact and prevents the candy’s filling from dissolving into the base.
A little salt in the mixture or a sprinkle of flaky sea salt on top goes a long way in balancing the sweetness and giving the fudge a more nuanced flavor.
Variations and serving ideas
Butterfinger Fudge is flexible enough to handle flavor twists without losing its easy, no‑fail character. For a stronger peanut butter note, you can swap part of the chocolate chips for more peanut butter chips or stir in a couple of tablespoons of creamy peanut butter with the condensed milk.
For a deeper, less sweet version, using part dark chocolate chips or bittersweet chocolate will make the fudge taste more grown‑up and highlight the toffee‑like crunch of the Butterfinger pieces.
Some recipes create a layered fudge by pouring a plain chocolate fudge layer into the pan, letting it set slightly, and then adding a Butterfinger‑studded layer on top, or vice versa, for a two‑tone effect.
You can also swirl a small batch of peanut butter or butterscotch fudge into the chocolate Butterfinger base with a knife before chilling, creating marbled patterns and varied flavor pockets.
For presentation, Butterfinger Fudge looks great arranged on holiday candy trays alongside other no‑bake fudges and cookies. It also works well in gift tins and treat boxes—just layer pieces between parchment paper to keep the candy tops from sticking.
Because it’s rich and visually striking, small pieces are perfect for potlucks, bake sales, and dessert buffets, especially when labeled as “Butterfinger Fudge” to catch the eye of peanut‑butter‑candy fans.
Make-ahead, storage, and freezing
Butterfinger Fudge is ideal for make‑ahead holiday prep and gifting. Once the fudge has set and been sliced, it can be stored in an airtight container at cool room temperature for several days—most sources note it keeps well for about a week if the environment isn’t too warm.
In warmer kitchens or during summer months, storing it in the refrigerator keeps the chocolate firm and prevents the candy from getting sticky; just let pieces sit at room temperature for 10–15 minutes before serving so the texture softens slightly.
For longer storage, the fudge freezes very well. Squares can be placed in a single layer on a baking sheet to freeze, then transferred to a freezer‑safe container or bag with parchment paper between layers to prevent sticking.
Properly wrapped, it keeps for about 1–2 months without significant loss of texture or flavor. Thaw in the refrigerator, then bring to room temperature before serving for the best mouthfeel.
Packaged in decorative tins, boxes, or clear treat bags tied with ribbon, Butterfinger Fudge makes an excellent homemade gift: it’s indulgent, travels well, and offers a fun twist on classic fudge that candy‑bar lovers immediately recognize and appreciate.