
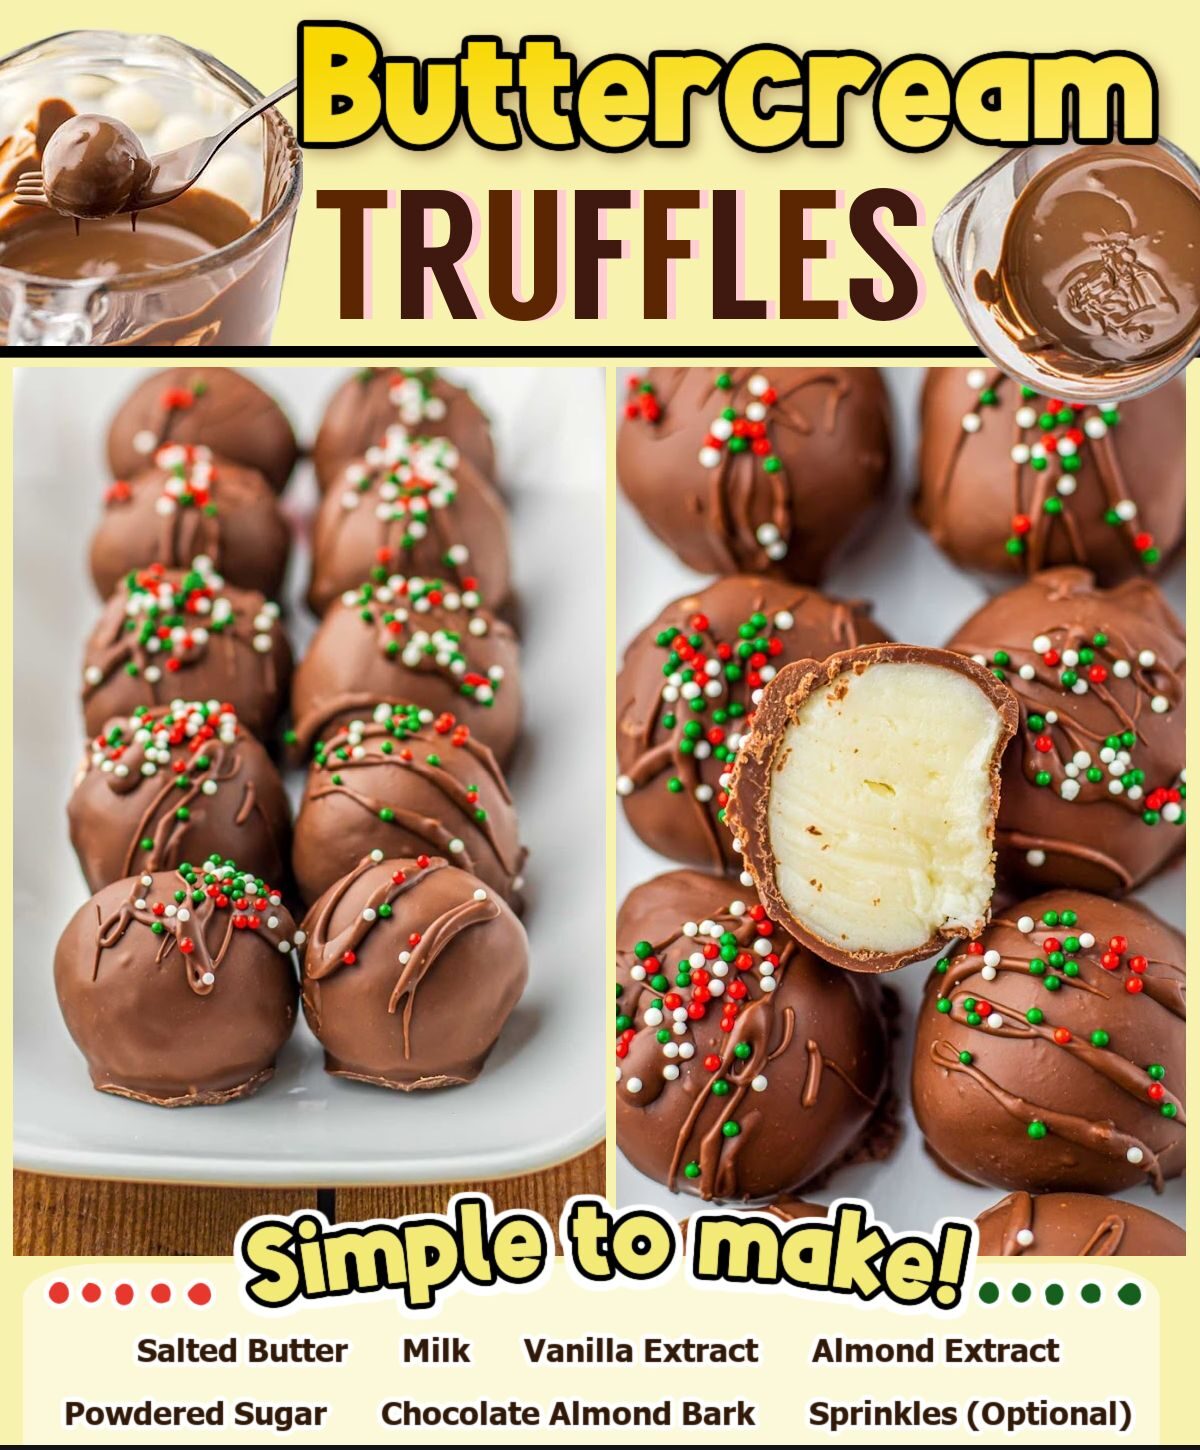
When all the truffles are coated, I immediately add sprinkles if I’m using them. The chocolate sets fairly quickly, especially if the truffles were chilled properly, so don’t wait too long. Sometimes I even work in small batches, dipping and decorating a handful at a time. After everything is dipped, I let the truffles set completely at room temperature. If I’m in a rush, I pop them back into the fridge for a few minutes. Once firm, they look polished, gorgeous, and like something I would proudly give as gifts to family and friends.
Pro Tips for Best Results
I tested this recipe multiple ways before settling on what consistently works best. One thing I learned is that softened butter makes all the difference. If the butter isn’t soft enough, the mixture becomes crumbly and difficult to shape, and adding more milk later rarely fixes the texture perfectly. Let the butter sit out until it’s truly soft to the touch; it should leave a visible indent when pressed gently with your finger.
Another tip I picked up is to chill the rolled truffles longer than you think they need. The colder they are, the easier they are to dip, and the coating stays smooth rather than melting on contact. I once tried dipping them after only ten minutes in the fridge, and half of them softened and warped under the warm chocolate. Now I give them at least thirty minutes, sometimes longer while I melt the coating.
I also discovered that using almond bark instead of chocolate chips creates a much smoother, more manageable coating. Chocolate chips tend to thicken as they cool, forcing you to rewarm them repeatedly, which affects the shine and texture. Almond bark melts smoothly, stays workable longer, and produces a clean, even shell that looks professionally finished. If you want the absolute easiest dipping experience, go with the almond bark.
Finally, don’t skip the tapping step when lifting the truffles out of the melted chocolate. Tapping the fork lightly on the edge of the bowl removes excess chocolate and prevents thick drips from forming. When I was first learning, I didn’t do this and ended up with truffles that had giant chocolate “feet.” They tasted fine but didn’t have that tidy appearance I wanted. A few simple taps solved everything.
Common Mistakes to Avoid
I made plenty of mistakes the first time I made these, so I’m sharing them so you don’t repeat them. One early mistake was adding too much milk when the mixture seemed dry. The dough becomes softer as you continue mixing, so adding more liquid too soon makes it sticky and impossible to roll. Start with the exact amount listed, and only adjust after several minutes of mixing if truly needed.
Another mistake is rolling the truffles too large. Oversized truffles take longer to chill and are more likely to fall off the fork during dipping. I once made them golf-ball sized thinking it would save time, but it only created more problems. Now I keep them bite-sized, which helps them chill evenly and coat beautifully. The smaller size also makes them feel more indulgent since each one is just enough to satisfy your sweet craving.(See the next page below to continue…)