
Finally, I slice the ropes into tiny pillows using a sharp knife, arranging them on a parchment-lined tray so they can dry. They feel soft at first, almost like little clouds, but after several hours (or overnight), they firm up just enough to get that classic melt-in-your-mouth texture. I always sneak one before they’re fully set—they taste fresh and extra creamy at that stage, like a secret treat just for the cook.
Pro Tips for Best Results
I’ve tested this recipe more times than I can count, and the one thing I always emphasize is to start with truly softened butter. Cold butter makes the dough lumpy, and melted butter turns everything too runny. I leave mine out for at least an hour so it has the consistency of a warm thumbprint when I press it. It’s such a small detail, but it makes a huge difference in the final texture.
Another trick I learned the hard way: don’t rush the drying stage. I once tried to package the mints after only an hour because I was excited to gift them, and they stuck together in a buttery clump. Let them dry completely—overnight is ideal—especially if your kitchen is humid. You’ll be rewarded with clean edges and that perfect tender bite.
Flavoring is also worth experimenting with, but sparingly. Peppermint extract is potent, and I’ve accidentally created what I can only describe as “mint explosion mints” by adding too much. Start with a single teaspoon, taste the dough, and add just a drop more if you want a stronger flavor. Remember: the taste intensifies slightly as they dry.
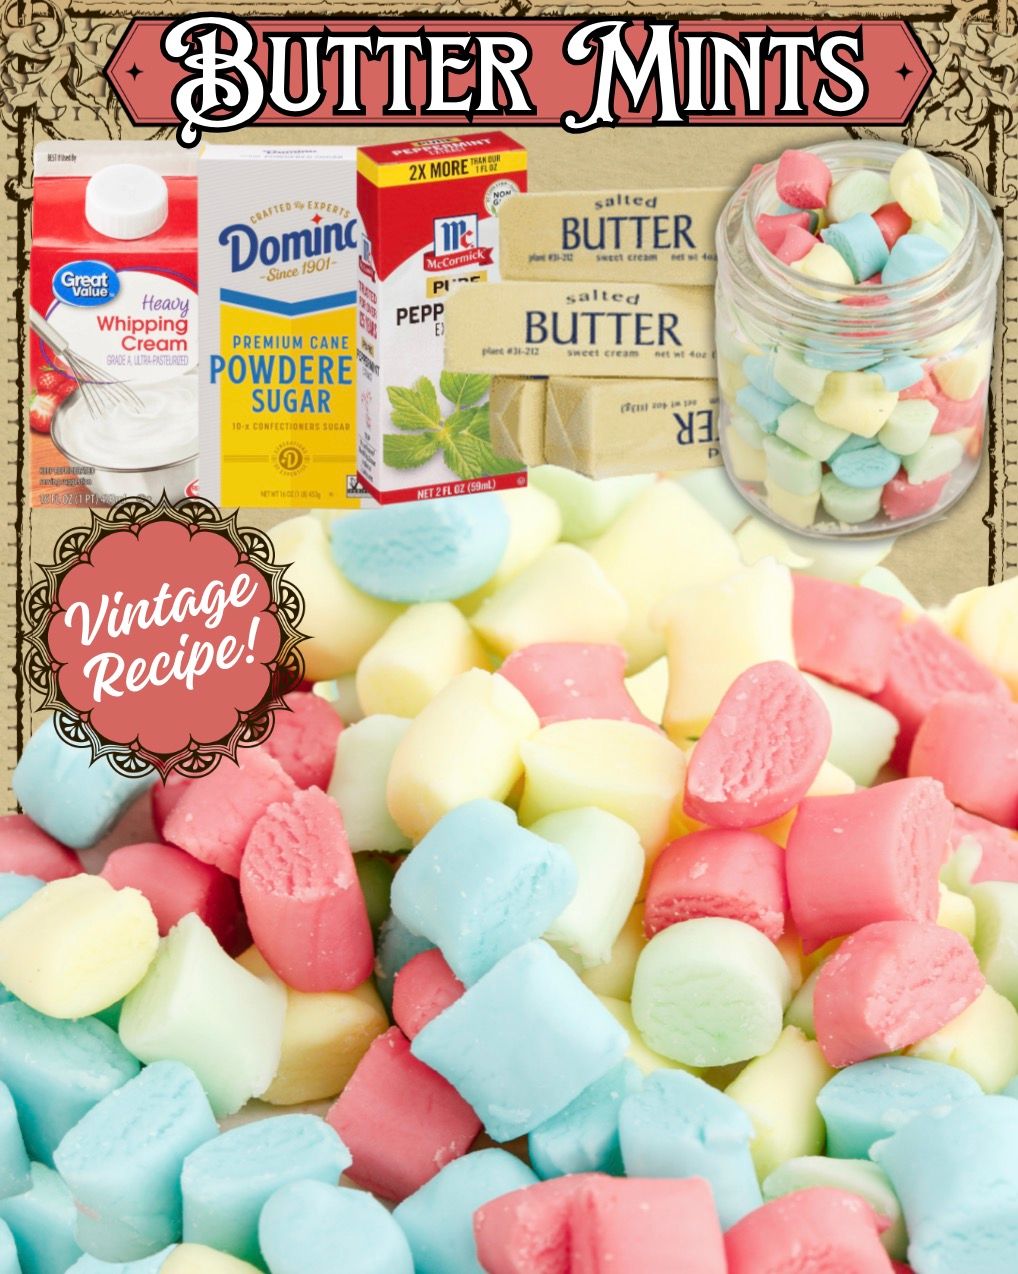
If you want stunning colors, go for gel food coloring instead of liquid. Liquid coloring softens the dough and can make it sticky, while gel creates richer hues without altering consistency. Pastel pink, yellow, green, and blue almost always end up in my batches because they remind me of old candy shop windows.
Common Mistakes to Avoid
The first mistake I ever made was adding all the cream at once. The dough ended up too wet, and I kept dumping in more powdered sugar to fix it, which gave the mints a chalky texture. Add the cream gradually—you can always add more, but you can’t take it out once it’s mixed. A little caution saves the whole batch.
Another common issue is overmixing after the dough comes together. I used to let the mixer run because I assumed smoother was better, but the heat from the mixer softens the butter too much. Now I stop mixing the moment the dough is cohesive, then finish any color kneading by hand. The mints hold their shape better this way.(See the next page below to continue…)