
And finally, the most satisfying step: slicing. I always use a sharp chef’s knife and run it under hot water before each cut. The heat helps glide right through the chocolate layer without cracking it. The bars come out looking pristine, with that perfect two-layer contrast that makes them look far more complicated than they actually are. Every time I do this, I get that little spark of joy thinking about who’s going to grab the first square.
Pro Tips for Best Results
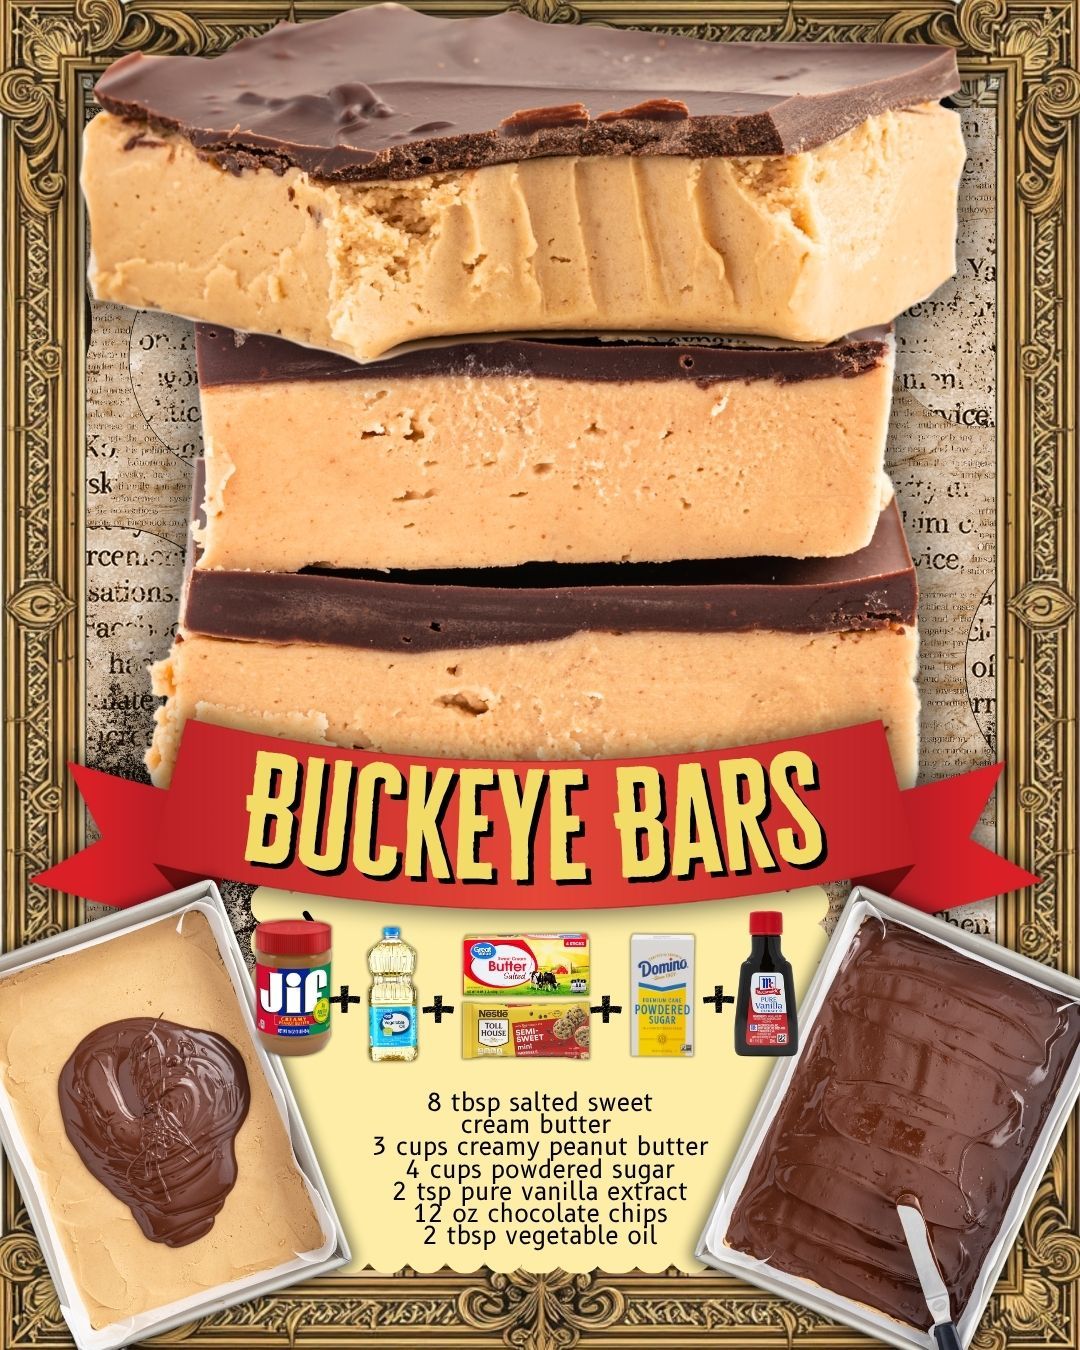
The biggest tip I can give you is to press the peanut butter layer firmly and evenly. I’ve had batches where I rushed this step, and the thickness ended up uneven, making some bars look a little lopsided. Using the bottom of a measuring cup to compact and smooth the surface makes a huge difference. Another trick I swear by is ensuring the melted chocolate topping is completely smooth before pouring it—if it’s even slightly grainy, it won’t set right.
I also tested the chocolate-peanut butter topping ratio several times, and the one in this recipe is exactly what works best. If you add too much peanut butter, the topping becomes too soft and won’t cut cleanly; too little, and the chocolate becomes brittle and cracks. This version hits that sweet spot where the topping sets firm but not hard. Additionally, when melting the chocolate, always heat in short bursts and stir frequently—chocolate burns faster than you think.
A tip that seemed minor at first but ended up being essential is using room-temperature ingredients. Cold peanut butter or cold butter makes the mixture seize up strangely and become harder to spread. Letting everything sit on the counter for a bit means the layers mix and smooth out effortlessly. Trust me, I learned this the hard way on a rushed winter morning.
And finally, don’t skip chilling. I know it’s tempting to dig in early, especially when the peanut butter layer smells like a candy shop, but the bars truly need time to firm up. Rushing the chill time makes them messy, and the layers won’t slice cleanly. Give them the full time, and you’ll be rewarded with near bakery-quality bars.
Common Mistakes to Avoid
One of the most common mistakes I made early on was not lining the pan properly. Peanut butter filling loves to stick to the corners, so parchment paper is non-negotiable if you want easy removal. I once had to dig the bars out with a spatula, and while they still tasted great, they definitely didn’t look pretty. Now I always double-check that the parchment fits neatly into all the edges.
Another mistake I see often is using natural peanut butter. I’m all for natural peanut butter on toast, but in this recipe, it tends to separate because of the oils. The filling ends up either too soft or too oily, and it never sets the way it should. Stick to a mainstream creamy peanut butter brand for the most reliable results. If you happen to only have natural peanut butter on hand, you’ll need extra powdered sugar to compensate.
Rushing the melting process for the chocolate is another easy issue. Chocolate chips scorch incredibly quickly, especially in the microwave. If you melt them too fast or too long without stirring, they’ll turn gritty and unusable. I’ve rescued a few batches by adding a teaspoon of oil and stirring aggressively, but honestly, it’s better to take your time melting it properly in the first place.(See the next page below to continue…)