
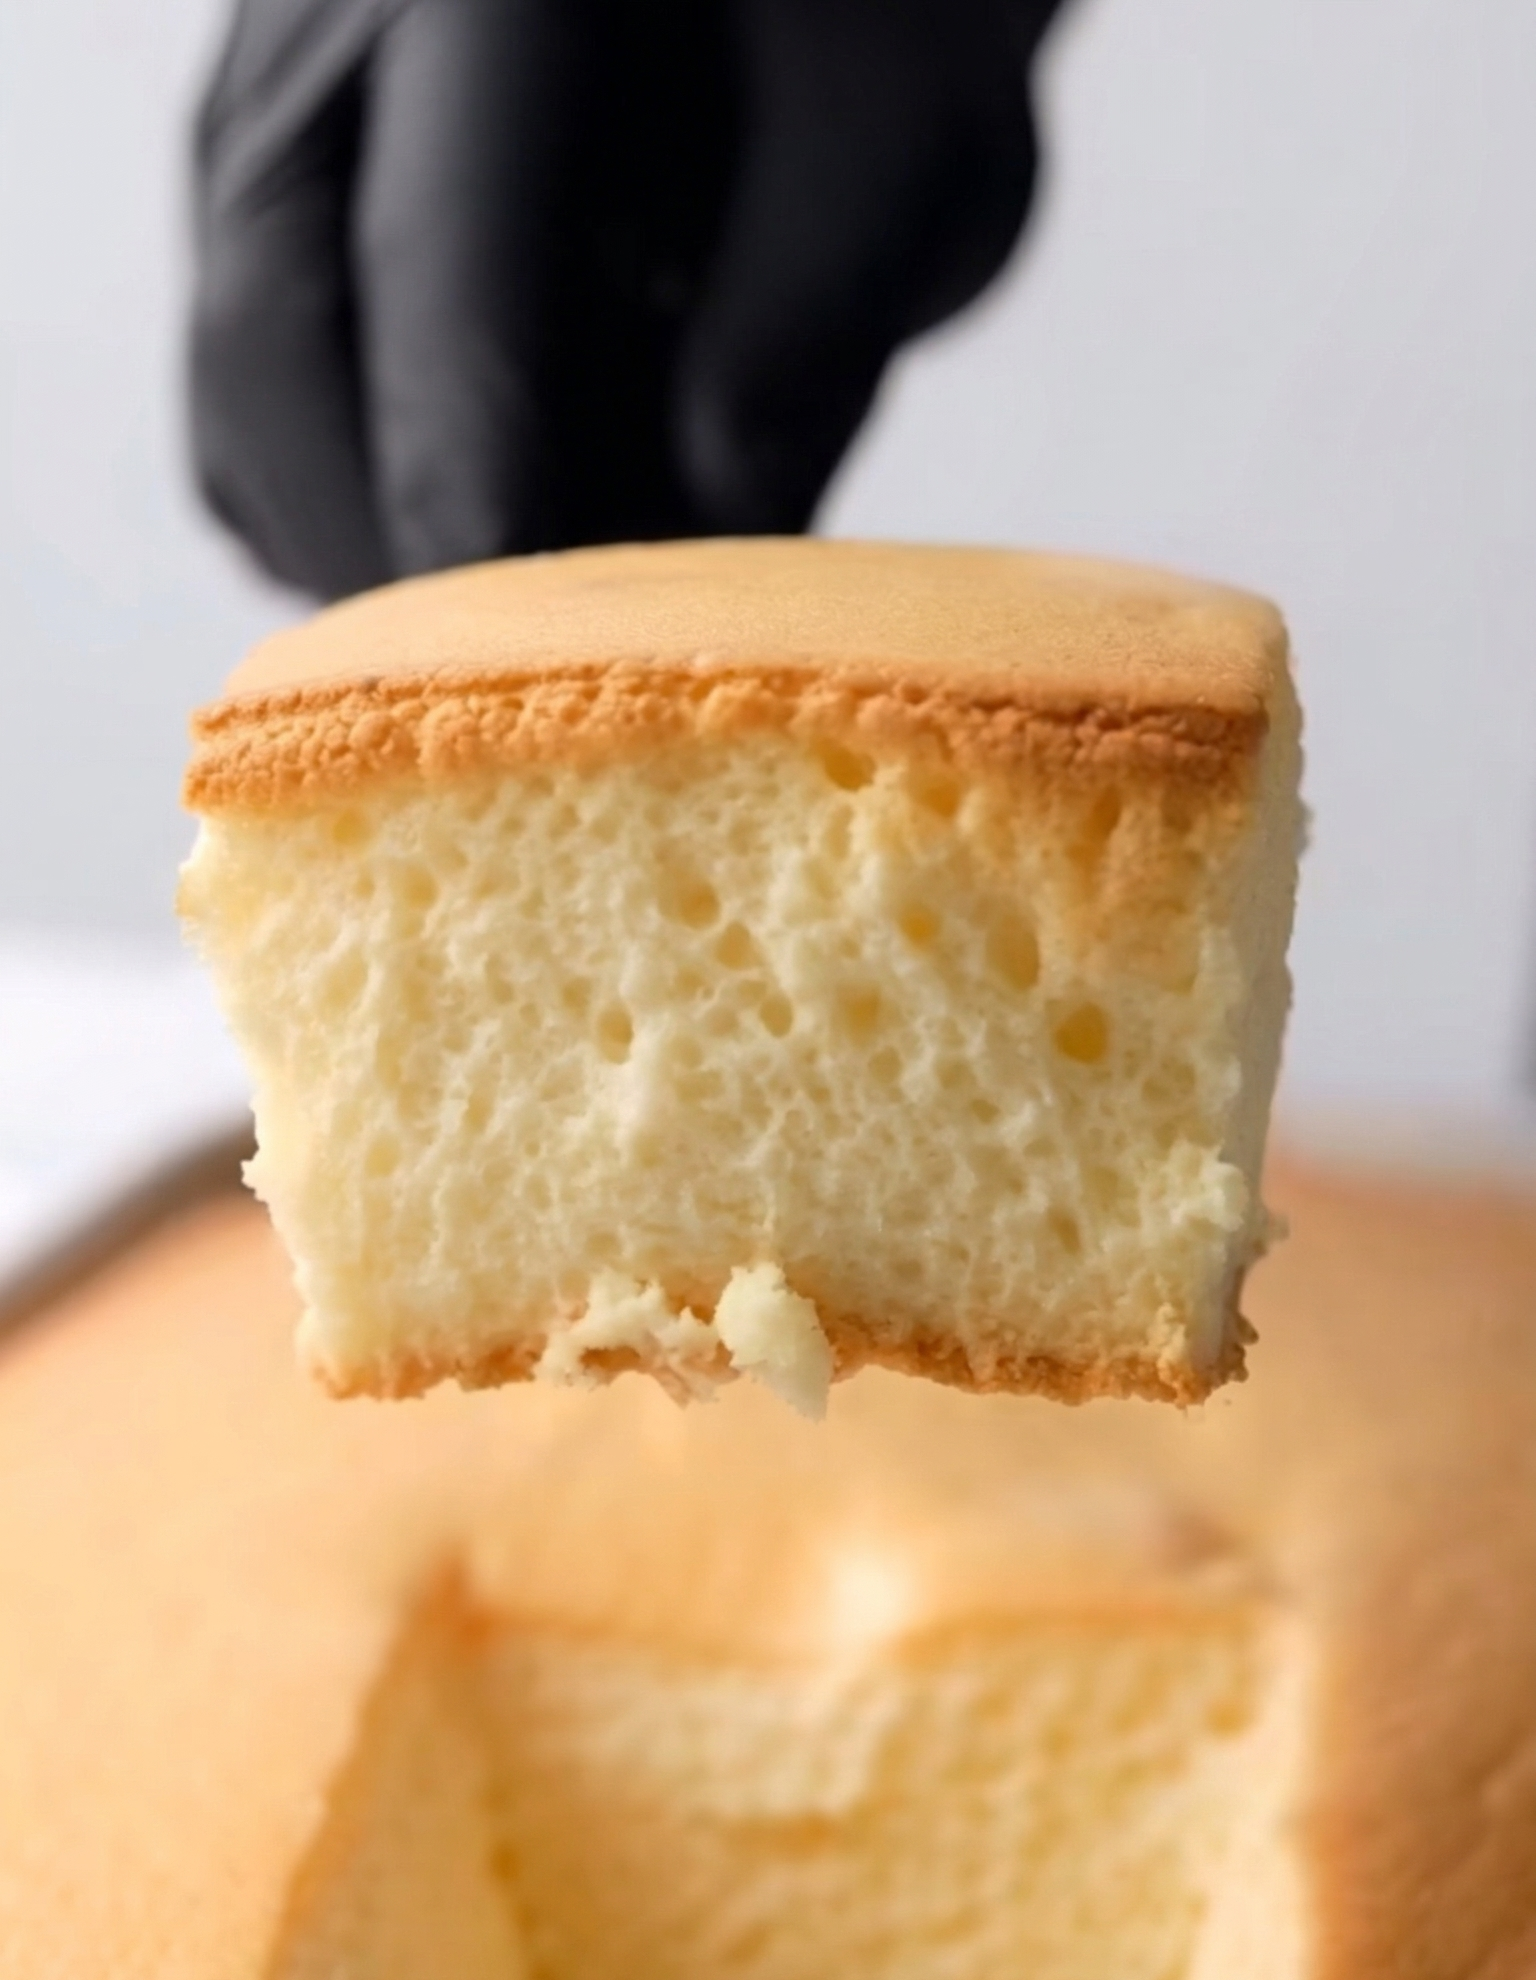
The first time I made a Blender Sponge Cake, I was honestly just looking for the easiest way to bake something quick without pulling out too many tools. I tossed everything into my blender, pressed start, and hoped for the best. As it baked, my kitchen filled with that classic sweet cake aroma that instantly feels comforting. When I sliced into it, the texture was soft, airy, and perfectly fluffy. I couldn’t believe something so simple could turn out so good—and now it’s one of my go-to cakes when I want something easy and reliable.
Why You’ll Love This Recipe
Whenever I make this blender sponge cake, I’m reminded how convenient baking can be. If you want a soft, fluffy cake without complicated steps, you’re going to love this recipe. Everything comes together in one blender, which means less mess and less time. It’s light, versatile, and perfect for adding your favorite flavors like vanilla, lemon, or chocolate. (See the ingredients in the next page below…)
Ingredients
- 3 eggs
- 1 cup sugar
- 1½ cups all-purpose flour
- ½ cup oil
- 1 cup milk
- 1 teaspoon vanilla extract (or your favorite flavoring)
- 1 teaspoon baking powder
Equipment Needed
- Blender
- Baking pan
- Measuring cups and spoons
- Spatula
- Oven
- Toothpick or skewer
Step-by-Step Instructions
When I start making this cake, the first thing I do is preheat the oven to 180°C (350°F) and grease a baking pan. I’ve learned that preparing the pan first makes everything smoother once the batter is ready. (See the next page below to continue steps…)
Next, I add the eggs, sugar, oil, milk, and vanilla extract directly into the blender. I blend everything for about 1–2 minutes until the mixture becomes smooth and slightly frothy. The texture at this stage reminds me of a light custard.
Then I add the flour and baking powder to the blender. I pulse a few times instead of blending continuously because I’ve found that overmixing can affect the cake’s texture. The batter should be smooth but not overworked.
Finally, I pour the batter into the prepared pan and bake for about 30–35 minutes. I check it with a toothpick—when it comes out clean, the cake is ready. After baking, I let it cool slightly before slicing.
Pro Tips for Best Results
One thing I’ve learned after making this cake several times is to blend the wet ingredients first before adding the flour. It helps create a smoother batter.
Another tip is not to overblend once the flour is added. I’ve tried both ways, and pulsing gently gives a softer, fluffier texture.
I also like using room temperature ingredients. It helps everything blend more evenly and improves the final texture.
Common Mistakes to Avoid
The first mistake I made was blending the batter too long after adding the flour. It made the cake slightly dense instead of light. Another mistake is skipping greasing the pan properly. The cake can stick and break when removing it. (See the next page below to continue…)
I also learned not to open the oven too early while baking. It can cause the cake to sink in the center. Finally, avoid using very cold ingredients. They don’t blend as smoothly and can affect the texture.
Serving Suggestions
When I serve this sponge cake, I like keeping it simple with a light dusting of powdered sugar on top.
Sometimes I add fresh fruit like strawberries or berries for a refreshing touch.
For a more indulgent option, I also like serving it with whipped cream or a drizzle of chocolate sauce.
Variations & Customizations
One variation I enjoy is adding cocoa powder to turn it into a chocolate sponge cake.
I’ve also tried adding lemon zest and juice for a bright citrus version that tastes amazing.
Another option I like is mixing in chocolate chips or nuts for added texture.
How to Store, Freeze & Reheat
Whenever I make this cake, I store it in an airtight container at room temperature for up to three days.
If I want to keep it longer, I wrap slices and freeze them individually.
To reheat, I usually warm a slice in the microwave for a few seconds to bring back its softness.
Conclusion
Every time I make this Blender Sponge Cake, I’m reminded how simple baking can be. With just a few ingredients and a blender, you get a soft, fluffy cake that’s perfect for any occasion. I love how quick it is and how easily it can be customized with different flavors. If you’re looking for an easy, no-fuss cake, this recipe is definitely one to try.