
Equipment Needed
- Large skillet
- Wooden spoon or spatula
- Sharp knife and cutting board
- Large, heavy-bottomed pot or Dutch oven for frying
- Spider skimmer or slotted spoon
- Wire rack set over a baking sheet
- Small bowl of water
- Paper towels
- Tongs
Step-by-Step Instructions
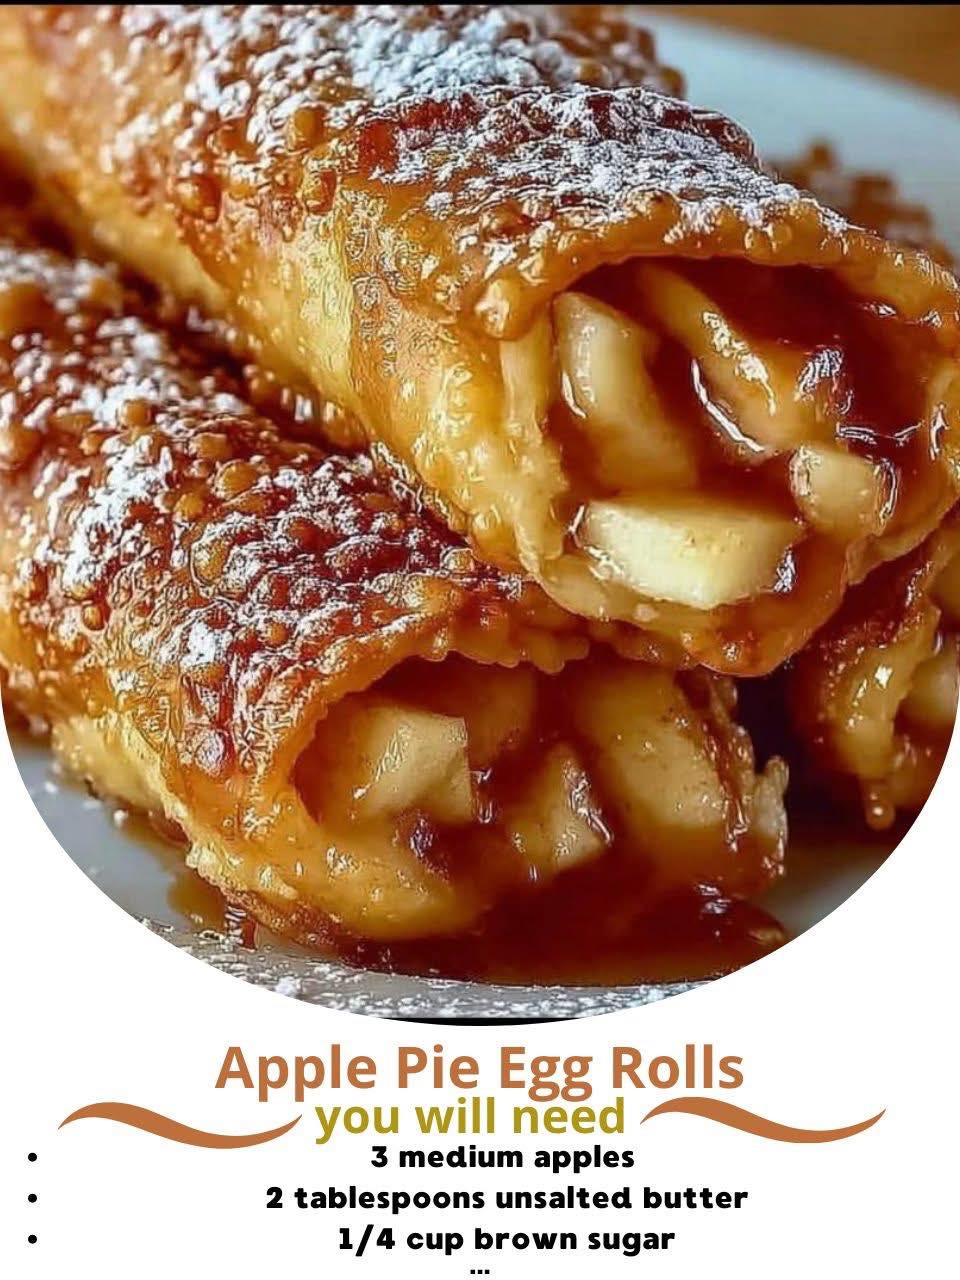
I always start by making the filling, as it needs to cool completely. I peel, core, and finely dice my apples into small, uniform pieces—no bigger than a blueberry. This ensures they cook quickly and evenly, and it makes rolling much easier. In my large skillet over medium heat, I melt the butter. Once it’s foamy, I add all the diced apples. I sauté them for about 5 minutes, just until they begin to soften. Then, I sprinkle in the brown sugar, cinnamon, nutmeg, and that key tablespoon of flour. I stir constantly for another 3-4 minutes. The flour will coat the apples and the mixture will become thick and glossy as the sugar melts and the apples release their juice. I finish by stirring in the lemon juice for a touch of brightness, then I scrape the filling into a bowl to cool to room temperature. A warm filling will steam and ruin the wrapper.
While the filling cools, I set up my frying station. I pour about 1 1/2 inches of neutral oil (like vegetable or canola) into my heavy-bottomed pot. I attach a candy thermometer to the side—this is my secret weapon for perfect frying. I heat the oil over medium heat to 350°F (175°C). Maintaining this temperature is critical; too hot and the wrappers burn before the filling heats through, too cool and they absorb oil and become greasy. I also line a baking sheet with a wire rack and paper towels to drain the finished egg rolls.
Now, for the assembly, which is like a fun little craft project. I lay one egg roll wrapper on a clean surface in a diamond orientation. I place about 1 1/2 tablespoons of the cooled apple filling in the center. Using my finger, I dab water all around the edges of the wrapper. This acts as the glue. I fold the bottom point up over the filling, tuck it in snugly, then fold in the left and right points. Then, I roll it tightly toward the top point, just like a burrito, pressing to seal the final tip. I place the finished roll seam-side down on a plate and repeat with the remaining wrappers and filling. Keeping the unused wrappers under a damp paper towel prevents them from drying out and cracking.(See the next page below to continue…)