
The first time I made chocolate lava cake, it was on a quiet evening when I wanted something indulgent but not complicated. My kitchen filled with the deep, comforting smell of melted dark chocolate and butter, and I remember standing by the oven, watching the timer like it truly mattered. When I finally broke into the cake and saw that warm, glossy chocolate center flow out, I actually laughed out loud. That moment hooked me. Since then, this recipe has become my reliable, feel-good dessert whenever I want something dramatic, cozy, and deeply satisfying.
Why You’ll Love This Recipe
You’ll love this chocolate lava cake because it delivers restaurant-style drama with surprisingly little effort, and I say that after making it many times in my own kitchen. From my experience, you get that soft, cake-like outside paired with a molten center that feels luxurious without being heavy. I think you’ll appreciate how fast it comes together, how forgiving it can be once you know the timing, and how impressed people are when you serve it. It’s the kind of dessert that makes you feel like a confident baker even on a busy day.
Ingredients
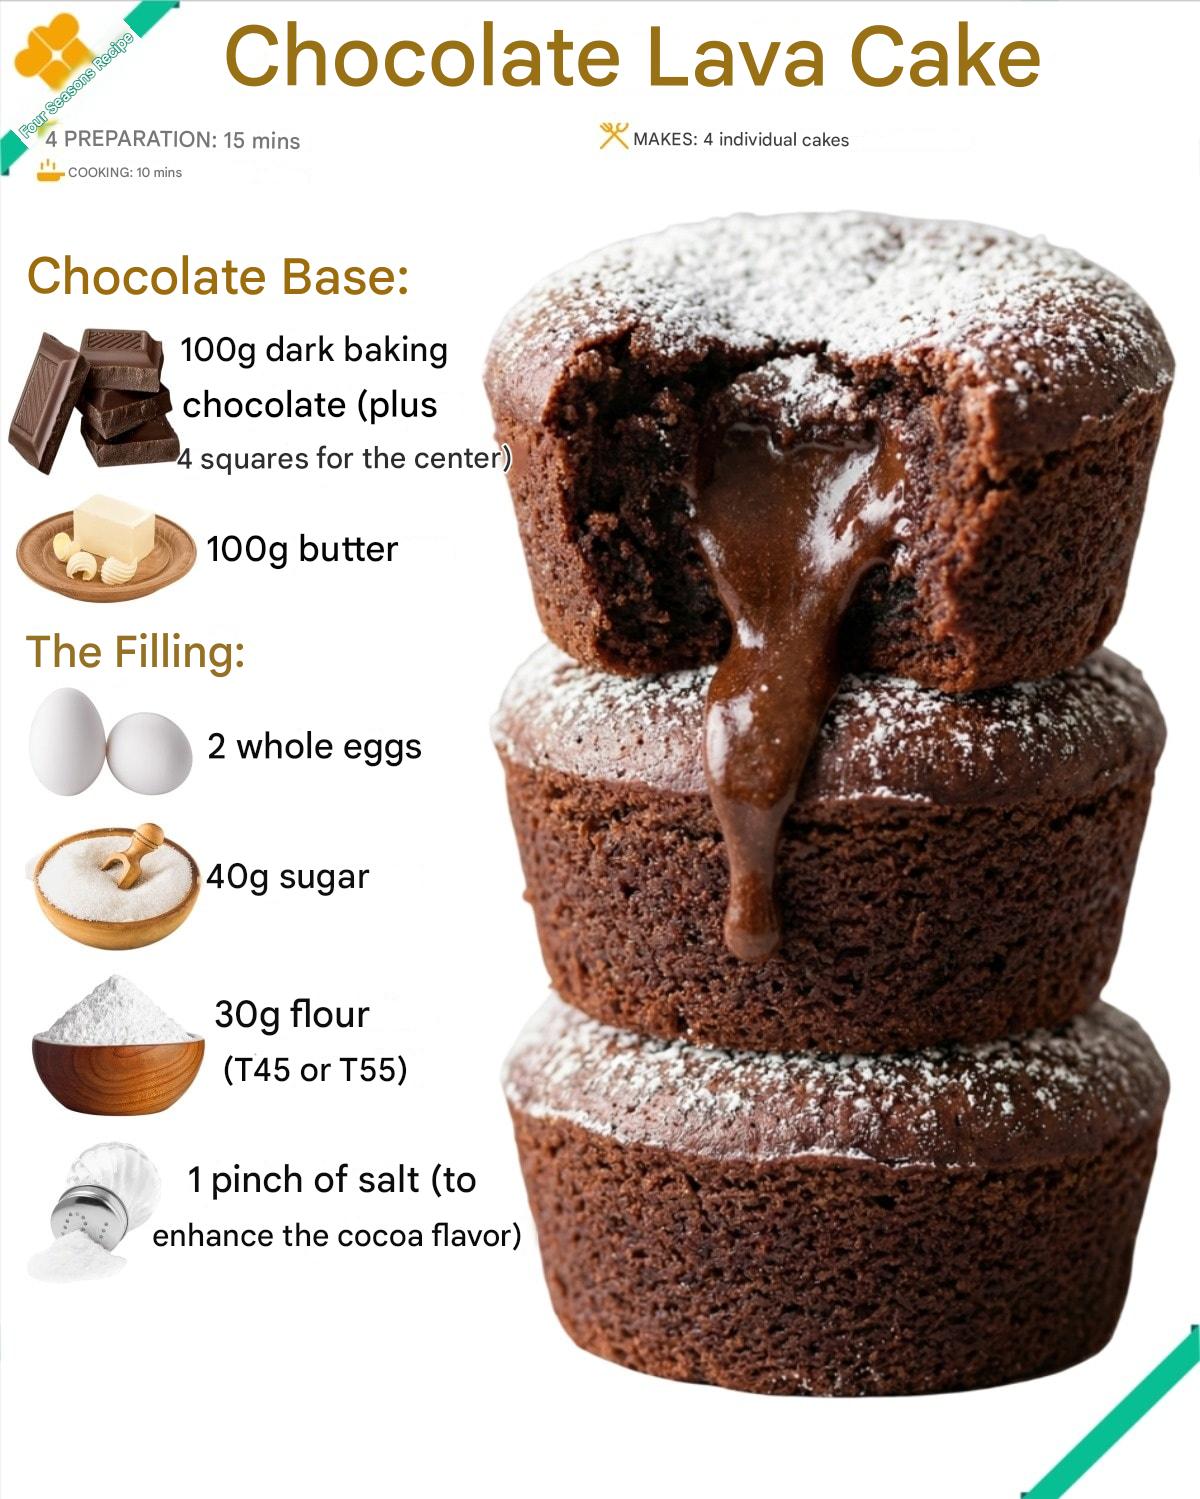
- Chocolate Base:
- 100 g dark baking chocolate
- 4 extra squares of dark chocolate (for the centers)
- 100 g butter
- Cake Batter:
- 2 whole eggs
- 40 g sugar
- 30 g all-purpose flour (T45 or T55)
- 1 pinch of salt
When I make this recipe, I pay special attention to the chocolate because it truly defines the final result. I’ve tried both lower-quality and higher-quality chocolate, and trust me, don’t skip this ingredient or compromise here—it makes a huge difference in flavor and texture. The butter adds richness and smoothness, while the eggs create structure without drying the cake. I’ve experimented with slightly less sugar, but I always come back to this balance because it keeps the cake bittersweet rather than cloying.
Equipment Needed
- Mixing bowls
- Heatproof bowl
- Saucepan (for a water bath)
- Whisk
- Rubber spatula
- Four ramekins or small oven-safe molds
- Baking tray
- Oven
In my kitchen, having the right molds makes the process smoother and the results more consistent. I usually use ceramic ramekins, but I’ve also made this in metal molds with good results. The heatproof bowl and saucepan are essential for gently melting chocolate without burning it, something I learned the hard way early on. A simple whisk works just fine here, and I actually enjoy mixing this batter by hand because it keeps me connected to the texture.
Step-by-Step Instructions
I start by melting the dark chocolate and butter together over a gentle water bath, stirring slowly until the mixture becomes smooth and glossy. This step always feels calming to me, watching the chocolate transform as it melts. I remove it from the heat as soon as everything is combined, because overheating chocolate can dull its flavor. I let it cool slightly so it doesn’t scramble the eggs later.
In a separate bowl, I whisk the eggs and sugar together until the mixture looks pale and slightly thickened. I’ve tried rushing this step before, and it showed in the final texture, so now I take my time. The eggs should feel cohesive and smooth, not frothy. Once ready, I gently pour in the melted chocolate mixture, whisking continuously to keep everything silky.
Next, I sift in the flour and add the pinch of salt, folding carefully with a spatula. This is where restraint matters most. I’ve overmixed before, and the cakes turned dense instead of tender. The batter should look smooth and thick but still pourable, almost like a rich brownie batter.(See the next page below to continue…)