
The first time I made these Soft Jam Thumbprint Cookies, my entire kitchen instantly filled with the buttery, sweet aroma that always reminds me of holidays spent baking with family. I remember pulling the first tray from the oven and watching the warm jam glisten in the soft, delicate indentations—it felt like a nostalgic burst of joy. The cookies were tender, melt-in-your-mouth soft, with that sweet pop of fruity jam in the center. They became an instant favorite, and honestly, I still can’t make them without feeling a little spark of happiness.
Why You’ll Love This Recipe
You’re going to love these Soft Jam Thumbprint Cookies because they’re incredibly easy, wonderfully tender, and endlessly customizable. From the buttery dough to the bright, glossy jam center, every bite balances richness with just the right amount of sweetness. They’re the kind of cookie people always assume required complicated steps or special equipment, but truly—they come together so quickly. Whether you’re baking for a holiday tray, a family gathering, or simply craving something warm and homemade, these cookies deliver every single time.
Ingredients
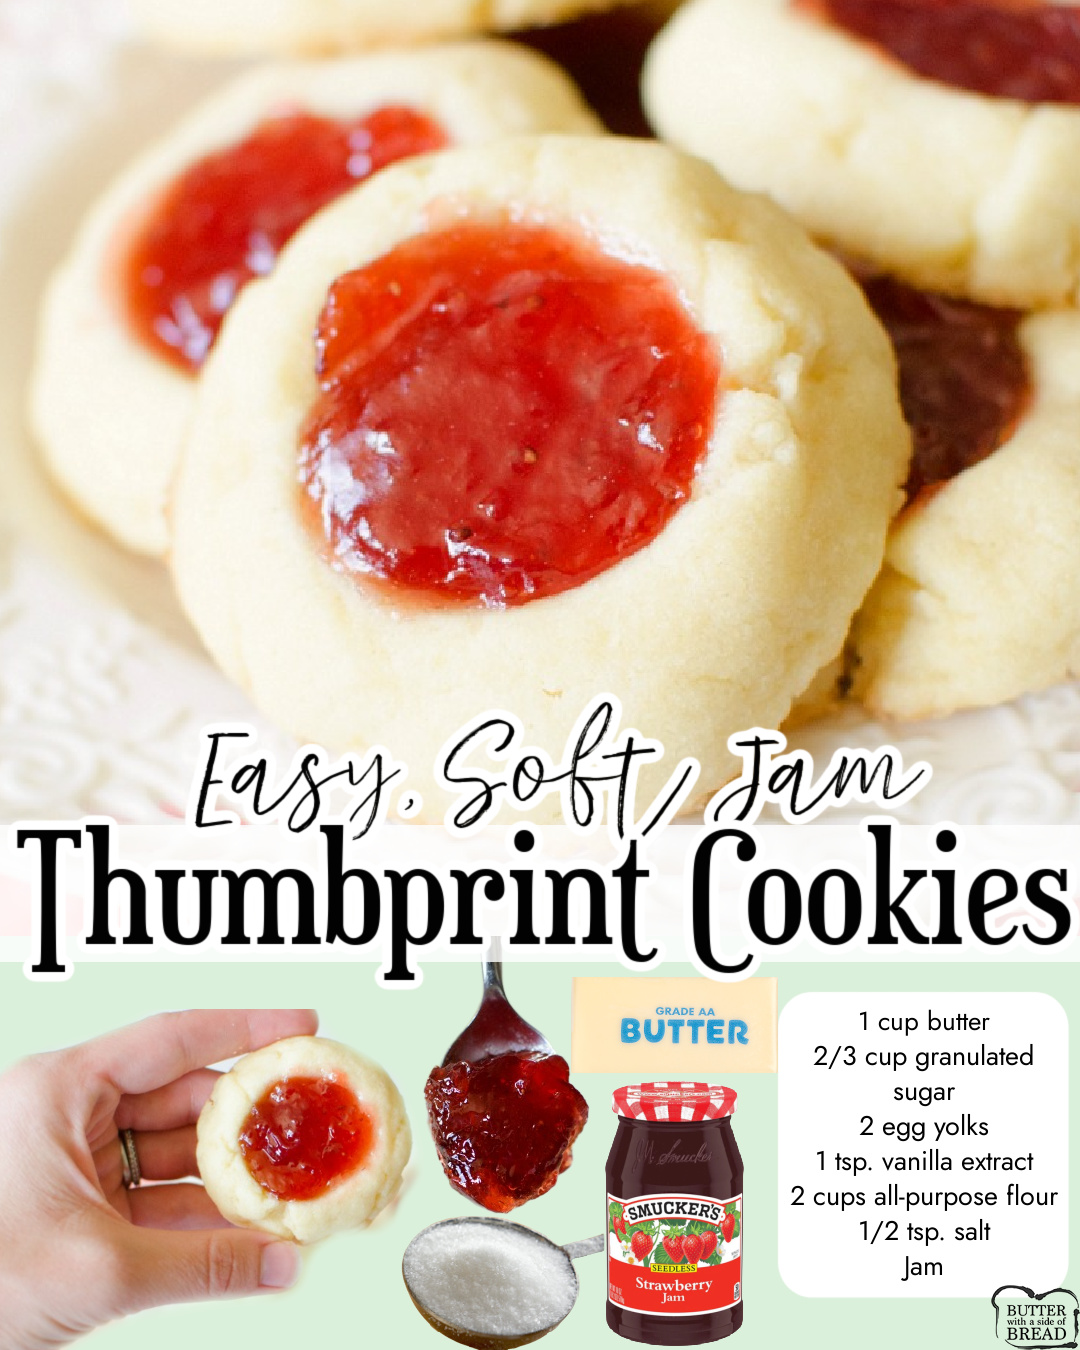
- 1 cup butter, softened
- 2/3 cup granulated sugar
- 2 egg yolks
- 1 tsp vanilla extract
- 2 cups all-purpose flour
- 1/2 tsp salt
- Jam of your choice (strawberry, raspberry, apricot, etc.)
I’ve played around with these ingredients over the years, and I can confidently say that using real softened butter—not margarine—creates the softest, richest dough. Egg yolks alone, instead of whole eggs, give the cookies their signature tender texture. As for the jam, I’ve tried everything from homemade raspberry preserves to simple store-bought strawberry jam, and each version brings its own charm. If your jam is too thick, warming it slightly helps it spoon into the thumbprints more smoothly.
Equipment Needed
- Mixing bowl
- Electric mixer (hand or stand)
- Rubber spatula
- Baking sheet
- Parchment paper or silicone baking mat
- Measuring cups and spoons
A stand mixer makes the creaming process effortless, but I’ve made these many times with just a simple hand mixer. Parchment paper helps the cookies bake evenly and prevents sticking, but a silicone mat works beautifully too. The only truly essential tool here is something sturdy to mix the dough—these cookies don’t require fancy gadgets, just a little love and a steady spatula. And if you don’t want to use your actual thumb for the indentations, a rounded teaspoon works perfectly.
Step-by-Step Instructions
When I begin making these cookies, I always start by creaming the butter and sugar until it’s pale and fluffy. This step is more important than people realize; it incorporates air, which gives the cookies that delicate, tender bite. I watch for the moment the mixture lightens in both texture and color—that’s how I know it’s ready. Then I beat in the egg yolks and vanilla, and the dough becomes silky and fragrant right away.
Next, I gradually mix in the flour and salt. The dough starts out crumbly, and then suddenly it comes together into a soft ball. I’ve learned not to overmix at this stage—stopping as soon as it forms a cohesive dough keeps the texture perfectly soft. Once mixed, I scoop tablespoon-sized portions and roll them gently between my palms. They should feel smooth and buttery but never sticky.(See the next page below to continue…)