
The first time I made these Chocolate Raspberry Sticks, my whole kitchen filled with this incredible aroma of melting chocolate mixed with a bright raspberry sweetness, and I instantly felt transported back to the little candy shops I used to wander through during the holidays. As the raspberry gel set and the chocolate hardened, I kept sneaking little tastes because I couldn’t resist that glossy, ruby-colored center. These candies felt like such a nostalgic treat that I couldn’t help but fall in love with the recipe, and now I make them every year without fail.
Why You’ll Love This Recipe
You’re going to love this recipe because it gives you that luxurious chocolate-covered raspberry flavor without needing any special candy-making equipment or complicated sugar stages. From start to finish, everything is approachable—even if you’ve never made homemade candy before. Each bite has this perfect contrast: soft, chewy raspberry filling and a crisp chocolate shell that melts beautifully on your tongue. And once you realize how simple they are, you’ll want to make batch after batch for gifting, snacking, or holiday trays.
Ingredients
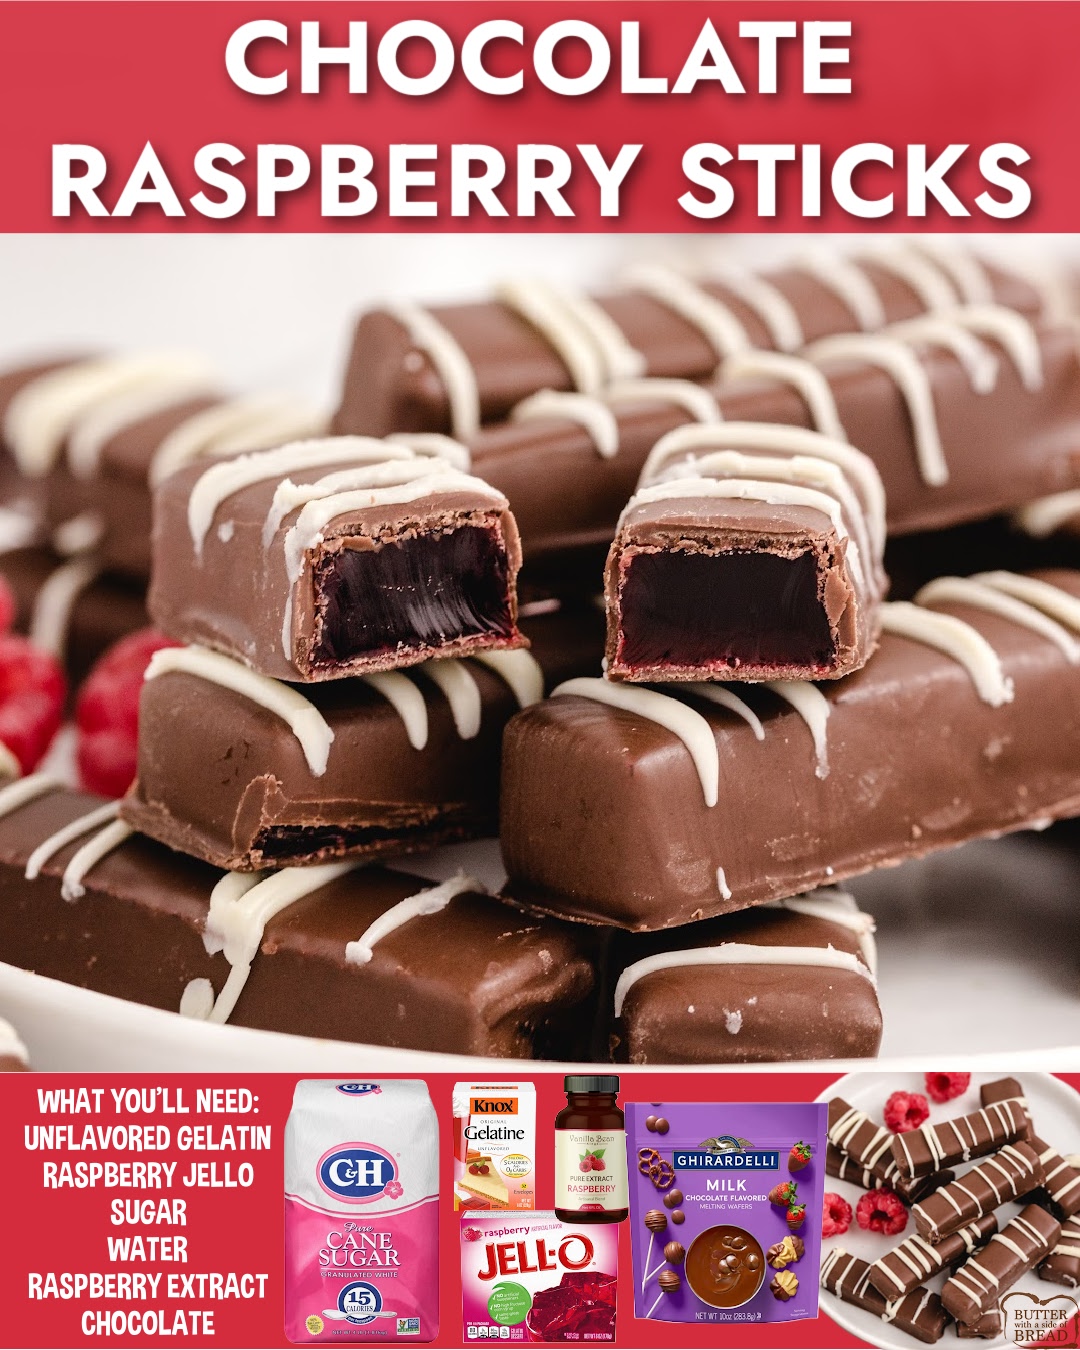
- 2 packages (3 oz each) raspberry Jell-O
- 2 tablespoons unflavored gelatin
- 1 cup granulated sugar
- 1 cup water
- ½ teaspoon raspberry extract
- 2 cups milk chocolate chips or melting chocolate
- White chocolate for drizzling (optional)
I’ve tested this recipe using both regular raspberry Jell-O and sugar-free versions, and while both work, the regular version creates a deeper, more vivid color and stronger flavor. If you like a more intense raspberry taste, don’t skip the raspberry extract—it makes a huge difference. For the chocolate coating, use a good-quality melting chocolate; cheaper brands sometimes seize or harden unevenly. And if you want a glossy finish, tempering chocolate is wonderful but optional. Even simple melted chocolate chips work beautifully for this recipe.
Equipment Needed
- Medium saucepan
- 8×8 or 9×9 baking dish
- Parchment paper
- Whisk
- Sharp knife
- Microwave-safe bowl
- Dipping fork or regular fork
Every time I make these, I line my baking dish with parchment paper because it makes removing the gelatin slab so much easier. A sharp knife is essential because you want clean, smooth cuts that look like real candy-shop sticks. You don’t need any special candy thermometers here, which is part of why I adore this recipe. And while a dipping fork makes coating the pieces easier, a regular fork works just fine if that’s what you have on hand.
Step-by-Step Instructions
I always start by combining the raspberry Jell-O, unflavored gelatin, sugar, and water in a saucepan. At first, it looks like colored sand floating in water, but as the mixture heats, everything dissolves into a fragrant, ruby-colored syrup. I whisk constantly to prevent any lumps, and when the mixture begins to bubble gently around the edges, that’s when I know the gelatin has fully dissolved and is ready to set. The smell at this stage is incredible—sweet, fruity, and cozy.
Once the mixture is smooth, I pour it into a parchment-lined baking dish. I like to tap the dish lightly on the counter to release bubbles and make sure the gelatin settles evenly. Then comes the hardest part: waiting. It takes a few hours for the filling to fully firm up, but I’ve learned not to rush this step. When I tried cutting it early once, the pieces stretched and tore instead of slicing cleanly. Patience really pays off here.(See the next page below to continue…)