
The very first time I made this No Bake Grinch Pie, my whole kitchen felt like it transformed into a little holiday workshop, filled with sweet vanilla aromas and the cheerful sight of bright green filling whipping together in my mixing bowl. I remember leaning over the bowl as the pudding thickened, catching that creamy scent that always makes me feel instantly festive. When I folded in the Cool Whip, the mixture became so fluffy that I couldn’t help but sneak a taste, and it was in that moment I knew this pie would become a yearly tradition. With its vibrant colors, playful sprinkles, and unbelievably smooth texture, this dessert brings out the whimsical side of Christmas in the most delicious way.
Ingredients
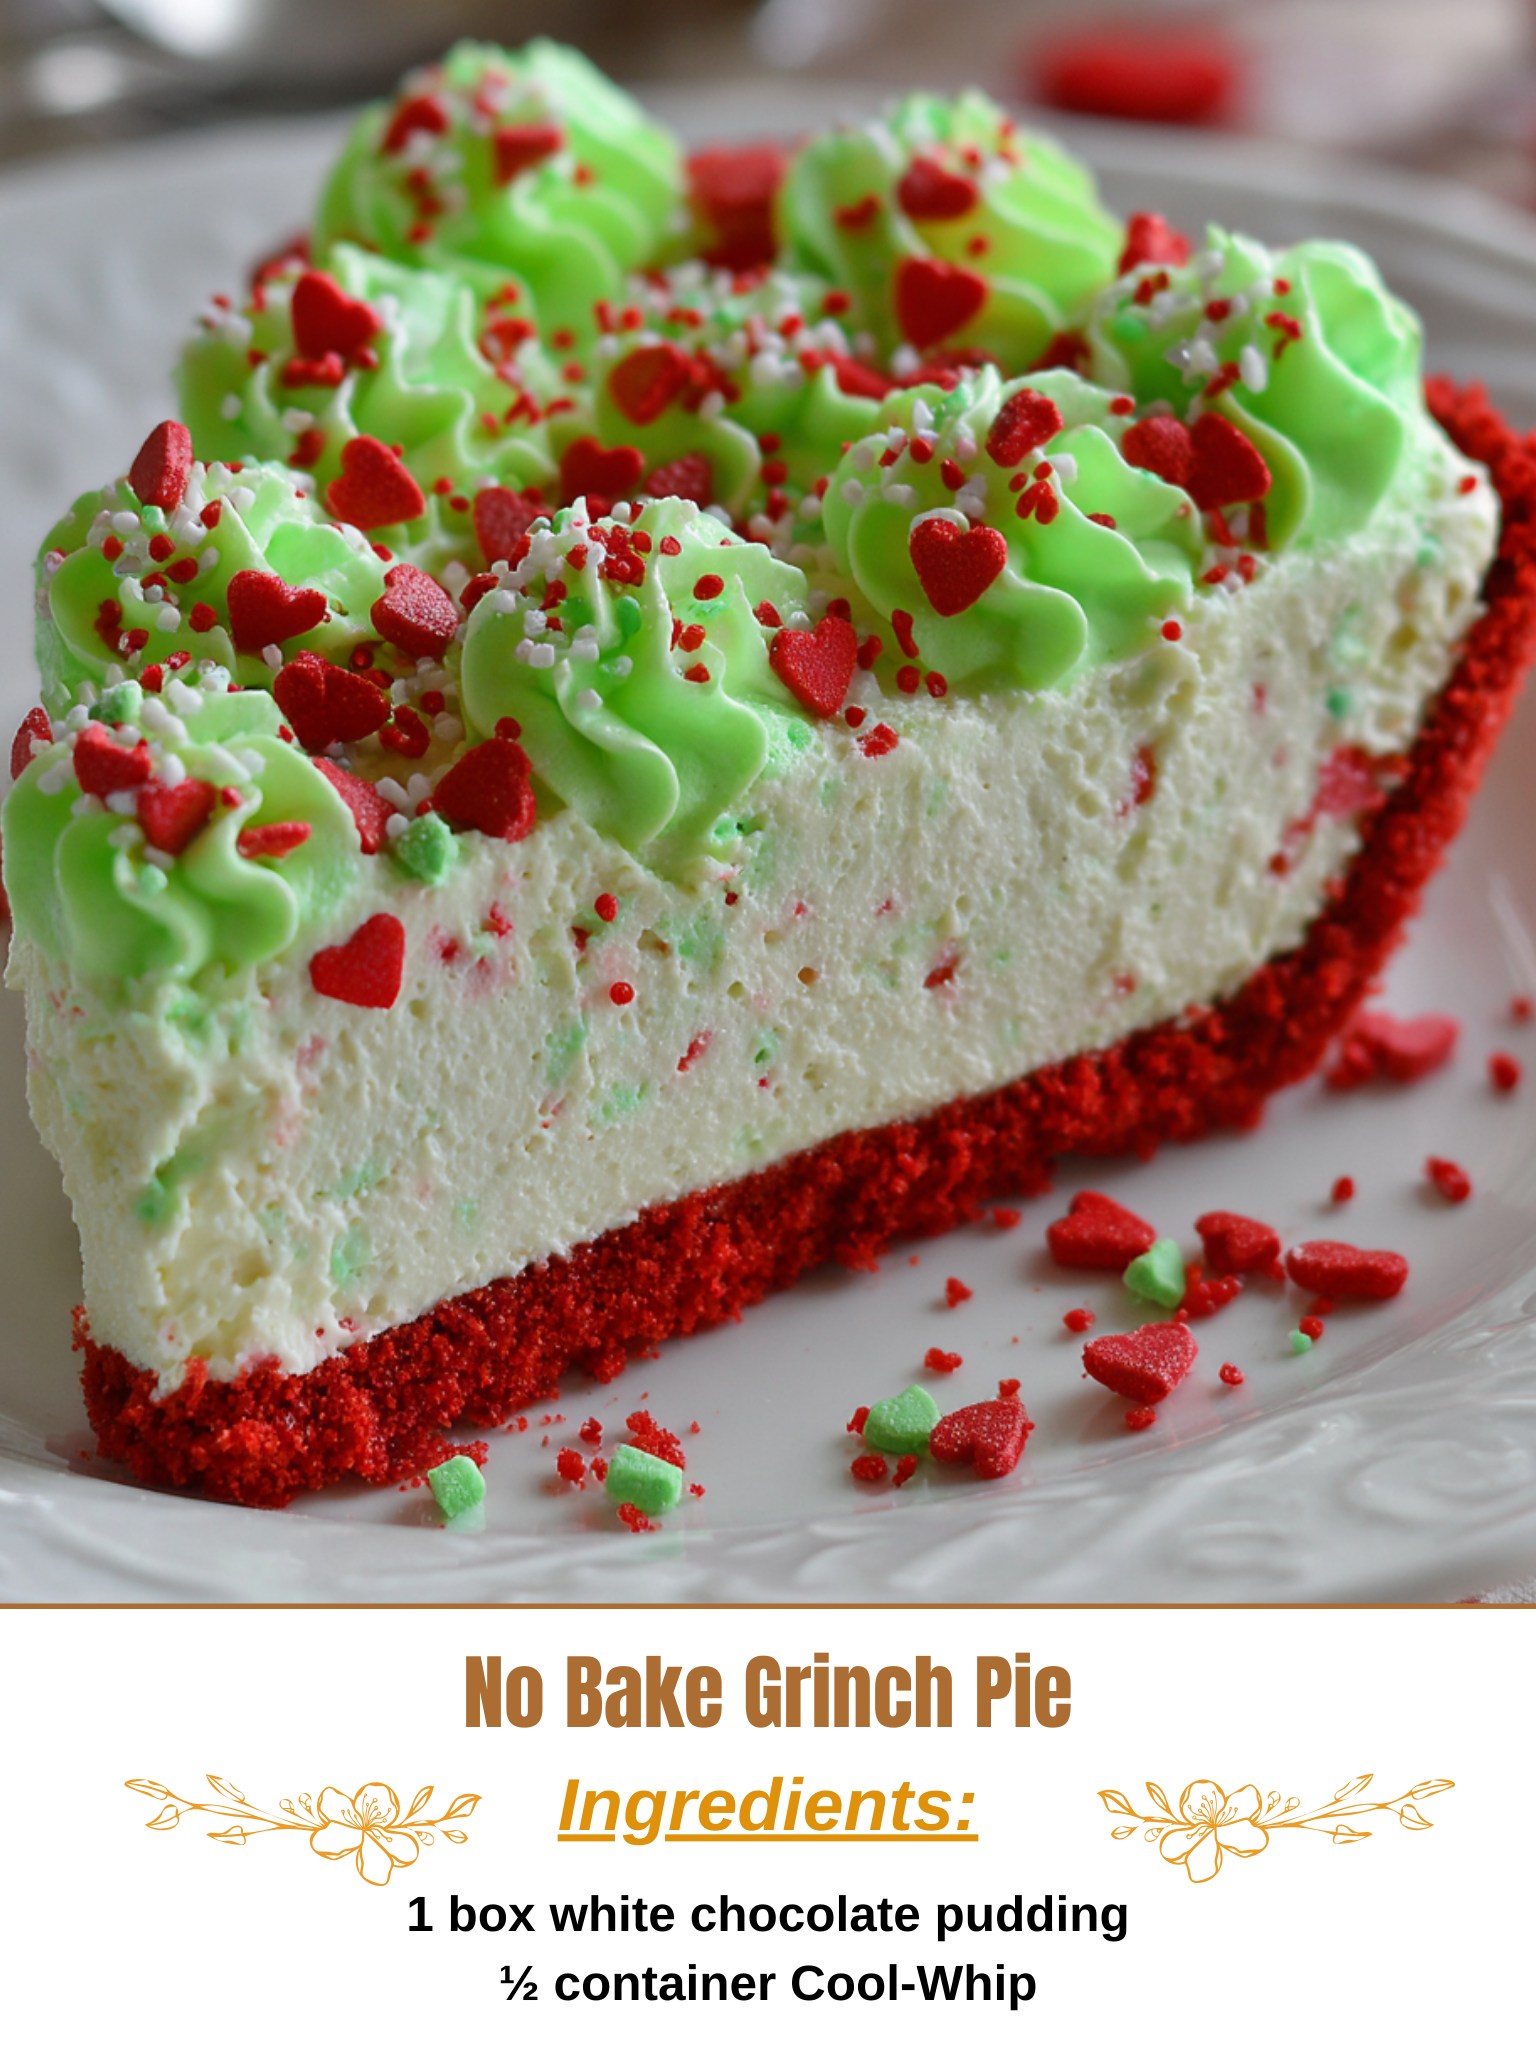
- 1 box white chocolate pudding mix
- 1/2 container Cool Whip
- 1 prepared graham cracker or cookie crust (red-dyed graham crust preferred for Grinch theme)
- Green food coloring
- Red and green sprinkles or heart sprinkles
- 1 ½ cups cold milk
This pie works beautifully with instant pudding because it thickens quickly and gives the filling a luxuriously smooth texture. If you can’t find white chocolate pudding, vanilla pudding works as a good substitute, although the flavor will be slightly milder. I prefer Cool Whip over homemade whipped cream for this recipe because it stabilizes the filling so well, especially for slicing later. When choosing food coloring, gel coloring gives a richer Grinch-green shade without watering down the mixture. And the heart-shaped sprinkles are my favorite festive touch—they capture that classic Grinch theme without any extra work.
Equipment Needed
- Mixing bowl
- Whisk or electric mixer
- Rubber spatula
- Measuring cup
- Prepared pie pan with crust
- Piping bag or spoon for decorating
- Refrigerator space for chilling
I love how little equipment this recipe requires—just a bowl and something to whisk with, and you’re practically done. A simple rubber spatula helps make sure you fold the Cool Whip gently without losing that airy texture. You can absolutely mix by hand, but an electric mixer makes the pudding come together noticeably faster. A piping bag is wonderful for creating those charming decorative swirls on top, but honestly, even using a spoon still gives a pretty, rustic finish. And of course, clear refrigerator space is essential because this pie must chill long enough to slice beautifully.
Step-by-Step Instructions
I always start by whisking together the white chocolate pudding mix and cold milk, and each time I make it, I’m reminded how satisfying it is to watch the mixture thicken almost instantly. As it transforms from thin liquid to creamy pudding, I can already smell that sweet, almost buttery aroma that hints at how luscious the final pie will be. I give it a few minutes to set slightly so the filling becomes firm enough to fold without turning watery.
Next, I gently fold in the Cool Whip, taking my time so the filling stays light and fluffy. The change in texture at this stage is magical—suddenly the mixture becomes airy and cloudlike, the kind of filling that melts the moment it hits your tongue. This is also when I add the green food coloring, just a little at a time, until the color reaches that perfect Grinch shade. It’s fun watching the colors swirl together, and I always stop when it reminds me of holiday cartoons and cheerful decorations.
Once the filling is ready, I spoon it into the prepared crust, smoothing the top with the back of the spatula. I lightly tap the pie on the counter to release any air bubbles, which helps create clean slices later. The vibrant green looks incredible against a red crust, and that contrast is what makes this dessert such a showstopper at holiday gatherings. You can decorate the top immediately or wait until after chilling—both methods work fine.(See the next page below to continue…)