
I still remember the first time I made these Homemade Cream Cheese Mints—my entire kitchen smelled like a sweet, cool breeze of peppermint, and I felt like I was transported straight into a holiday candy shop. I had always seen these colorful little treats at weddings, baby showers, and Christmas gatherings, but making them myself felt surprisingly nostalgic and relaxing. As I mixed the creamy dough, tinted it with pastels, and pressed each one with a fork, it was impossible not to smile at how fun and simple the whole process was.
Why You’ll Love This Recipe
You’re going to fall in love with these Homemade Cream Cheese Mints because they’re unbelievably easy, incredibly creamy, and always a hit at every event—trust me, you’ll wonder why you haven’t been making them your whole life.
Ingredients
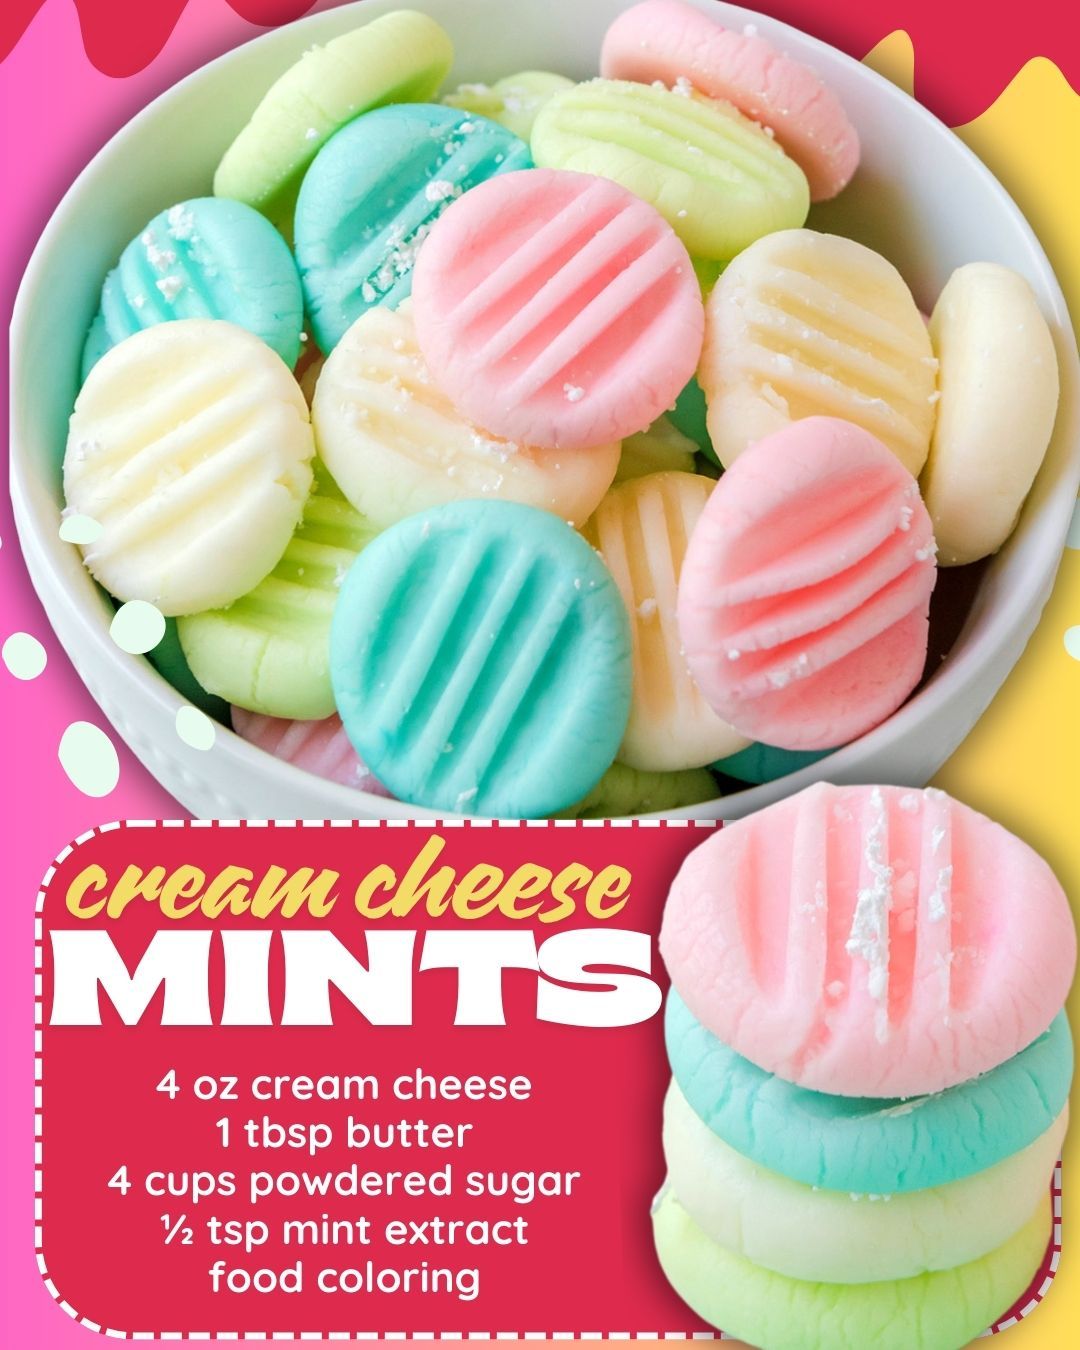
- 4 oz cream cheese, softened
- 1 tbsp butter, softened
- 4 cups powdered sugar
- ½ tsp mint extract
- Food coloring of your choice
After making these many times, I’ve learned that the ingredients really do matter. Use full-fat cream cheese for the creamiest mints—reduced fat changes the texture. Powdered sugar is essential because it creates that classic melt-in-your-mouth finish. Mint extract should be used sparingly; a tiny bit goes a long way. And don’t be afraid to play with colors—gel coloring works best because it won’t water down your dough.
Equipment Needed
- Mixing bowl
- Electric mixer or hand mixer
- Rubber spatula
- Baking sheet
- Parchment paper
- Fork for pressing patterns
These tools may seem simple, but they really help things go smoothly. A mixer saves time because the dough gets thick fast. A rubber spatula helps scrape every bit of the mixture from the bowl, and parchment paper makes cleanup effortless. The fork is your secret weapon—it creates that nostalgic little pattern we all recognize from traditional cream cheese mints.
Step-by-Step Instructions
When I start making these mints, the first thing I do is beat the softened cream cheese and butter together in a bowl. I always make sure both are truly softened—if they’re still cold, the mixture gets lumpy and never blends smoothly. Once they’re creamy and silky, I slowly add in the mint extract, gently smelling the mixture as I go so I know I don’t add too much. Mint can go from refreshing to overpowering in seconds.
Next, I start adding powdered sugar one cup at a time. This is the part where my mixer works hard, because the dough becomes thick—almost like play dough. I’ve learned not to rush this step. If you dump all the powdered sugar at once, it tends to puff everywhere like a sweet snowstorm. Slow and steady makes the texture perfect, and you can really feel the mixture come together.
Once the dough is ready, I divide it into portions so I can tint each one with different colors. I love doing pastel pink, mint green, soft yellow, and baby blue—it just makes the tray look so inviting. When I worked with liquid food coloring once, the dough turned sticky and wet, so now I only use gel colors. A tiny toothpick swipe is all it takes to tint each portion beautifully.(See the next page below to continue…)