hit counter

COOL WHIP CANDY

I first stumbled onto Cool Whip Candy during a late-night craving when I wanted something chocolatey but didn’t feel like baking, and the moment I mixed that fluffy Cool Whip with melted chocolate, my whole kitchen filled with a sweet, creamy aroma that made me grin like a kid. The texture reminded me of old-fashioned nougat, but softer and dreamier, and I knew instantly this was one of those “keep this recipe forever” kinds of treats. It felt like discovering a secret shortcut to homemade candy magic.

Why You’ll Love This Recipe

You’re going to love this recipe because it gives you that decadent, chocolate-shop experience with almost no effort at all, and I say that as someone who has made it over and over again and watched people react with total shock when they learn it uses only four ingredients.
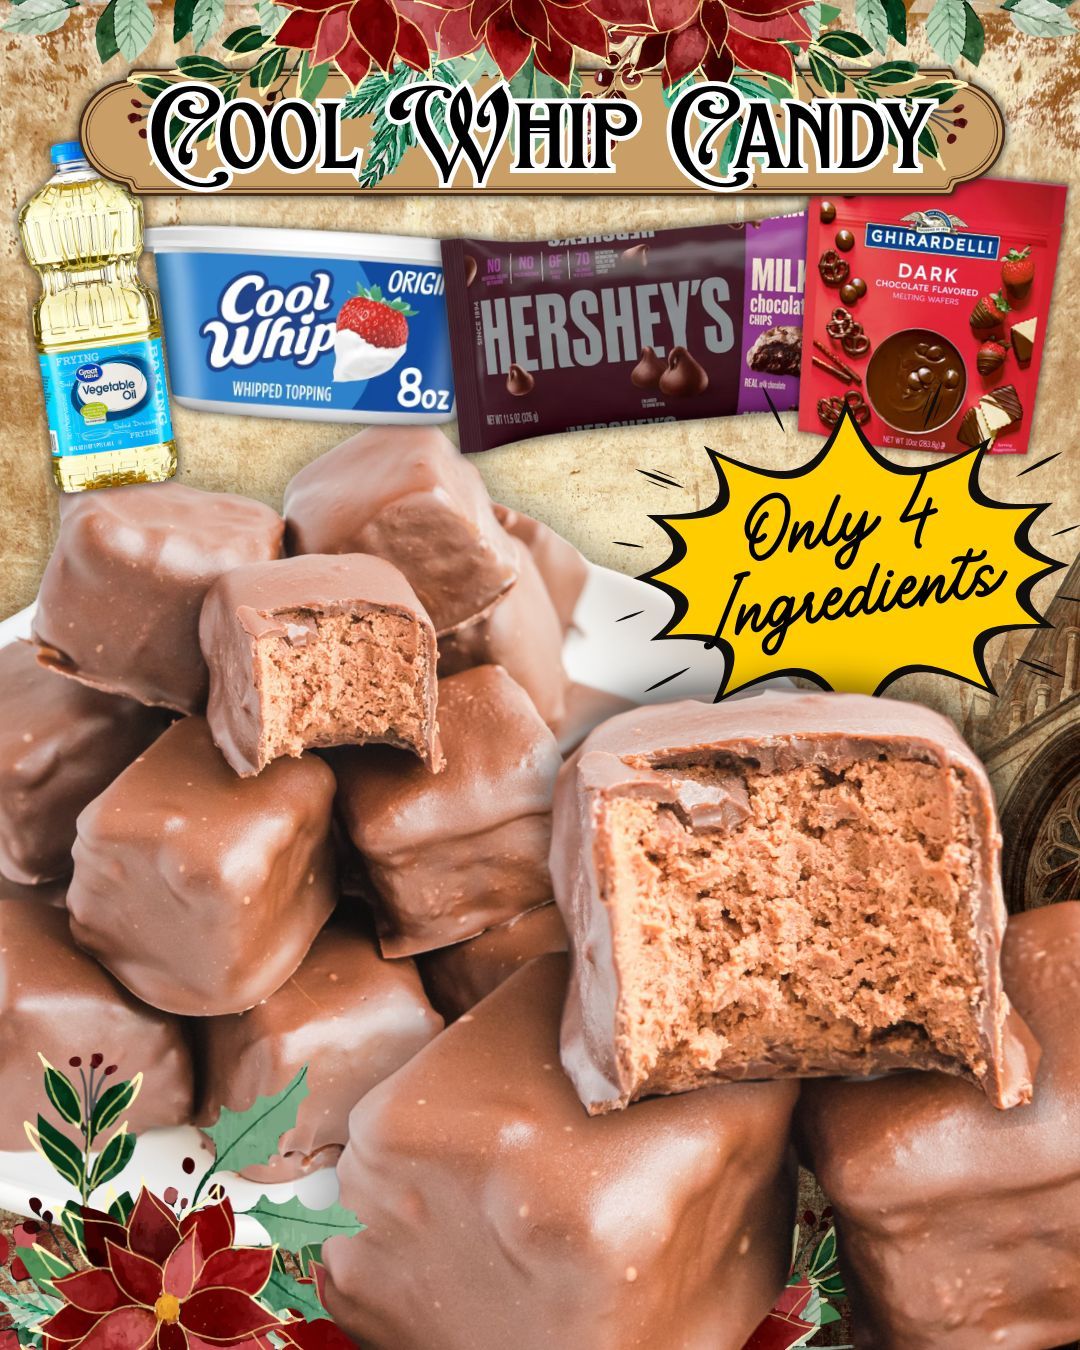
Ingredients

  • 8 oz Cool Whip, thawed
  • 16 oz milk chocolate chips (or chopped milk chocolate bars)
  • 10 oz dark chocolate melting wafers
  • 1 tablespoon vegetable oil

I’ve played around with these ingredients a lot, and each one serves a purpose. Cool Whip must be fully thawed to mix smoothly—don’t rush that part. The milk chocolate is what gives the filling its classic creamy sweetness, but you can swap in semi-sweet if you prefer less sugar. The dark chocolate coating adds that candy-shell contrast, and the vegetable oil helps the coating set silky-smooth without cracking. Trust me, don’t skip that oil—it makes a noticeable difference.

Equipment Needed

  • Mixing bowl
  • Microwave-safe bowl
  • Rubber spatula
  • 8×8 pan
  • Parchment paper
  • Sharp knife
  • Fork or dipping tool

All these tools help make the process easy, but you don’t need anything fancy. I’ve made this using a basic glass bowl, a dollar-store spatula, and a thrifted pan, and it still turned out perfect. The parchment paper is non-negotiable because without it, the candy sticks like crazy. A sharp knife is important for cutting through the chilled filling cleanly. And while a real dipping tool is nice, I’ve dipped every piece with nothing more than a regular dinner fork plenty of times.

Step-by-Step Instructions

When I start making Cool Whip Candy, I always begin by melting the milk chocolate first. I use the microwave in 20-second bursts, stirring between each one so the chocolate doesn’t scorch. If you overheat chocolate even a little, it seizes up and becomes unusable—I’ve learned that the hard way. The moment it becomes glossy and smooth, I fold in the Cool Whip. It looks strange at first, like it’s resisting mixing, but just keep folding; it eventually turns into a luscious mousse-like filling.

Once the mixture is fully combined, I spread it into an 8×8 pan lined with parchment paper. This part is always fun because the mixture is so light it practically glides across the pan. I try to smooth the top as evenly as possible, but honestly, it doesn’t need to be perfect. Then I pop the pan into the freezer for a few hours until the filling becomes firm. I’ve rushed this step before and regretted it—the filling needs to be very solid for dipping, so I always give it the full freezing time now.

After it’s fully frozen, I lift the parchment out of the pan and cut the candy slab into small squares. This is one of my favorite parts because the inside looks so airy and beautiful, almost like chocolate clouds. I always work quickly because the filling softens fast. Once I have all my pieces cut, I return them to the freezer while I melt the coating chocolate. Keeping them frozen prevents them from melting into mush during dipping.(See the next page below to continue…)

Leave a Comment