
The very first time I made these Buckeye Bars, my entire kitchen smelled like warm peanut butter fudge meeting a silky layer of melted chocolate, and I swear it was one of those moments where I just leaned on the counter and thought, “Why don’t I make these every week?” I’d grown up rolling traditional buckeye candies by hand, feeling the stickiness between my palms, but the idea of pressing everything into a pan felt so wonderfully easy that I had to try it. The moment I sliced into that chilled tray and lifted out the first square, I knew this was the version I’d be making forever—simple, rich, nostalgic, and absolutely irresistible.
Ingredients
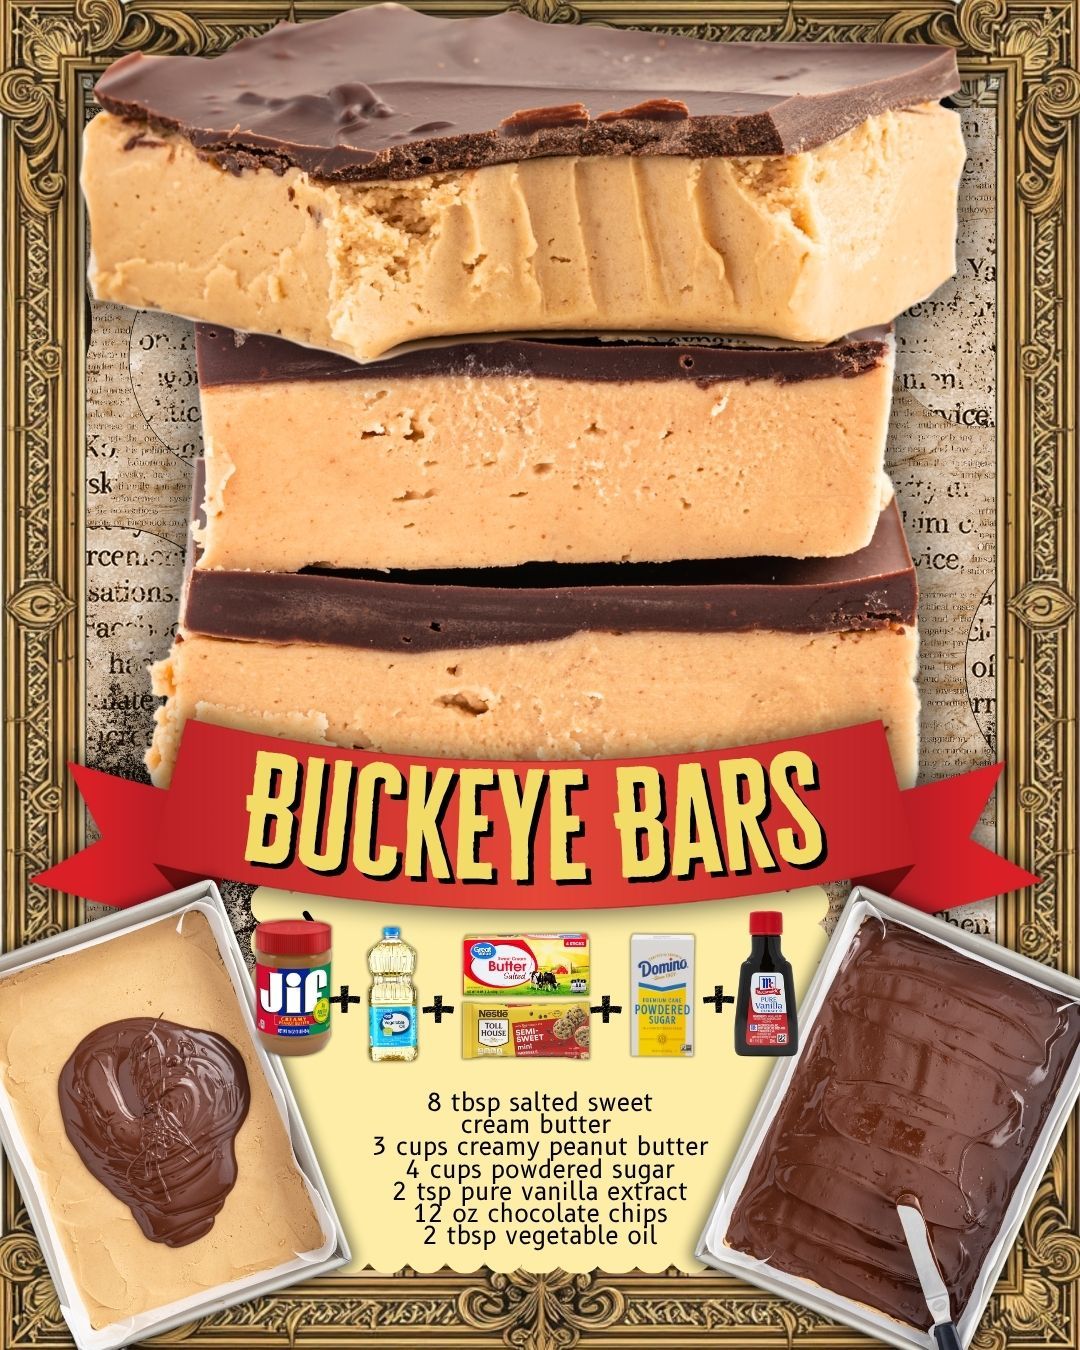
- 1 cup (226g) unsalted butter, melted
- 2 cups (500g) creamy peanut butter
- 3 ½ cups (420g) powdered sugar
- 1 tablespoon vanilla extract
- 2 cups (340g) semi-sweet chocolate chips
- ½ cup (125g) creamy peanut butter (for the chocolate topping)
After making these more times than I can count, I’ve learned that creamy peanut butter works far better than natural peanut butter, which can cause the mixture to separate. If you only have natural peanut butter, stir it aggressively and add a little more powdered sugar to stabilize it. You can also swap semi-sweet chocolate chips for dark chocolate if you prefer a deeper flavor or milk chocolate if you like a sweeter finish. The vanilla isn’t optional in my book—it gives the peanut butter layer a warm, almost bakery-like aroma that keeps the bars from tasting too one-dimensional.
Equipment Needed
- 9×13-inch baking pan
- Mixing bowls
- Rubber spatula
- Microwave-safe bowl or double boiler
- Parchment paper
- Measuring cups and spoons
I’ve used both glass and metal pans for these bars, and both work well, but lining the pan with parchment paper is the real secret to lifting everything out cleanly. A rubber spatula is also your best friend for getting the peanut butter layer smooth—trust me, I’ve tried spreading with a spoon, and it never looks as nice. I personally melt the chocolate topping in the microwave, but if you prefer more control, a double boiler works beautifully too. Just make sure your bowls are large enough, because this recipe makes a generous amount of dough and topping.
Step-by-Step Instructions
The first thing I do is line my 9×13-inch pan with parchment, leaving enough overhang on the sides so I can lift the whole slab out once it’s chilled. Then I melt the butter and whisk it together with the peanut butter until smooth. When I pour in the powdered sugar, the mixture thickens quickly, and this is the moment where I usually switch to a spatula because it turns into a pliable dough that feels almost like playdough. I press that peanut butter mixture into the pan, using my fingertips first and then the back of a measuring cup to really smooth it out.
Next comes the chocolate topping. I melt the chocolate chips with the additional peanut butter, and the fragrance that fills the kitchen is honestly swoon-worthy every time. It becomes glossy, silky, and pourable, and I spread it over the peanut butter layer in one even sweep. Sometimes I tap the pan on the counter to help the chocolate settle; other times I use a spatula to guide it right to the edges. The key here is to not overwork it once you start spreading—too much dragging can cause streaking.
Once everything looks smooth, I slide the pan into the refrigerator. This is always the hardest part because the bars need time to firm up, and waiting while the chocolate slowly hardens feels like kid-level torture. Depending on the temperature of your fridge, it takes between one and two hours, but if I’m impatient, I pop the pan into the freezer for 20 to 30 minutes. After chilling, I lift everything out with the parchment and place it on a cutting board.(See the next page below to continue…)