
The very first time I made Easy Peanut Butter Fudge, I couldn’t believe how quickly my kitchen filled with that warm, nutty aroma of melted peanut butter mingling with sweetness. It reminded me of the old-fashioned fudge shops I loved visiting as a kid—except this recipe took me barely ten minutes. As I stirred the mixture on the stove, it transformed from simple pantry ingredients into a thick, glossy, velvety batter that practically begged to be poured into a pan.
When it cooled and I cut the first square, the texture was absolutely perfect: smooth, creamy, melt-in-your-mouth, and full of rich peanut butter flavor. Every batch since then gives me the same sense of satisfaction, and honestly, this is one of the easiest, most foolproof recipes I’ve ever made.
Why You’ll Love This Recipe
You’ll love this recipe because it delivers a rich, old-fashioned peanut butter fudge flavor without any complicated candy thermometers, tricky boiling stages, or risky steps—just honest, creamy, melt-in-your-mouth goodness, made exactly the way I’ve perfected it after many, many delicious batches.
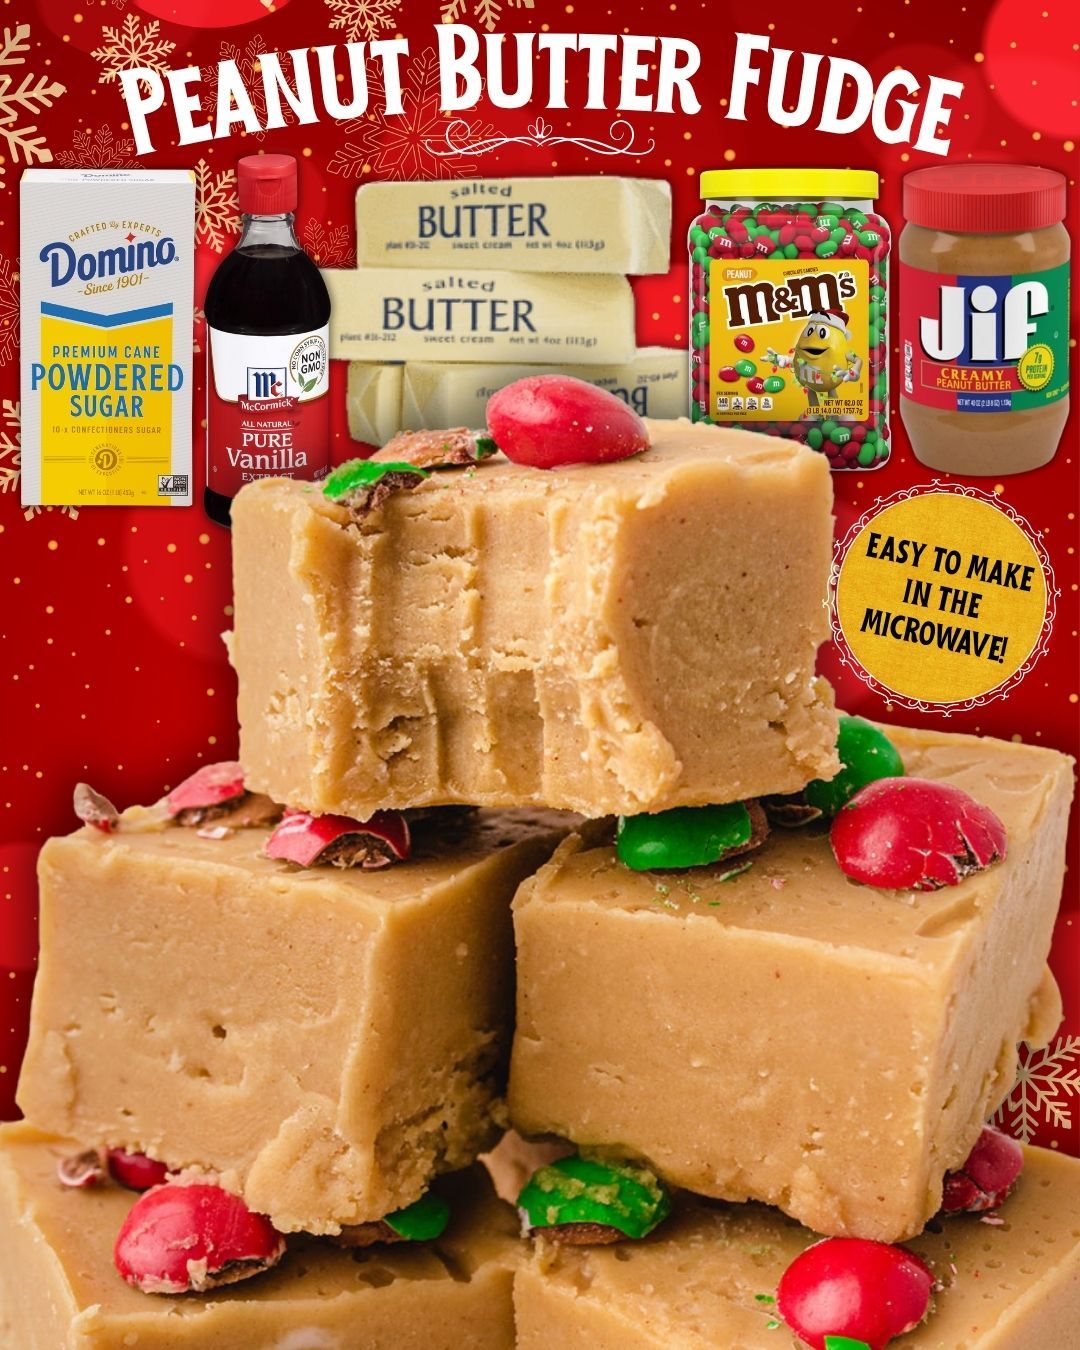
Ingredients
- 1 cup unsalted butter
- 1 cup creamy peanut butter
- 1 tablespoon vanilla extract
- 4 cups powdered sugar
- Pinch of salt (optional)
When it comes to choosing ingredients, I’ve learned that creamy peanut butter works best—not natural peanut butter. Natural varieties separate and cause gritty fudge, and trust me, I made that mistake once and never again. Powdered sugar creates the smooth texture, so don’t replace it with granulated. A pinch of salt enhances the peanut butter flavor, especially if yours tastes mild. And vanilla extract is essential for depth—don’t skip it. I’ve tried batches without it, and the flavor wasn’t nearly as rich or balanced.
Equipment Needed
- Medium saucepan
- Wooden spoon or silicone spatula
- Mixing bowl
- Sifter (optional but helpful)
- 8×8 or 9×9 baking pan
- Parchment paper
- Rubber scraper
Using a saucepan with a thick bottom helps heat the butter and peanut butter evenly, preventing scorching. A silicone spatula makes it easier to scrape every bit of fudge mixture into the pan—I never want to waste any! Sifting the powdered sugar helps eliminate lumps and guarantees smooth fudge, although I’ll be honest, I’ve skipped sifting when I was rushed and just whisked the sugar to break up clumps. Lining the pan with parchment paper makes removing the fudge effortless, and trust me, it’s worth the extra 30 seconds.
Step-by-Step Instructions
Whenever I make this fudge, I start by melting the butter and peanut butter together over medium heat. The mixture becomes smooth and glossy, and the smell alone feels like a warm hug. I stir constantly, making sure nothing sticks to the bottom. One thing I learned early on is not to rush this step with high heat—peanut butter burns faster than you think, and burnt peanut butter is not something you want to smell in your kitchen.
Once the mixture is fully melted and smooth, I remove it from the heat and stir in the vanilla extract. This is when the aroma becomes irresistible—sweet, warm, nutty, and nostalgic. Next, I sift the powdered sugar into a large mixing bowl. When I first tested this recipe, I didn’t sift the sugar and ended up with tiny lumps in the fudge. Not terrible, but not the silky-smooth texture I wanted. Sifting eliminates that issue completely.
Then comes the magic moment: pouring the hot peanut butter mixture over the mound of powdered sugar. It melts slightly as it lands, and I begin folding everything together. The mixture thickens quickly—almost like a dough. This part always feels extremely satisfying, like watching the transformation happen right in front of me. I continue mixing until it becomes uniform and smooth. If you see any stubborn lumps, keep pressing them with the spatula—they dissolve with a little patience.
Finally, I transfer the fudge into a parchment-lined baking pan and use the spatula to smooth out the top. Sometimes I even press a second piece of parchment on top and use my hands to flatten it evenly—it works every time. Then I let the fudge chill in the fridge for at least two hours until it sets completely. When I slice it into squares, the knife glides through like butter, revealing creamy, perfect pieces that melt the moment they hit your tongue.
Pro Tips for Best Results
One of the biggest lessons I learned after testing this recipe several ways is to avoid natural peanut butter. The oil separation ruins the texture completely. I tested three different brands, thinking maybe some would work better—but nope. Creamy, processed peanut butter (like Jif or Skippy) gives perfect results every single time.
Another tip I swear by is sifting the powdered sugar. It may seem like a small thing, but it truly makes the fudge smoother. When I skipped this step, tiny sugar lumps stayed intact, giving the fudge a slightly gritty texture. Sifting takes less than a minute and guarantees a silky finish.
I also discovered that adding the vanilla after removing the mixture from the heat keeps the flavor cleaner and more noticeable. Adding it too early dulls its taste and aroma. Once I made the mistake of adding it while the mixture was boiling hot, and the flavor just disappeared. Adding it after cooking preserves its richness.
Finally, don’t skip the parchment lining in the pan. I once tried spraying the pan instead, and the fudge stuck in the corners, breaking apart as I tried to remove it. Parchment makes it effortless—one lift and the whole slab comes out perfectly.
Common Mistakes to Avoid
The first mistake I ever made with this recipe was overheating the butter and peanut butter. I had the heat too high and let it bubble, thinking it would melt faster—wrong. It scorched slightly, giving the fudge a bitter undertone. Always melt on medium heat and stir constantly.
Another mistake is using warm powdered sugar straight from a sunny pantry shelf. Warm sugar clumps more and doesn’t mix as smoothly. If yours feels warm, let it cool in the freezer for five minutes first. I learned this trick after one batch just wouldn’t come together nicely.
Using natural peanut butter is perhaps the most common mistake. Natural peanut butter doesn’t stabilize properly and separates into oily fudge with grainy streaks. I’ve tried salvaging it before—adding more sugar, chilling longer—but nothing truly fixes the texture. Stick with regular creamy peanut butter and your fudge will be perfect.
Finally, don’t attempt to cut the fudge before it’s fully chilled. I once tried to hurry things along because I was craving a piece, but the fudge smeared and crumbled because it wasn’t firm enough yet. Patience pays off here—let it set completely before slicing.
Serving Suggestions
When I serve this fudge for parties or gatherings, I love cutting it into tiny squares—small bites make it easier for people to enjoy without feeling overwhelmed by richness. I arrange them neatly on a platter or in mini paper cups, and it always looks beautiful and festive. Peanut butter fudge has that irresistible “grab one more” quality.
For holidays, I sprinkle a touch of flaky sea salt on top before chilling. The combination of sweet fudge and salty crystals is absolutely divine. I’ve also added drizzles of melted chocolate over the cooled fudge to make it look extra elegant—perfect for gift boxes or cookie trays.
If I’m serving it at home, I sometimes pair it with a warm drink. Coffee and fudge? Heaven. Hot chocolate and fudge? Double heaven. Peanut butter has a way of complementing cozy beverages beautifully, and I’ve enjoyed many quiet evenings savoring this combination.
Another thing I love doing is using this fudge as part of dessert boards. Fruits, cookies, nuts, pretzels, and tiny fudge squares all together feel luxurious and indulgent—yet surprisingly easy to put together. Guests always rave about the fudge first, though.
Variations & Customizations
One of the easiest variations is adding chocolate. Sometimes I stir in a cup of chocolate chips right after mixing, which creates a marbled fudge as the chocolate melts slightly. The result is unbelievably good—like peanut butter cup fudge.
Another version I’ve made is adding crushed pretzels into the fudge before pressing it into the pan. The salty crunch pairs beautifully with the creamy sweetness. I made this variation once for a movie night, and it disappeared faster than popcorn.
If you’re a fan of nuts, stirring in chopped peanuts, pecans, or cashews adds wonderful texture. I once added honey-roasted peanuts, and the extra sweetness and crunch made the fudge even more addictive. Just make sure the nuts are chopped small enough to mix in smoothly.
For a holiday twist, I’ve added a teaspoon of cinnamon or pumpkin spice. It gives the fudge a warm, cozy flavor that tastes like fall in a bite. I’ve even topped it with red and green sprinkles for Christmas, and it looked adorable on dessert trays.
How to Store, Freeze & Reheat
When storing at room temperature, I always keep the fudge in an airtight container with parchment between layers to prevent sticking. It stays fresh for about a week on the counter and keeps its smooth texture perfectly. Just don’t store it somewhere warm—it softens quickly.
If refrigerated, the fudge lasts a solid two to three weeks. I love chilling mine because it becomes firmer, which makes the texture slightly denser and extra satisfying. To prevent it from absorbing fridge odors, airtight containers are a must.
Freezing this fudge works beautifully. I freeze entire slabs wrapped tightly in plastic wrap and then place them in freezer bags. When I want some, I thaw the slab in the fridge overnight. The texture stays flawless—creamy, smooth, and perfectly sliceable. I’ve frozen this fudge for up to three months without any issues.
There’s no reheating fudge, but I will say: if you like your fudge softer, let refrigerated pieces sit at room temperature for about 10 minutes before eating. They regain their velvety texture quickly.
Nutrition Information
Easy Peanut Butter Fudge is definitely an indulgence, but a little goes a long way. Each piece is rich, satisfying, and packed with peanut butter flavor, which means you don’t need a huge square to feel happy. I like keeping the pieces small for portion control.
Peanut butter adds healthy fats and a bit of protein, though the fudge is still high in sugar. However, because the flavor is strong and the texture creamy, I rarely overeat it—it’s one of those desserts where a few bites make you completely satisfied.
Using full-fat peanut butter creates the creamiest texture. While reduced-fat peanut butter can technically work, it tends to contain fillers that affect the texture. I tried it once and the fudge came out slightly chalky, so I stick with the real stuff.
Overall, this fudge is a delightful treat best enjoyed in moderation. It’s simple, comforting, and perfect for holidays, gatherings, or just whenever you want something sweet and nostalgic.
FAQ Section
1. Can I use crunchy peanut butter?
Yes! I’ve made it with crunchy peanut butter and loved the texture. Just know that it will be less smooth and more rustic.
2. Can I double the recipe?
Absolutely. I double it often for parties. Just use a 9×13 pan and mix quickly—the fudge thickens fast when scaled up.
3. Does this fudge get grainy?
It shouldn’t. If it does, it means the powdered sugar wasn’t sifted or the peanut butter overheated. Keep the heat moderate and sift the sugar for best results.
4. Can I use almond butter instead of peanut butter?
I’ve tried this once. It works, but almond butter has a thinner texture and stronger flavor. You may need extra powdered sugar to firm it up.
5. How long does it need to chill?
At least 2 hours. Overnight is ideal for clean slicing and firm squares.
Conclusion
Easy Peanut Butter Fudge is one of those recipes that feels almost magical in its simplicity—rich, creamy, nostalgic, and incredibly easy—and every time I make a batch, I’m reminded how satisfying it is to create something so delicious with so little effort. I hope this fudge brings as much joy to your kitchen as it always brings to mine.