
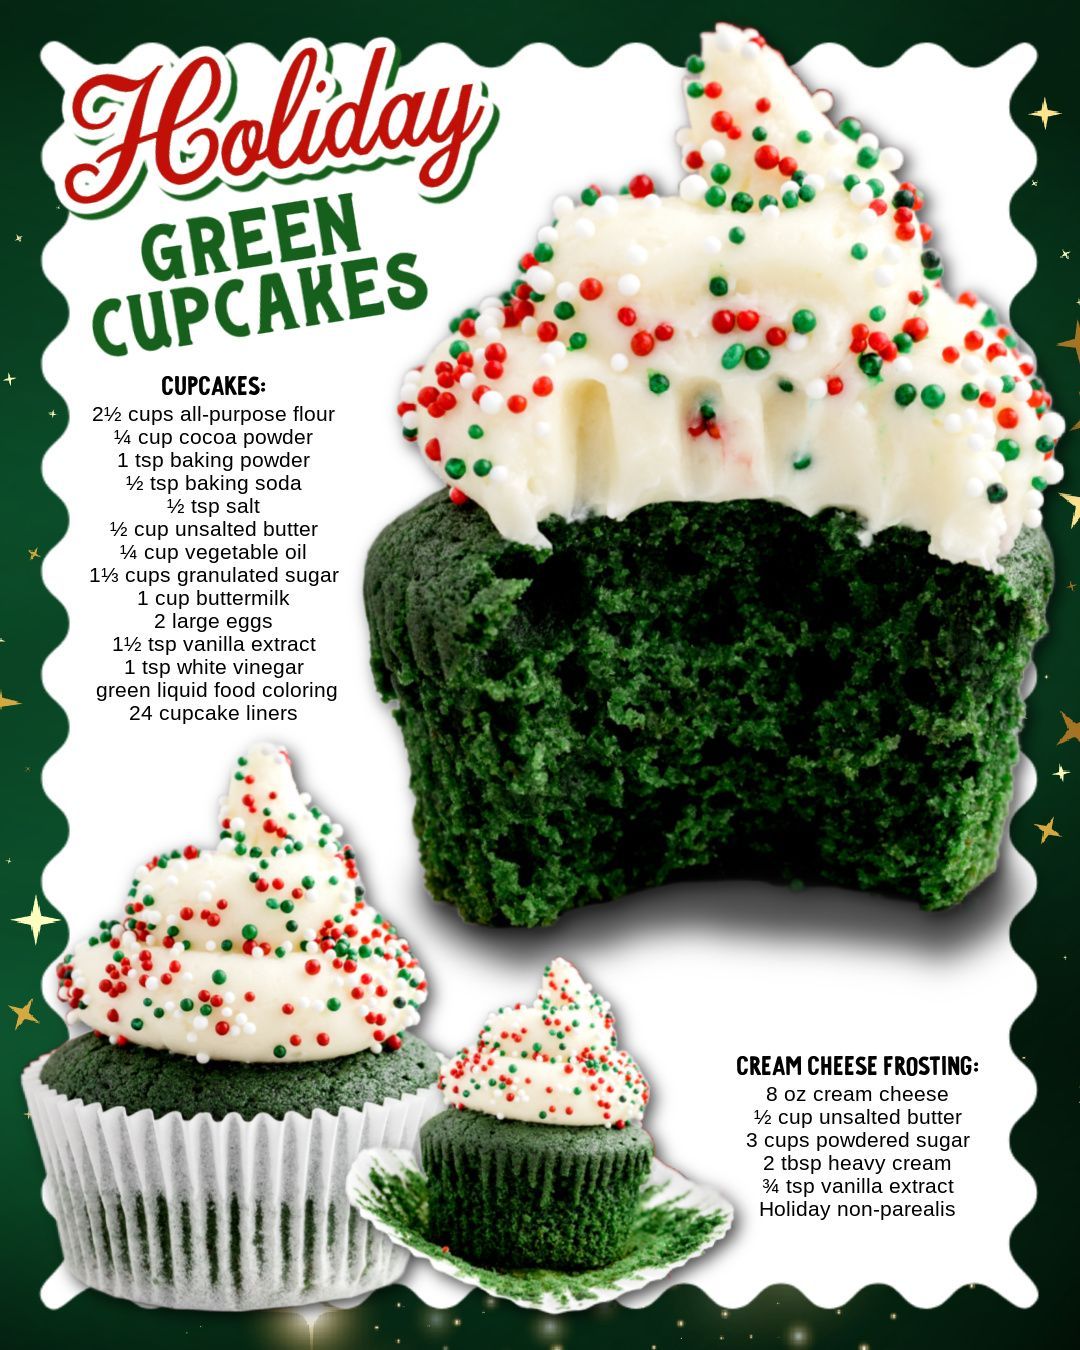
Green cupcakes usually start from the red velvet playbook: a tender, moist cupcake with a hint of cocoa and a fine, velvety crumb, but tinted green instead of red. A small amount of cocoa powder gives depth and a subtle chocolate note, while buttermilk or sour cream keeps the crumb soft and moist, and vanilla rounds out the flavor. Green gel or liquid food coloring is mixed into the batter until it reaches the desired shade—anything from pale mint to deep shamrock—making the cupcakes instantly festive when you peel off the wrapper.
Most recipes pair green cupcakes with cream cheese frosting, which provides a slightly tangy counterpoint to the sweet cake, though vanilla buttercream is also common for a more straightforward flavor. Decorations like green and gold sprinkles, shamrock confetti, or chocolate gold coins on top are popular for St. Patrick’s Day, while plain green with white sprinkles works well for Christmas or sports‑team themes. The end result is a familiar cupcake that feels special and themed, without requiring complicated decorating skills.
Equipment
- 12‑ or 24‑cup muffin tin for baking the cupcakes in standard liners
- Paper cupcake liners to line the wells and make serving easy
- Large mixing bowl (and/or stand mixer bowl) for the batter
- Medium bowl for whisking together dry ingredients
- Hand mixer or stand mixer with paddle attachment for creaming butter and sugar (or whisking the oil‑based batters)
- Measuring cups and spoons for flour, cocoa, leaveners, sugar, liquids, and coloring
- Rubber spatula for scraping down the bowl and folding the batter
- Ice cream scoop or large spoon for portioning batter evenly into liners
- Wire cooling racks to cool cupcakes completely before frosting
- Piping bags and star tips (like 1M or 6B) if you want neatly swirled frosting
Ingredients
There are two main “green cupcake” approaches: a traditional green velvet recipe from scratch and an easier cake‑mix‑based version. Both rely on green food coloring and a light cocoa note.
Green velvet cupcakes (butter‑based, from scratch) typically use a formula like this.
For the cupcakes:
- 2 cups + 2 tablespoons all‑purpose flour
- 4½ tablespoons corn starch (together with flour, this mimics cake flour)
- 2 tablespoons unsweetened cocoa powder
- 1 teaspoon baking powder
- ½ teaspoon baking soda
- ¼ teaspoon salt
- ¾ cup unsalted butter, room temperature
- 1½ cups granulated sugar
- 3 large eggs, room temperature
- 1¼ cups sour cream or buttermilk (for moisture and tenderness)
- 1 tablespoon vanilla extract
- 1–1½ tablespoons green liquid food coloring or about ½ teaspoon green gel coloring, adjusted to your preferred shade
For cream cheese frosting:
- 12 oz cream cheese, softened
- 6 tablespoons butter, softened
- 4 cups powdered sugar
- 2–3 tablespoons heavy cream or milk, to thin as needed
- ½ teaspoon vanilla extract
A simpler oil‑based green velvet cupcake uses cake flour and oil for a very soft crumb.
For the cupcakes (oil‑based version):
- 1 cup cake flour
- 2 tablespoons unsweetened cocoa powder
- ½ teaspoon baking soda
- ¼ teaspoon salt
- ¾ cup granulated sugar
- ½ cup milk (1% or whole), room temperature
- ½ cup vegetable oil
- 1 large egg, room temperature
- 1 tablespoon distilled white vinegar
- 1 teaspoon vanilla extract
- ½ teaspoon green gel paste food coloring (or to taste)
Cake‑mix‑based “easy green cupcakes” start from a vanilla or white cake mix, adding cocoa, sour cream, and green coloring to mimic red velvet.
Easy green velvet cupcakes (cake mix base):
- 1 box vanilla or white cake mix (about 15.25 oz), plus ingredients listed on the box
- ¼ cup unsweetened cocoa powder
- 1 cup sour cream
- 1 teaspoon vanilla extract
- Green food coloring (gel or liquid) to desired color
Frosting for these can be standard cream cheese frosting or vanilla buttercream, using butter, cream cheese (if desired), powdered sugar, cream or milk, and vanilla.
Decorations:
- Green and white sprinkles, shamrock sprinkles, or gold jimmies
- Chocolate gold coins for topping (St. Patrick’s Day)
Step-by-step instructions
To make classic green velvet cupcakes from scratch, the process starts with preparing the pans and preheating the oven. The oven is heated to 350°F (175°C), and standard muffin tins are lined with paper cupcake liners. This ensures the batter is ready to bake as soon as it’s mixed, which is important for even rise.
The dry ingredients are combined first. In a medium bowl, flour, corn starch (if using), cocoa powder, baking powder, baking soda, and salt are whisked together thoroughly. This step distributes the leavening and cocoa evenly and helps prevent clumps in the final batter.
In the bowl of a stand mixer or a large mixing bowl, room‑temperature butter and granulated sugar are beaten together until light and fluffy, usually 3–4 minutes on medium speed. Proper creaming incorporates air, which contributes to a soft, light crumb.
Eggs are then added to the butter‑sugar mixture one at a time, beating just until each egg is fully incorporated before adding the next. Sour cream or buttermilk and vanilla extract are mixed in next, creating a thick, creamy base. At this point, green food coloring is added; many recipes start with about 1–1½ tablespoons of liquid color or about ½ teaspoon of gel and adjust until the batter reaches a vivid but appetizing shade of green.
The dry ingredients are then added to the wet mixture, usually in two additions, mixing on low speed just until combined and scraping down the sides and bottom of the bowl as needed. Overmixing at this stage can develop gluten and lead to tougher cupcakes, so stopping as soon as the flour disappears is key.
If you’re using an oil‑based recipe with vinegar, the vinegar is often whisked into the wet ingredients (milk, oil, egg, vanilla) before the dry mixture is added, activating the baking soda and contributing to the velvet texture.
Once the batter is smooth and evenly colored, it is portioned into cupcake liners, filling each about two‑thirds full to allow room for rising without overflowing. An ice cream scoop helps keep portions even. The cupcakes are baked for roughly 15–20 minutes, depending on the recipe and oven, until a toothpick inserted into the center comes out clean or with just a few moist crumbs. Overbaking can dry them out, so checking them on the earlier side of the range is recommended.
After baking, the cupcakes cool in the pan for about 5 minutes to set the structure, then are transferred to a wire rack to cool completely before frosting. Frosting warm cupcakes can cause the frosting to melt and slide off, so patience here pays off.
For the cream cheese frosting, softened cream cheese and softened butter are beaten together until smooth and creamy. Powdered sugar is added gradually, mixing on low to avoid clouds of sugar, then milk or cream and vanilla are added until the frosting is fluffy and spreadable. The frosting can be adjusted with more sugar for stiffness or a splash more cream for a softer, pipeable consistency.
Once the cupcakes are completely cool, frosting is piped or spread on top. Many bakers use a large star tip (such as 1M) and pipe tall swirls, then immediately add sprinkles or a chocolate gold coin before the frosting sets. The contrast of white frosting against the green cake and green/gold decorations creates a striking presentation.
Color and texture tips
Achieving the right shade of green and a soft, velvety crumb is central to this recipe style. Gel food coloring is often preferred over liquid because it delivers intense color with less added liquid, which means you can get a vibrant hue without thinning the batter.
Starting with a small amount and gradually adding more lets you control the final shade—especially important if you’re aiming for a particular tone, like deep emerald for St. Patrick’s Day or a lighter shade for spring events.
For texture, using either cake flour or a mix of all‑purpose flour and corn starch yields a finer crumb, more in line with a velvet cake than a standard cupcake. Sour cream or buttermilk in the batter contributes moisture and acidity; the acidity works with baking soda to create a tender crumb and subtle tang. Keeping cocoa powder to just a couple of tablespoons ensures the cake has a hint of chocolate without turning brown or muddying the green color.
Avoid overbaking by pulling cupcakes as soon as a toothpick comes out clean or with a few moist crumbs. The tops should spring back lightly when touched. Letting them cool fully on a rack helps keep the crumb moist, since leaving them in hot pans too long can cause overbaking from residual heat.
Variations and flavor twists
Green cupcakes can lean in different flavor directions with small adjustments. For a stronger chocolate vibe, some bakers add a bit more cocoa and pair the green cake with chocolate ganache or chocolate buttercream instead of cream cheese frosting. For a more citrusy profile, you can add lemon or lime zest to the batter and frosting and adjust the green color to a brighter lime shade, creating a green “key lime‑inspired” cupcake.
A mint variation is also popular: peppermint extract in the batter or frosting and crushed chocolate mint candies on top make the cupcakes feel like a mint‑chocolate treat, especially suitable for winter holidays. For Christmas, the same base recipe can be used with red and green sprinkles or mixed red and green liners for a festive look, while for St. Patrick’s Day, shamrock‑shaped sprinkles or rainbow toppers with gold coins reinforce the theme.
The cake‑mix‑based shortcut version is easily adapted too. Using a white cake mix instead of vanilla gives a more neutral flavor, letting cocoa and food coloring define the cake; adding sour cream and an extra egg enriches the mix for a denser, bakery‑style crumb. If you want a lighter, fluffier texture, sticking closer to the box directions and just adding cocoa and coloring still works, though the cake will be more like standard cupcakes than velvet.
Make‑ahead, storage, and serving ideas
Green cupcakes fit naturally into holiday and party schedules because both the cake and frosting can be made ahead. Cupcakes can be baked a day in advance, cooled completely, and stored covered at room temperature or in an airtight container.
Cream cheese frosting should be stored in the refrigerator, then brought back toward room temperature and rewhipped briefly before piping. For maximum freshness, many bakers bake the cupcakes the day before and frost them the morning of the event.
Unfrosted cupcakes freeze well; once completely cool, they can be wrapped individually or layered with parchment in freezer bags or containers for several weeks. Thaw at room temperature in their wrapping to prevent condensation from making the tops sticky.
Frosted cupcakes can also be chilled, especially with cream cheese frosting, but are best brought to room temperature for 20–30 minutes before serving so the crumb and frosting soften.
On a dessert table, green cupcakes look best grouped on a tiered stand or platter with matching decor—green napkins, gold confetti, or themed toppers like small shamrocks or coins on picks. For kids’ parties or classroom events, you can keep decorations simpler: a swirl of frosting and a generous shake of green sprinkles go a long way.
Serving them alongside contrasting desserts—like chocolate brownies, vanilla cupcakes, or rainbow cookies—makes the green color pop more visually.
As a recipe style, green cupcakes take a reliable, crowd‑pleasing cupcake base and use food coloring, simple frosting, and themed decorations to transform it into a holiday‑ready treat. The baking method remains straightforward, the ingredients are familiar, and the customization options are wide open, which is exactly what makes them such a versatile, repeat‑worthy option for any celebration that calls for a splash of green.