
Cream Cheese Mints start with softened cream cheese and butter beaten together until smooth and creamy. Powdered sugar is gradually mixed in until a soft, dough‑like mixture forms that can be rolled into balls, flavored with peppermint or mint extract and optionally tinted with food coloring.
Small pieces of the dough are rolled into balls, then flattened with a fork (or pressed into candy molds) and left to dry on parchment so they form a delicate shell on the outside while staying soft and creamy inside. They’re sweet, lightly minty, and have a melt‑away texture that makes them a nostalgic party and holiday favorite.
Equipment
- Mixing bowl and hand mixer or stand mixer for beating cream cheese and sugar.
- Rubber spatula for scraping and kneading.
- Baking sheet or tray lined with parchment or wax paper.
- Teaspoon or small scoop for portioning.
- Fork for flattening and making the classic line pattern, or small candy molds if desired.
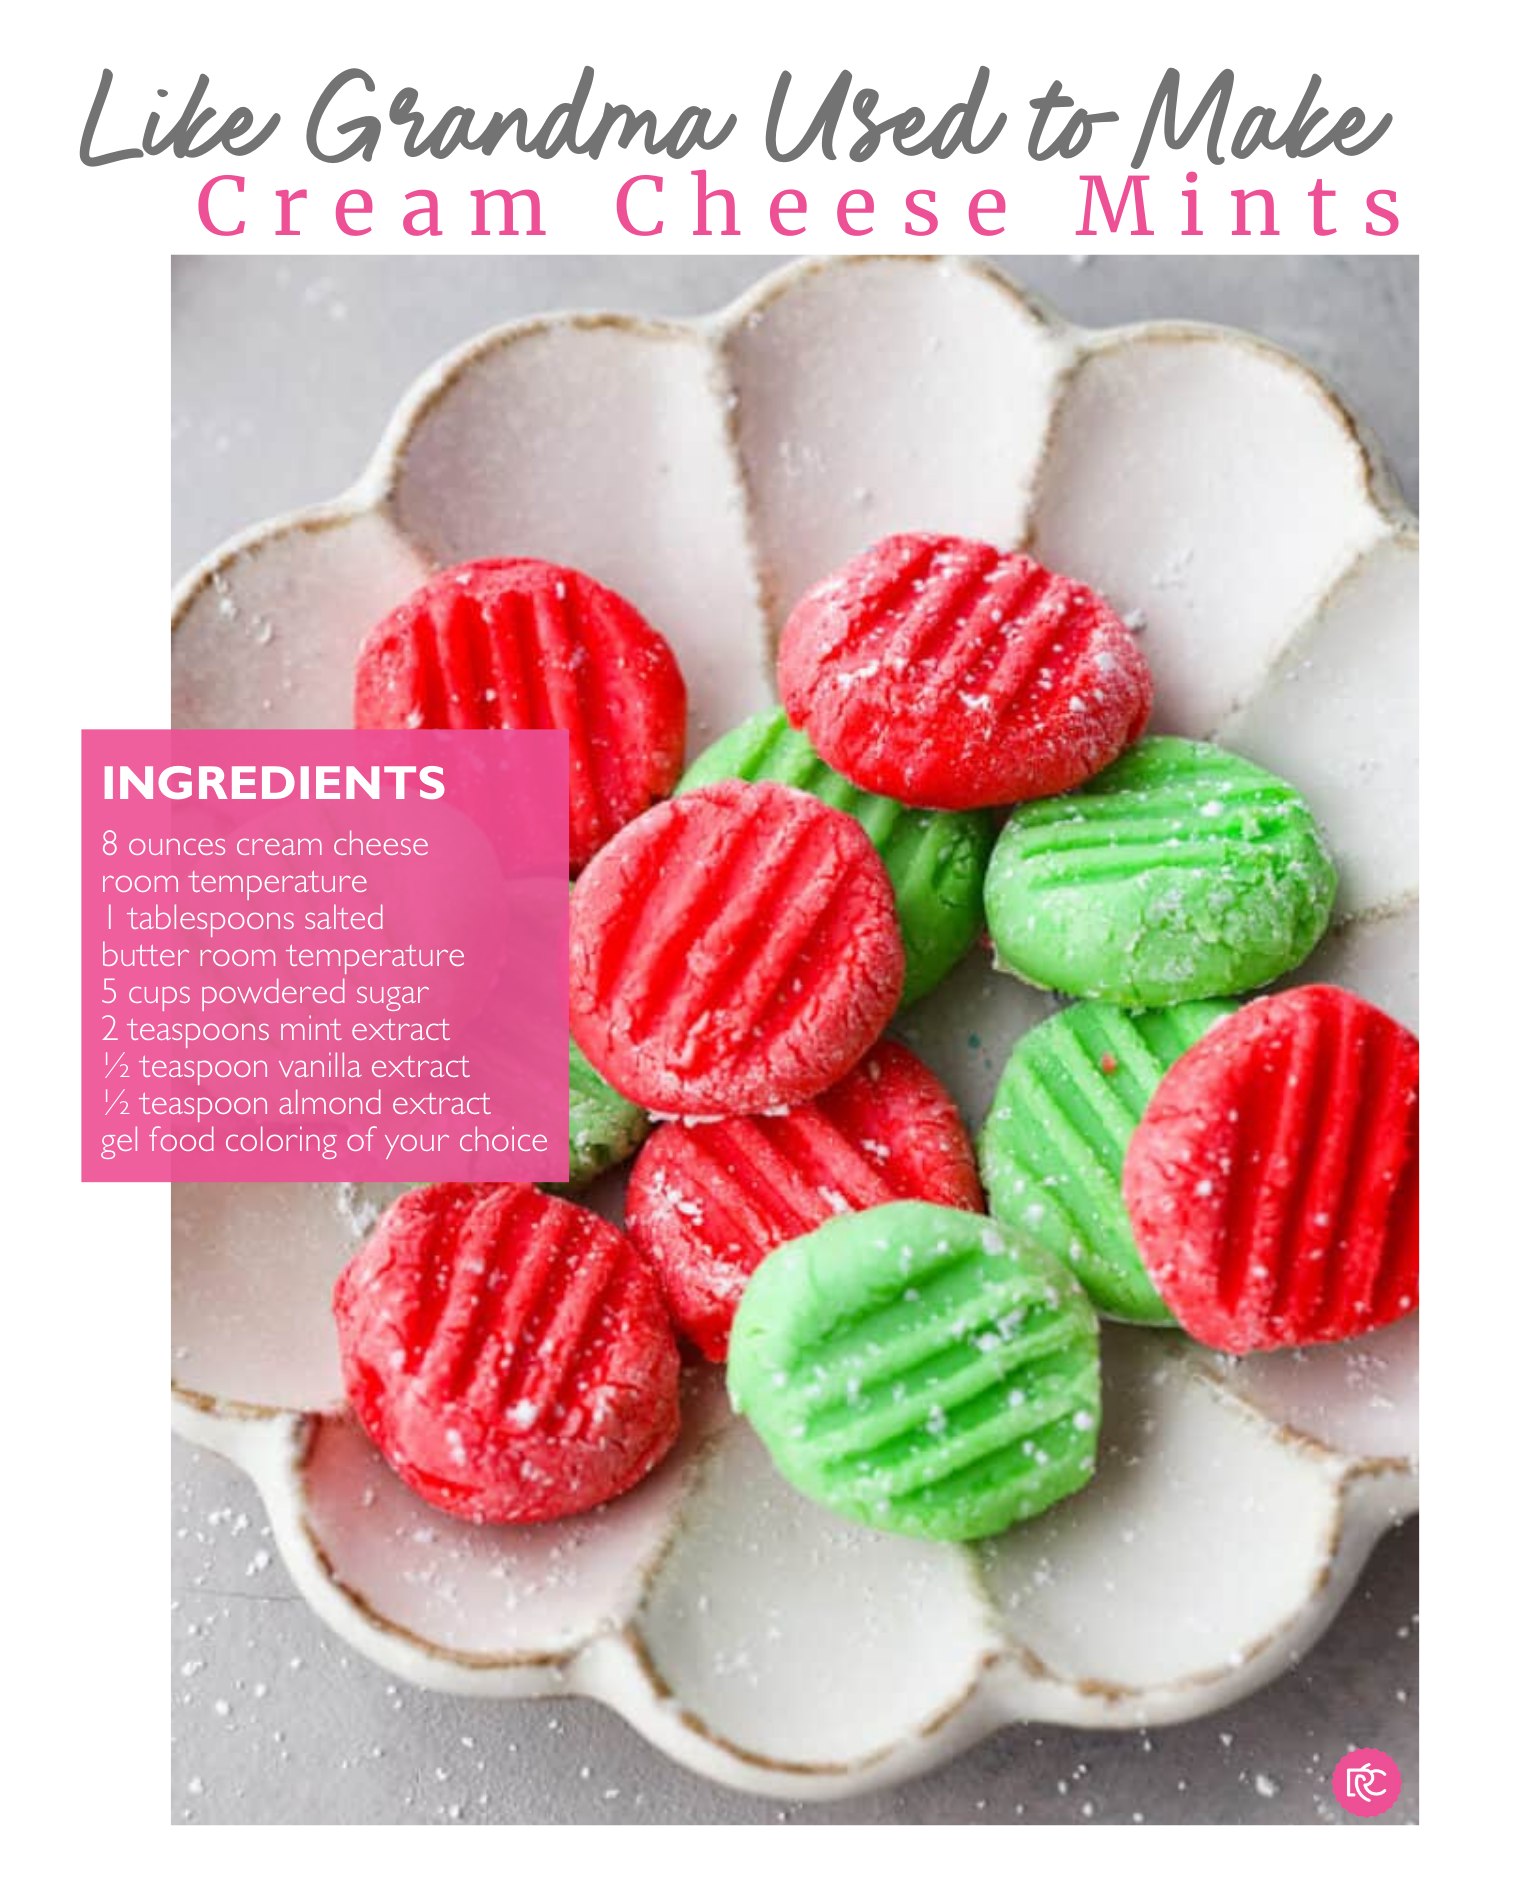
Ingredients
This is a classic, flexible cream cheese mint base, scaled similarly to several popular recipes.
- 4–8 oz cream cheese, full‑fat, softened to room temperature.
- 1–4 tablespoons butter, softened (some recipes skip butter, others use more; a small amount adds richness).
- 3–4 cups powdered sugar (or up to 2 pounds for a larger batch), plus extra for dusting and rolling if needed.
- ½–1½ teaspoons mint or peppermint extract (to taste).
- ⅛–¼ teaspoon vanilla extract (optional, for warmth).
- Gel or liquid food coloring (optional), any colors you like.
Instructions And Steps
Start by preparing the cream cheese mixture. Make sure the cream cheese (and butter, if using) are fully softened at room temperature so they blend smoothly.
Place the cream cheese and butter in a mixing bowl and beat on medium speed until the mixture is completely smooth, creamy, and free of lumps, scraping down the sides of the bowl as needed. This step is important because any lumps will be difficult to fix once the sugar is added.
Next, begin incorporating the powdered sugar and flavoring. Add about one cup of powdered sugar to the cream cheese mixture and beat until smooth.
Stir in the mint or peppermint extract (and vanilla, if using), mixing well so the flavor is evenly distributed before the dough becomes too stiff. Then gradually continue adding powdered sugar, a cup at a time, beating after each addition until you have a soft, pliable dough that holds its shape but is no longer sticky.
Toward the end, the mixture will get quite thick; you can switch to a spatula or your hands to knead in the last of the sugar if your mixer struggles. If the dough is still very sticky, knead in a bit more powdered sugar until it feels like a soft modeling clay that can be rolled into balls.
If you want colored mints, divide the dough into portions and tint each with a tiny amount of gel or liquid food coloring. Knead the color through each portion until evenly mixed, adding more color gradually as needed to reach soft pastel shades or bold hues, depending on your event.
Wrap the colored dough balls in plastic and chill briefly if they feel too soft, or proceed directly to shaping if the consistency is firm enough.
To shape the mints, line a baking sheet with parchment or wax paper. Pinch off or scoop small pieces of dough, roughly ½–1 teaspoon each, and roll them between your palms into smooth balls. Space the balls out on the lined tray. Then dip the tines of a fork in powdered sugar to prevent sticking and gently press each ball to flatten it slightly and leave the classic line pattern on top.
Repeat this process with all of the dough, re‑dusting the fork in powdered sugar as needed. If you’re using candy molds instead, roll small balls of dough in sugar, press them into the mold cavities, then pop them out onto the tray.
Once all the mints are shaped, let them dry at room temperature so they form a delicate outer shell. Many traditional recipes recommend allowing them to sit out for several hours—often about 2–4 hours on one side, then flipping and drying for another couple of hours—until they’re firm on the outside but still soft and creamy inside.
After they’ve dried to your liking, transfer the mints to an airtight container, layering with wax or parchment paper to prevent sticking, and store them in the refrigerator for up to a couple of weeks. They can be set out at room temperature for serving at parties and will hold well for the day.
Tips And Tricks
Use full‑fat cream cheese for the best texture; reduced‑fat cream cheese tends to be softer and can make the dough too loose, requiring more powdered sugar and resulting in a less creamy mint. Add the mint extract gradually and taste as you go—peppermint can be strong, and different brands vary, so start with the lower amount and increase to your preferred strength.
If you plan to color multiple batches, it can be easier to keep the dough a bit softer while you divide and tint, then knead in the last bit of sugar after coloring if needed.
Dipping the fork in powdered sugar between presses helps keep the mints from sticking and gives a clean pattern on top. For very warm kitchens, chilling the dough briefly before rolling or shaping can make it easier to handle.
Variations
Cream Cheese Mints are very customizable. You can switch up the flavor by using spearmint, creme de menthe, or even other extracts like lemon, almond, or vanilla for non‑mint versions, adjusting the amount so the flavor stays delicate.
Different holidays and events inspire different colors: white or blush for weddings, pink and blue for baby showers, red and green for Christmas, or pastels for Easter. Some recipes dip the mints in melted chocolate to create chocolate‑covered cream cheese butter mints, combining cool mint with a chocolate shell.
You can also shape them in molds like roses, shells, or hearts, or pipe rosettes using a piping bag for a more decorative presentation.
However you flavor and shape them, Cream Cheese Mints are an easy, nostalgic candy that delivers a melt‑in‑your‑mouth minty sweetness with just a few pantry ingredients and a bit of rolling and pressing—ideal for dressing up dessert tables, party trays, and holiday platters.