
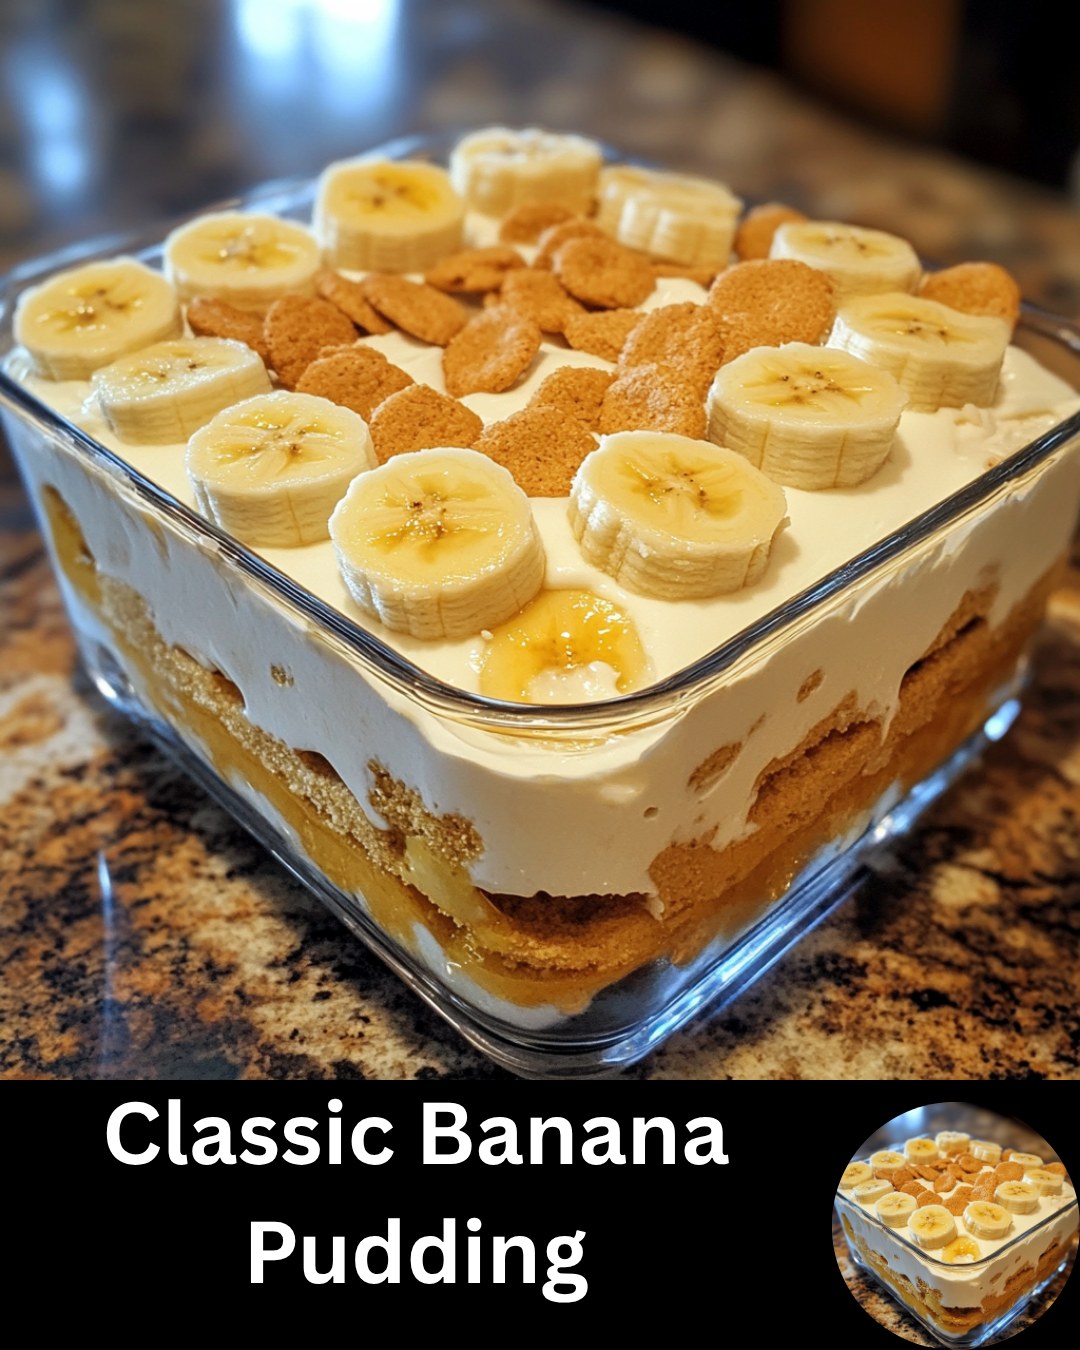
Classic Banana Pudding is all about layers: crisp vanilla wafers, perfectly ripe banana slices, and smooth vanilla pudding tucked together in a dish and chilled until everything becomes one spoonable, dreamy dessert. Old‑fashioned Southern versions use a homemade egg‑yolk custard and warm meringue topping, while many modern recipes lean on instant or cooked pudding mix and a billowy layer of whipped cream or Cool Whip.
Either way, banana pudding is usually assembled ahead, then chilled so the wafers soften into cake‑like layers, making it perfect for potlucks, Sunday dinners, holidays, and any gathering where you need a guaranteed crowd‑pleaser.
Equipment
- 9×13‑inch baking dish, deep glass dish, or a large trifle bowl for layering.
- Medium saucepan (if making stovetop custard).
- Mixing bowls (at least one large, one medium).
- Whisk and rubber spatula.
- Electric mixer or stand mixer (for whipped cream or meringue).
Ingredients
Here’s a classic, flexible template that covers both from‑scratch and “quick” styles. You can pick custard + meringue or pudding mix + whipped topping.
For the cookies and bananas:
- 1 (11–12 oz) box vanilla wafers (such as Nilla wafers), plus extra for garnish.
- 4–6 ripe but firm bananas, sliced into ¼–½‑inch rounds.
From‑scratch custard (old‑fashioned style):
- ¾–1 cup granulated sugar.
- ⅓–½ cup all‑purpose flour or 3–4 tablespoons cornstarch.
- Pinch of salt.
- 4–6 large egg yolks (or whole eggs, depending on recipe).
- 3 cups whole milk.
- 1½–2 teaspoons vanilla extract.
OR quick pudding base (no‑cook / semi‑homemade):
- 1 (3.4–5.1 oz) box instant vanilla or French vanilla pudding mix.
- 2 cups very cold whole milk (amount per box directions).
- 1 (14 oz) can sweetened condensed milk (common in “Not Yo’ Mama’s” and Magnolia‑style versions).
- 1 teaspoon vanilla extract.
Topping options:
Whipped cream topping:
OR whipped topping shortcut:
Meringue topping (traditional baked version):
- 4–8 egg whites (ideally the whites from the yolks used in the custard).
- ¼–1⅓ cups granulated sugar (depending on number of whites).
- ½–1 teaspoon cream of tartar.
- 1 teaspoon vanilla extract (optional, for flavor).
Instructions And Steps
1. Make the pudding or custard base
For from‑scratch custard:
In a medium saucepan off the heat, whisk together the sugar, flour (or cornstarch), and salt until well combined. Gradually whisk in the milk a little at a time until the mixture is smooth and no dry pockets remain. Place the pan over medium heat and cook, whisking constantly, until the mixture begins to thicken and just barely bubble; this can take several minutes but is key to avoiding lumps and scorching.
In a separate bowl, lightly whisk the egg yolks. To temper the eggs, slowly drizzle in a small amount of the hot milk mixture while whisking the yolks constantly. Continue adding hot milk a bit at a time until the yolks are warm, then pour the yolk mixture back into the saucepan, whisking as you go. Return to medium‑low heat and cook, stirring constantly, until the custard is thick enough to coat the back of a spoon. Remove from heat and stir in the vanilla extract. Let it cool slightly, whisking occasionally to prevent a skin.
For quick pudding base:
In a mixing bowl, whisk together cold milk and instant pudding mix for 2–3 minutes until thickened. In another bowl, whisk or beat together sweetened condensed milk and a portion of the whipped topping or whipped cream until smooth and fluffy, then fold in the prepared pudding and vanilla. Chill the mixture for about 30 minutes to firm slightly before layering.
2. Make the topping
For whipped cream:
Beat cold heavy cream with vanilla on medium‑high speed until it thickens, then add powdered sugar and continue beating just to stiff peaks. Be careful not to over‑whip or it will turn grainy. Reserve about one‑third if you plan to fold some into the pudding mixture for extra lightness.
For meringue:
Beat egg whites and cream of tartar on high speed until soft peaks form. With the mixer running, gradually add the sugar and continue beating until glossy, stiff peaks form and the sugar is fully dissolved. Stir in vanilla if using. The meringue should hold a peak that stands upright when you lift the beaters.
3. Layer the cookies, bananas, and pudding
Start with a layer of vanilla wafers over the bottom of your baking dish or trifle bowl, arranging them in a single, mostly even layer. For a trifle, you can stand some wafers upright around the edge for a decorative look.
Arrange a layer of sliced bananas over the wafers, distributing them evenly so each scoop later gets some banana. Try to slice bananas just before layering to minimize browning; some cooks gently toss the slices in a little lemon juice to slow browning, but too much acid can affect flavor.
Pour or spread a layer of warm custard or chilled pudding over the bananas, using a spatula to nudge it between banana slices and cookies so everything is coated. Coating each banana slice with at least a thin layer of pudding helps protect it from air and slows browning inside the dessert.
Repeat the layers—wafers, bananas, pudding—until you use up ingredients or reach near the top of the dish, finishing with a layer of pudding/custard on top. In a deep trifle dish, that’s often 3–4 sets of layers; in a 9×13, typically two full layers ending with custard.
4. Add the topping
For meringue (baked style):
Spoon the meringue over the warm pudding, spreading it all the way to the edges of the dish so it touches the sides; this helps reduce shrinking as it bakes. Use the back of a spoon or a spatula to create swirls and peaks. Bake at about 350–400°F (175–200°C) for 5–10 minutes, or until the meringue is set and golden brown on top. Let the pudding cool, then chill before serving or serve just warm, which is traditional in some Southern homes.
For whipped cream / Cool Whip:
Spread a thick, even layer of whipped cream or thawed whipped topping over the top layer of pudding, smoothing it to the edges. You can reserve a few cups of whipped cream to pipe decorative rosettes if desired. Sprinkle some crushed vanilla wafers or arrange whole wafers around the edge or in the center for garnish.
5. Chill and serve
Cover the dish loosely with plastic wrap (try not to press it directly into the whipped cream surface to avoid sticking). Refrigerate at least 3–4 hours, and preferably longer (overnight is ideal), so the flavors meld and the wafers soften to a cake‑like texture.
When ready to serve, garnish with more wafers and fresh banana slices just before bringing it to the table to keep them from browning. Scoop into bowls or cut into squares if using a 9×13 pan. Store leftovers covered in the refrigerator and enjoy within 2–3 days for best banana texture.
Tips And Tricks
Use ripe but not overripe bananas. They should be yellow with a few freckles, not heavily spotted or mushy; very ripe bananas can turn too soft and brown quickly once layered. Slice them just before assembling and try to get them coated with pudding quickly to minimize air exposure.
Layer generously. Classic banana pudding isn’t shy on bananas or wafers; most traditional recipes call for using the whole box of wafers and 4–6 bananas for a standard pan. Aim for even layers so every scoop has a bit of cookie, banana, and pudding.
For from‑scratch custard, cook low and slow. Constant whisking over medium or medium‑low heat helps prevent scorching on the bottom and lumps from forming. If the custard seems lumpy, you can press it through a fine‑mesh sieve before layering for a smoother texture.
For meringue, cover to the edges. Spreading the meringue to touch the pan’s sides helps keep it anchored and reduces shrinking and weeping as it bakes and cools. Bake just until golden; over‑baking can dry it out or cause beads of sugar to form on the surface.
If using instant pudding and whipped topping, focus on flavor and texture upgrades. Using whole milk, adding a touch of vanilla, and folding in whipped cream or topping to lighten the pudding all produce a more “bakery‑style” texture. Chilling long enough for the layers to meld is especially important in no‑bake versions.
Banana pudding gets better as it sits—up to a point. Many cooks say it’s at its best between about 4 hours and 24 hours after assembling, when the wafers have softened but not fully disintegrated. After 48–72 hours, bananas can become noticeably browner and softer, especially near the top; using enough pudding to fully coat slices slows that process.
Variations
Meringue vs. whipped cream:
Old‑school Southern banana pudding nearly always features meringue baked on top of warm custard. Many modern recipes skip the oven and top with whipped cream or Cool Whip instead for ease and a colder, mousse‑like finish. Choosing between them mostly comes down to nostalgia and whether you want a warm or cold dessert.
Magnolia / bakery‑style:
Famous versions like Magnolia Bakery’s use instant pudding, sweetened condensed milk, and lots of freshly whipped cream folded together, layered with bananas and wafers. The result is exceptionally light, mousse‑like, and sweet—more like a banana cream trifle than a traditional baked pudding.
Chocolate or caramel twists:
You can drizzle caramel or dulce de leche between layers, or sprinkle mini chocolate chips over bananas for extra indulgence. Some recipes also swap part of the vanilla pudding for banana‑flavored pudding for a stronger banana note, though many traditionalists prefer to keep the banana flavor coming only from the fruit.
Different cookies:
While vanilla wafers are classic, some creative spins use shortbread cookies, butter cookies, or even Chessmen cookies, as in Paula Deen’s “Not Yo’ Mama’s Banana Pudding.” Each cookie type changes the flavor and how soft the layers become after chilling.
Individual servings:
Layer pudding, bananas, and wafers in mason jars, parfait glasses, or small dessert cups for pretty single‑serving banana puddings that are easy to portion and serve at parties. Keep the same ratios, just scale down the quantities and aim for at least two full sets of layers in each cup.
Whether baked and crowned with golden meringue or chilled with clouds of whipped cream, Classic Banana Pudding remains one of the most beloved Southern desserts, pairing simple ingredients with layered textures and flavors that feel like pure nostalgia in every bite.