
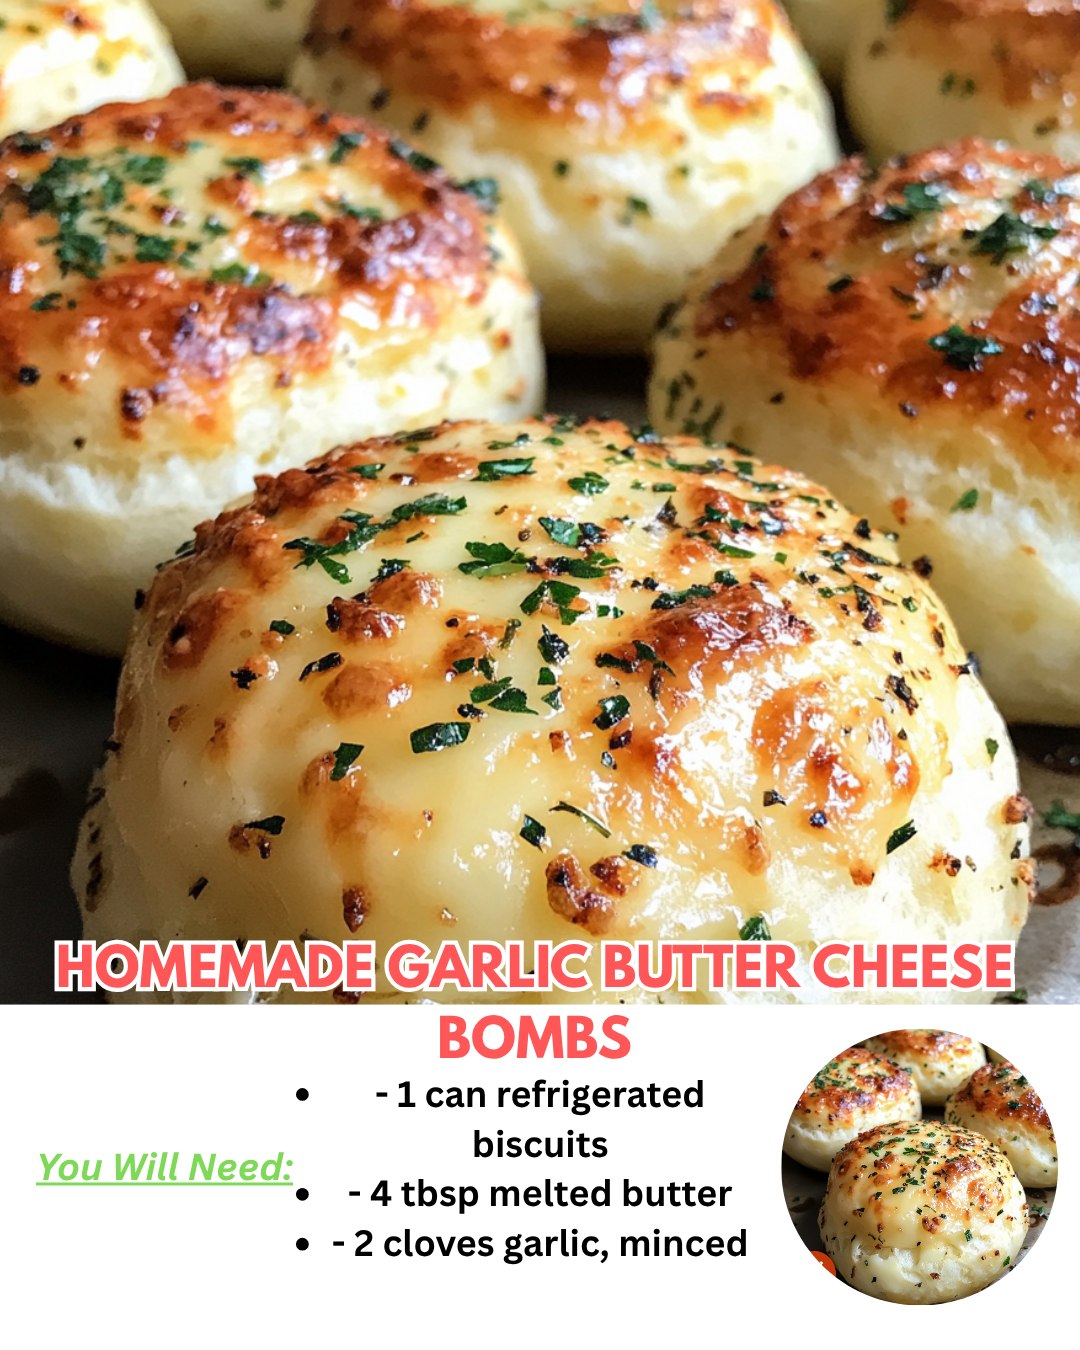
Homemade Garlic Butter Cheese Bombs are everything people love about cheesy garlic bread packed into soft, pillowy little buns. Each “bomb” hides a cube of melty mozzarella inside biscuit or roll dough, so when you tear one open, hot cheese stretches out in the middle.
As soon as they come out of the oven, they’re brushed generously with warm garlic–herb butter so the bread soaks up all that flavor and the tops turn shiny and fragrant. They’re quick enough for busy weeknights, but impressive enough to serve as a party appetizer, game‑day snack, or side for any pasta or soup.
Equipment
- Baking sheet lined with parchment paper or a silicone mat
- Small microwave‑safe bowl for melting butter
- Pastry brush or spoon for brushing garlic butter
- Cutting board and knife for cubing cheese
- Measuring spoons
Ingredients
- 1 can (about 16 oz / 450 g) refrigerated biscuit dough, 8 regular biscuits (Grands‑style also works)
- 4–6 oz (115–170 g) mozzarella cheese, cut into 8–10 cubes (about ¾ inch each) or use string cheese pieces
- 4 tablespoons (½ stick / 60 g) unsalted butter, melted
- 1 teaspoon garlic powder OR 2–3 teaspoons finely minced fresh garlic
- 1 teaspoon Italian seasoning or dried parsley (or a mix of dried Italian herbs)
- Pinch of salt (more if using unsalted butter)
- 2 tablespoons grated Parmesan cheese, optional for sprinkling
- Extra chopped fresh parsley for garnish, optional
Instructions And Steps
Preheat your oven to 375–400°F (190–200°C), depending on your biscuit package directions, and line a baking sheet with parchment paper or a silicone baking mat. This keeps the cheese bombs from sticking and helps their bottoms brown evenly.
Open the can of biscuits and separate them onto a cutting board. If they’re large “Grands” biscuits, you can cut each in half for smaller bombs and gently flatten each piece into a round; regular biscuits can be used as‑is, lightly pressed out into circles.
Place one cube of mozzarella into the center of each biscuit round, pressing it down slightly so the dough can fully wrap around it. Pull the edges of the dough up and around the cheese, pinching very firmly to seal every seam so the cheese doesn’t leak out while baking.
Roll each stuffed biscuit gently between your hands to form a smooth ball, making sure the seam side is completely sealed. Arrange the balls seam‑side down on the prepared baking sheet, spacing them a couple of inches apart to allow room for puffing.
In a small microwave‑safe bowl, melt the butter, then stir in the garlic powder or minced garlic, Italian seasoning or dried parsley, and a pinch of salt until well combined. Use a pastry brush or spoon to lightly brush some of this garlic butter over the tops of the unbaked cheese bombs, saving the rest for after they come out of the oven.
Bake the cheese bombs for about 10–14 minutes, depending on biscuit size, until they are puffed, set, and golden brown on top; avoid underbaking or the centers may be doughy. If using large biscuits, check at 10 minutes and give them another couple of minutes as needed until the tops are nicely browned and the bottoms feel firm when lifted.
Remove the baking sheet from the oven and immediately brush the hot cheese bombs generously with the remaining garlic butter so it soaks into the warm bread. If using Parmesan, sprinkle it over now so it sticks to the buttery tops, then finish with a little extra dried or fresh parsley for color.
Let the cheese bombs cool for 3–5 minutes (the cheese center will be very hot), then serve warm, ideally with marinara, ranch, or your favorite dipping sauce on the side. They’re best eaten fresh from the oven while the cheese is still gooey and stretchy.
Tips And Tricks
Seal the dough extremely well around the cheese, pinching and smoothing any seams so they don’t pop open and leak in the oven. Placing the sealed side down on the baking sheet also helps keep the cheese inside and gives you a smooth, bakery‑style top.
Cut the cheese into slightly smaller cubes than you think you need; large chunks can burst out as they melt, while ¾‑inch pieces give you a gooey center without as much risk of blowouts. If a little cheese does ooze out, just serve those pieces with a bit of the crispy cheese attached—still delicious.
Don’t rush the bake time; slightly longer baking (without burning) ensures the dough cooks through and the cheese melts completely. If the tops brown very quickly, move the tray to a lower rack or loosely tent with foil near the end.
Using salted butter adds instant flavor, but you can easily control salt by starting with unsalted and seasoning to taste in the garlic butter. Fresh garlic brings a stronger punch, while garlic powder gives a more mellow, evenly distributed flavor; either works, so choose based on your audience.
These are best fresh, but if you need to prep ahead, you can assemble the cheese‑stuffed dough balls and refrigerate them for a few hours before baking. Leftovers reheat well in a low oven (or air fryer) for a few minutes; they’ll lose some gooeyness but still make a great snack.
Variations
Swap mozzarella for cheddar, pepper jack, or a cheese blend to change the flavor; cheddar gives a stronger, sharper hit, while pepper jack adds a mild kick. You can even tuck a tiny pepperoni slice or bit of cooked sausage in with the cheese for “pizza bombs.”
Use crescent roll dough or frozen dinner rolls instead of biscuits for a different texture—crescent dough bakes up flakier and slightly sweeter. Or go fully from scratch with a simple yeast dough, forming small rolls around cheese before baking and brushing with garlic herb butter.
Turn them into pull‑apart bread by tucking the stuffed dough balls close together in a greased skillet or baking dish so they rise and bake into one big tear‑and‑share loaf. For a cheesy “Red Lobster”‑style twist, mix shredded cheddar and a little Parmesan right into the dough or on top along with extra parsley.