
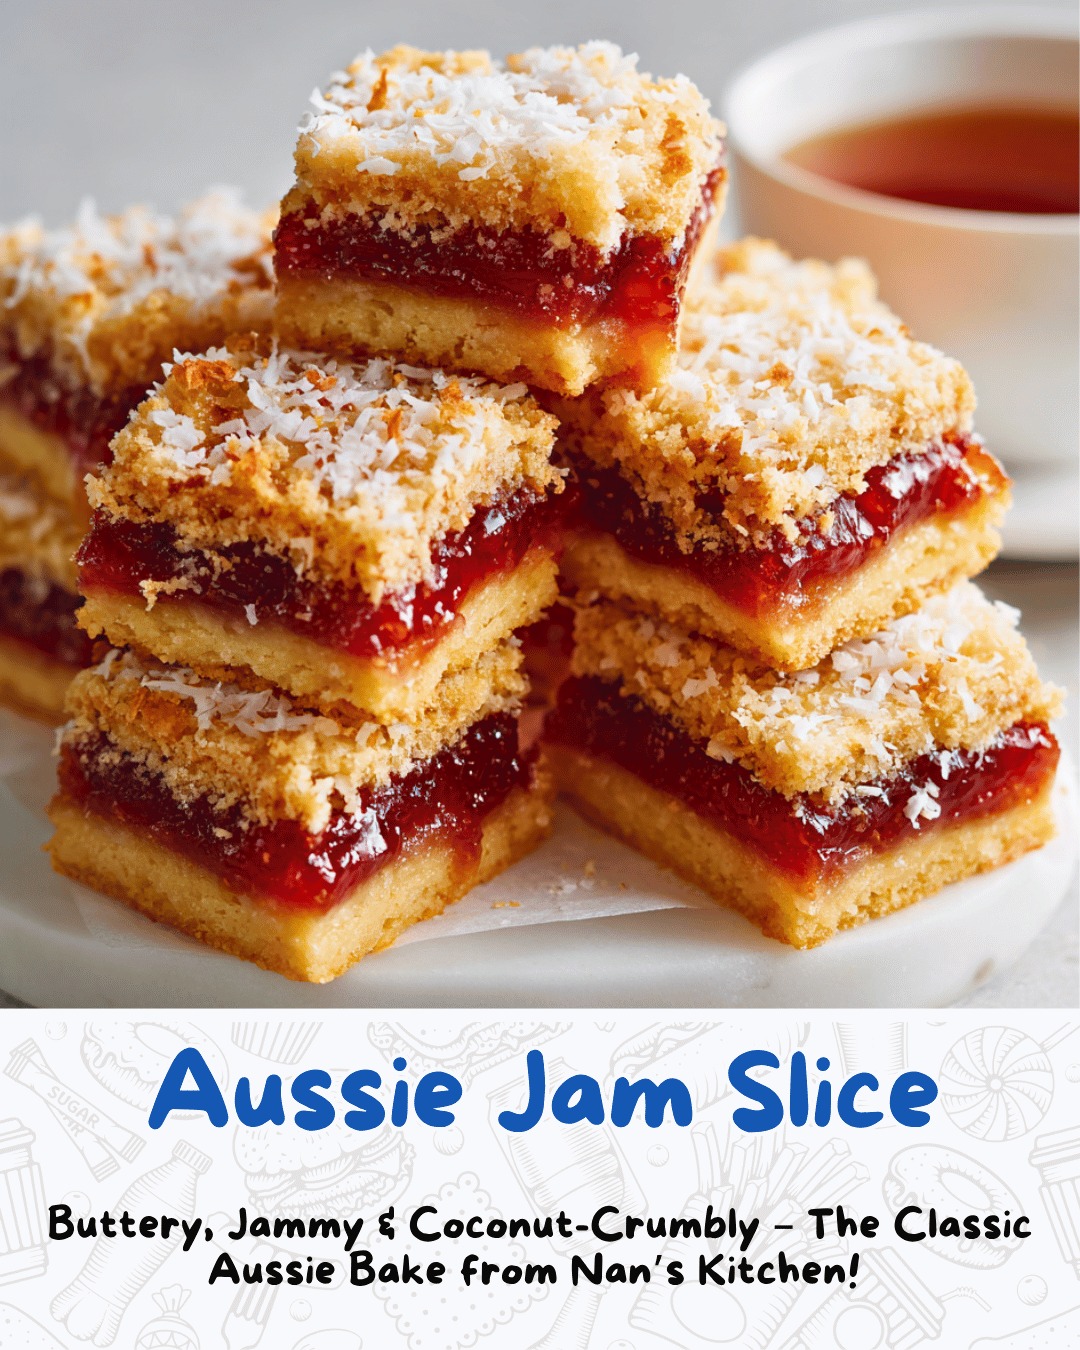
Aussie Jam Slice is a classic bakery-style treat with three irresistible layers: a buttery shortbread base, a thick, glistening layer of jam, and a golden, coconut-crumbly topping. It’s simple, nostalgic, and perfect with a cuppa—sweet but not over the top, chewy on top and tender underneath. This version leans into that “buttery, jammy & coconut-crumbly” promise for a slice that cuts cleanly, travels well, and disappears fast at morning teas, bake sales, or afternoon snack time.
Equipment You Will Need
- 9×9-inch (or similar) square slice pan
- Baking paper (parchment)
- Mixing bowls (one large, one medium)
- Hand mixer or wooden spoon
- Whisk
- Rubber spatula or metal spoon
- Measuring cups and spoons
- Small offset spatula or knife (for spreading jam)
Ingredients List
For the buttery base
- 1 cup (225 g) unsalted butter, softened
- ½ cup (100 g) granulated sugar
- 1 teaspoon vanilla extract
- 2 cups (250 g) all-purpose/plain flour
- ¼ teaspoon salt
For the jam layer
- ¾–1 cup (about 250 g) raspberry or strawberry jam (or your favourite jam)
For the coconut-crumbly topping
- 2 large eggs
- ½ cup (100 g) granulated or caster sugar
- 1 teaspoon vanilla extract
- 2 cups (about 160–170 g) desiccated or finely shredded coconut
Step-by-Step Instructions
Begin by preparing your pan so the slice lifts out easily later. Line a 9×9-inch square slice pan with baking paper, leaving some overhang on two sides to form “handles.” Lightly grease the exposed sides if needed. Preheat your oven to 350°F (180°C) or about 160°C fan-forced.
Make the buttery base. In a large mixing bowl, beat the softened butter and sugar together with a hand mixer or wooden spoon until creamy, light, and well combined.
Mix in the vanilla extract. Add the flour and salt, then stir until everything comes together into a soft, slightly crumbly dough that holds when pressed. If it looks very dry, you can gently work it together with your hands.
Tip the base mixture into the lined pan. Use your fingers or the back of a metal spoon to press it firmly and evenly into an even layer, right into the corners.
Try to keep the surface as level as possible so the jam and coconut layers sit nicely on top. Bake this base for about 15 minutes, or until it is just set and lightly golden at the edges, but not deeply browned.
While the base is baking, prepare the coconut-crumbly topping. In a medium bowl, lightly whisk the eggs, sugar, and vanilla until just combined and slightly frothy—no need to whip to peaks. Add the coconut and stir until all the coconut is coated and the mixture looks like a moist, spoonable crumble. Set aside.
Warm the jam slightly if it’s very thick or cold; this makes spreading much easier and prevents tearing the base. Once the base comes out of the oven, let it cool for about 5–10 minutes so it firms up slightly but is still warm.
Drop spoonfuls of jam over the surface and gently spread into a thin, even layer all the way to the edges. You want enough so you get a good jammy hit in each bite, but not so much that it runs or makes the slice hard to cut.
Now gently spoon or scatter the coconut topping over the jam layer. Use your fingers or a spoon to spread and lightly press it so most of the jam is covered, but don’t worry if it looks a bit rustic and uneven—those little peaks and valleys brown beautifully in the oven. Try to keep the topping thickness fairly even so it bakes at the same rate across the pan.
Return the pan to the oven and bake for another 20–25 minutes, or until the coconut topping is set and a lovely golden colour, especially around the edges. The topping should feel lightly firm to the touch, with a bit of chew underneath. If it’s browning too quickly, you can lay a piece of foil loosely over the top for the last few minutes.
Take the slice out of the oven and let it cool completely in the pan on a wire rack. As it cools, the jam layer will firm and the base will finish setting, making it much easier to cut into neat bars without crumbling. Once fully cool, use the paper overhang to lift the whole slab from the pan onto a cutting board. Use a sharp knife to cut into squares or bars, wiping the blade between cuts for the cleanest edges.
Expert Tips for Success
Soft but not melted butter is key for the base. It should be easy to cream with sugar but still hold shape; melted butter will make the base denser and more prone to shrinking from the sides of the pan. Press the base firmly so it forms a cohesive shortbread-style layer; any loose patches can crumble when you slice.
Allow the base to cool slightly before adding jam so it doesn’t melt the jam into the crust. A warm base, not piping hot, helps the jam spread more easily and adhere without seeping too deeply.
For the coconut topping, mix gently but thoroughly so the eggs and sugar are evenly distributed—this is what binds the coconut into a chewy, meringue-like layer rather than a dry crumble.
Always chill or at least cool completely before cutting. If you slice while the jam and topping are still warm, the layers can slide and smear. Cooling firms each layer just enough so you see that distinct buttery base, jam stripe, and coconut top when you cut through.
Variations and Substitutions
Change the jam for different moods. Raspberry and strawberry are classics, but apricot, plum, cherry, or mixed berry all work beautifully. A slightly tart jam creates a lovely contrast with the sweet coconut; if your jam is very sweet, a squeeze of lemon in the jam layer can brighten things up.
You can play with the coconut texture by using all desiccated coconut for a finer, more uniform crumb, or mixing desiccated with a bit of shredded coconut for more chew and visual interest. For a nutty twist, fold a small handful of finely chopped almonds or macadamias into the coconut topping, or sprinkle a few over before baking.
If you like extra richness, add a spoonful of melted butter to the coconut topping, or use brown sugar instead of white for a deeper, caramelised flavour. For a spiced version, add a pinch of cinnamon or cardamom to the base or the jam layer, especially if you’re using plum or apricot jam.
Serving Suggestions
Aussie Jam Slice is perfect served at room temperature with tea or coffee, cut into modest squares for morning or afternoon tea. The slice is rich enough that smaller portions work well on a mixed platter with other bars, biscuits, and mini cakes. Dusting lightly with icing sugar just before serving gives a pretty, bakery-style look.
For a dessert twist, serve slightly larger bars with a dollop of whipped cream or a small scoop of vanilla ice cream, especially if you’ve used a tangier jam like raspberry. It also makes a lovely addition to lunch boxes or picnic baskets—sturdy, not too crumbly, and easy to eat with fingers.
Storage, Freezing, and Make-Ahead Tips
Store cooled slices in an airtight container at room temperature for up to 3–4 days. Place baking paper between layers if stacking to keep the coconut topping from sticking. The slice keeps its texture well and often tastes even better the next day as the flavours settle.
For longer storage, you can freeze Aussie Jam Slice. Arrange cut pieces in a single layer on a tray to freeze until firm, then transfer to a container or freezer bag with paper between layers. Freeze for up to 2–3 months. Thaw at room temperature in the container to avoid condensation forming on the coconut; once thawed, they’re ready to serve, and you can refresh them with a light dusting of icing sugar if you like.