
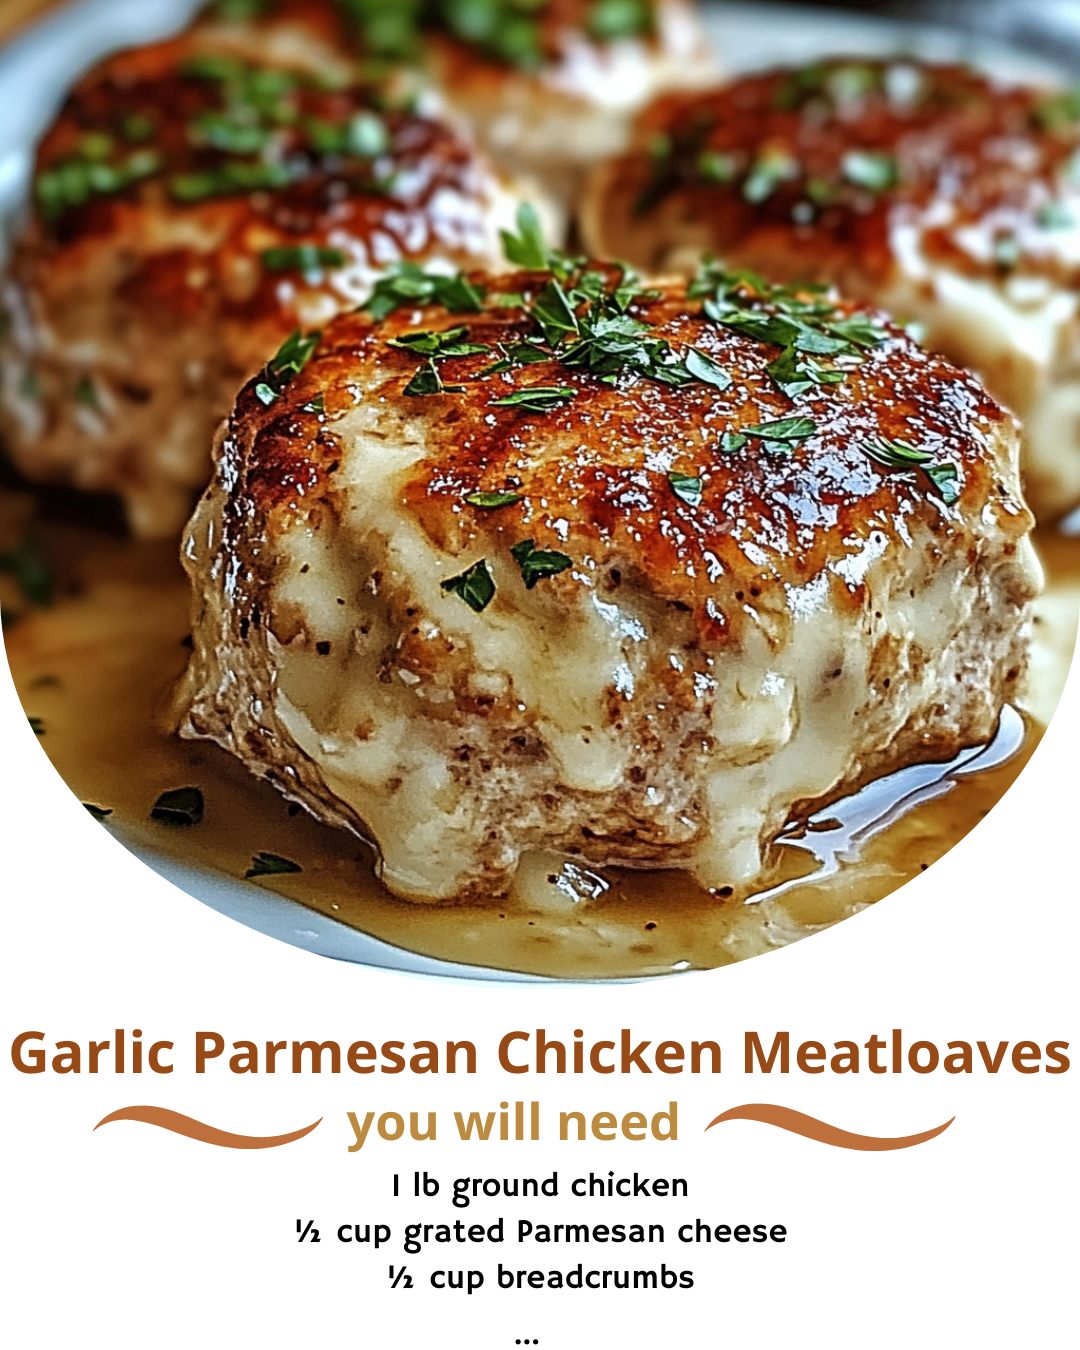
Garlic Parmesan Chicken Meatloaves are the perfect blend of cozy comfort and irresistible flavor, turning simple ingredients into something unbelievably satisfying. These individual-sized meatloaves bake up tender, juicy, and filled with the bold combination of savory garlic and nutty Parmesan. Each bite delivers creamy richness, soft texture, and warm Italian-inspired notes that make them a guaranteed family favorite.
They’re easy to assemble, quick to portion, and so much more fun than traditional meatloaf. Whether you’re meal prepping, serving a weeknight dinner, or cooking for picky eaters, these mini meatloaves bake evenly, reheat beautifully, and always hit the spot. Pair them with your favorite sides, drizzle with extra Parmesan, or enjoy them as stand-alone comfort food perfection.
Equipment You Will Need
- Mixing bowl
- Muffin tin or baking sheet
- Cheese grater
- Small saucepan
- Whisk
- Measuring cups and spoons
- Spatula
- Cooling rack
Ingredients List
- Chicken Meatloaves
- 2 lbs ground chicken
- 1 cup panko breadcrumbs
- 1 cup grated Parmesan
- 1 egg
- ½ cup milk
- 4 cloves garlic, minced
- 1 tbsp Italian seasoning
- 1 tsp garlic powder
- 1 tsp onion powder
- 1 tsp salt
- ½ tsp pepper
- 2 tbsp softened butter
- Garlic Parmesan Topping
- 3 tbsp melted butter
- ½ cup grated Parmesan
- 2 cloves garlic, minced
- 1 tbsp chopped parsley
- Pinch black pepper
Step-by-Step Instructions
Start by preheating your oven to 375°F (190°C). Lightly grease a muffin tin or line a baking sheet with parchment paper. In a mixing bowl, combine ground chicken, panko breadcrumbs, Parmesan, egg, milk, garlic, Italian seasoning, garlic powder, onion powder, salt, pepper, and softened butter.
Mix gently until everything comes together—overmixing can make the meatloaves dense. Divide the mixture into 10–12 mini loaves, shaping either by hand or pressing into muffin tin cups.
In a small bowl, whisk melted butter, Parmesan, minced garlic, parsley, and pepper to make the topping. Spoon or brush half of this mixture over each mini meatloaf.
Bake for 20 minutes, remove the tray from the oven, brush with remaining topping, then return to bake another 10–15 minutes until golden and cooked through at 165°F (74°C). Let rest for several minutes before serving to allow juices to settle and flavors to deepen.
Expert Tips for Success
Ground chicken is delicate, so panko gives structure without making the meatloaves heavy. Parmesan adds moisture and flavor, helping prevent dryness. Always mix gently—just enough to combine ingredients without compacting the meat.
Muffin tins ensure even cooking and portion control, while free-form loaves offer a rustic look. Adding softened butter directly into the mixture creates melt-in-your-mouth texture.
Use freshly grated Parmesan for maximum melt and flavor. If your mixture feels too soft, add a bit more panko; if too firm, add a splash more milk. Always spoon the garlic-Parmesan topping twice during baking—the first layer soaks in, the second creates a golden crust.
Using a meat thermometer prevents overcooking, ensuring juicy centers. Resting the loaves is essential for perfect slices.
Variations and Substitutions
Swap Parmesan for Romano or Asiago for a sharper bite. Add mozzarella cubes inside each meatloaf for a gooey, cheesy center. For a spicy twist, mix in red pepper flakes or chopped jalapeños. Lemon zest adds brightness that pairs beautifully with garlic. For a veggie-loaded version, fold in shredded zucchini (squeezed dry), spinach, or sautéed mushrooms.
Use Italian breadcrumbs instead of panko for deeper herb flavor. Make a Greek-inspired version with feta, oregano, and lemon. Swap ground chicken for turkey if preferred—the recipe works equally well. For extra richness, add a spoonful of ricotta to the mixture. You can even drizzle marinara on top for a chicken Parmesan–style twist.
Serving Suggestions and Pairings
Serve with mashed potatoes or buttery Parmesan rice to complement the garlic-cheese flavors. A crisp Caesar salad or mixed greens adds refreshing balance. Roasted broccoli, green beans, or asparagus make fantastic veggie sides. Garlic bread is perfect for soaking up any extra buttery topping.
For a cozy Italian-inspired plate, pair with pasta tossed in olive oil, marinara, or pesto. These mini loaves also work great in meal prep—pair with quinoa, roasted veggies, or simple salads. Kids love them with mac and cheese, while adults may enjoy them alongside sautéed spinach or lemony potatoes.
Beverage pairings include sparkling water, lemonade, iced tea, or crisp white wines like Pinot Grigio. For a heartier dinner, serve with herb-roasted potatoes or creamy polenta. Their versatile flavor makes them easy to plate beautifully for guests or keep simple for busy nights.
Storage, Freezing, and Reheating
Refrigerate leftovers in an airtight container for up to four days. Reheat in the oven at 325°F (160°C) for 10–12 minutes or microwave gently. If reheating in the oven, drizzle lightly with melted butter for added moisture. Store the topping separately if you want to add crispness during reheating.
To freeze, wrap each meatloaf individually and store in a freezer-safe bag for up to two months. Thaw overnight in the refrigerator before reheating. Frozen meatloaves reheat beautifully without losing tenderness. For meal prep, freeze fully cooked loaves and reheat as needed.
Restore crisp tops by broiling briefly after reheating. Use leftover meatloaves in wraps, sandwiches, or bowls. They maintain their juicy texture incredibly well with proper storage.
Frequently Asked Questions
Can I use ground turkey instead of chicken?
Yes—use the same ingredients and cooking time.
Why are my meatloaves mushy?
They need more panko or a longer bake time.
Can I skip the topping?
You can, but it adds incredible flavor and texture.
Do muffin tins work better?
They cook faster and more evenly, but both methods work.
Can I make these ahead?
Yes—assemble and refrigerate up to 24 hours before baking.