
Chocolate Covered Oreos are the dessert world’s perfect mashup: bite-sized, crunchy-yet-creamy cookies enveloped in a glossy, snappy chocolate shell. Whether you’re making a birthday platter, a holiday dessert table, or simple party favors, these treats always disappear first.
Fast, customizable, and irresistible, they’re a no-bake wonder loved by everyone from kids to grownups. Dress them up with sprinkles, colored chocolate, or edible glitter, and you’ve got a “fancy” bakery-worthy treat—without ever turning on the oven.
Why Chocolate Covered Oreos Are a Classic
There’s something magical about taking store-bought Oreos and making them your own. Chocolate—milk, white, or dark—transforms the crunchy cookie and creamy filling into a new treat entirely, creating texture and flavor contrast in every bite.
They’re easy enough for kids to help with, but look sophisticated when artfully drizzled or decorated for special occasions.
Want to theme them for Christmas, Halloween, birthdays, or showers? Just swap colors and sprinkle styles. Their shelf life, portability, and crowd-pleasing factor make them a top pick for everything from party favors and bake sales to edible gifts and midnight snacks.
Ingredient Overview
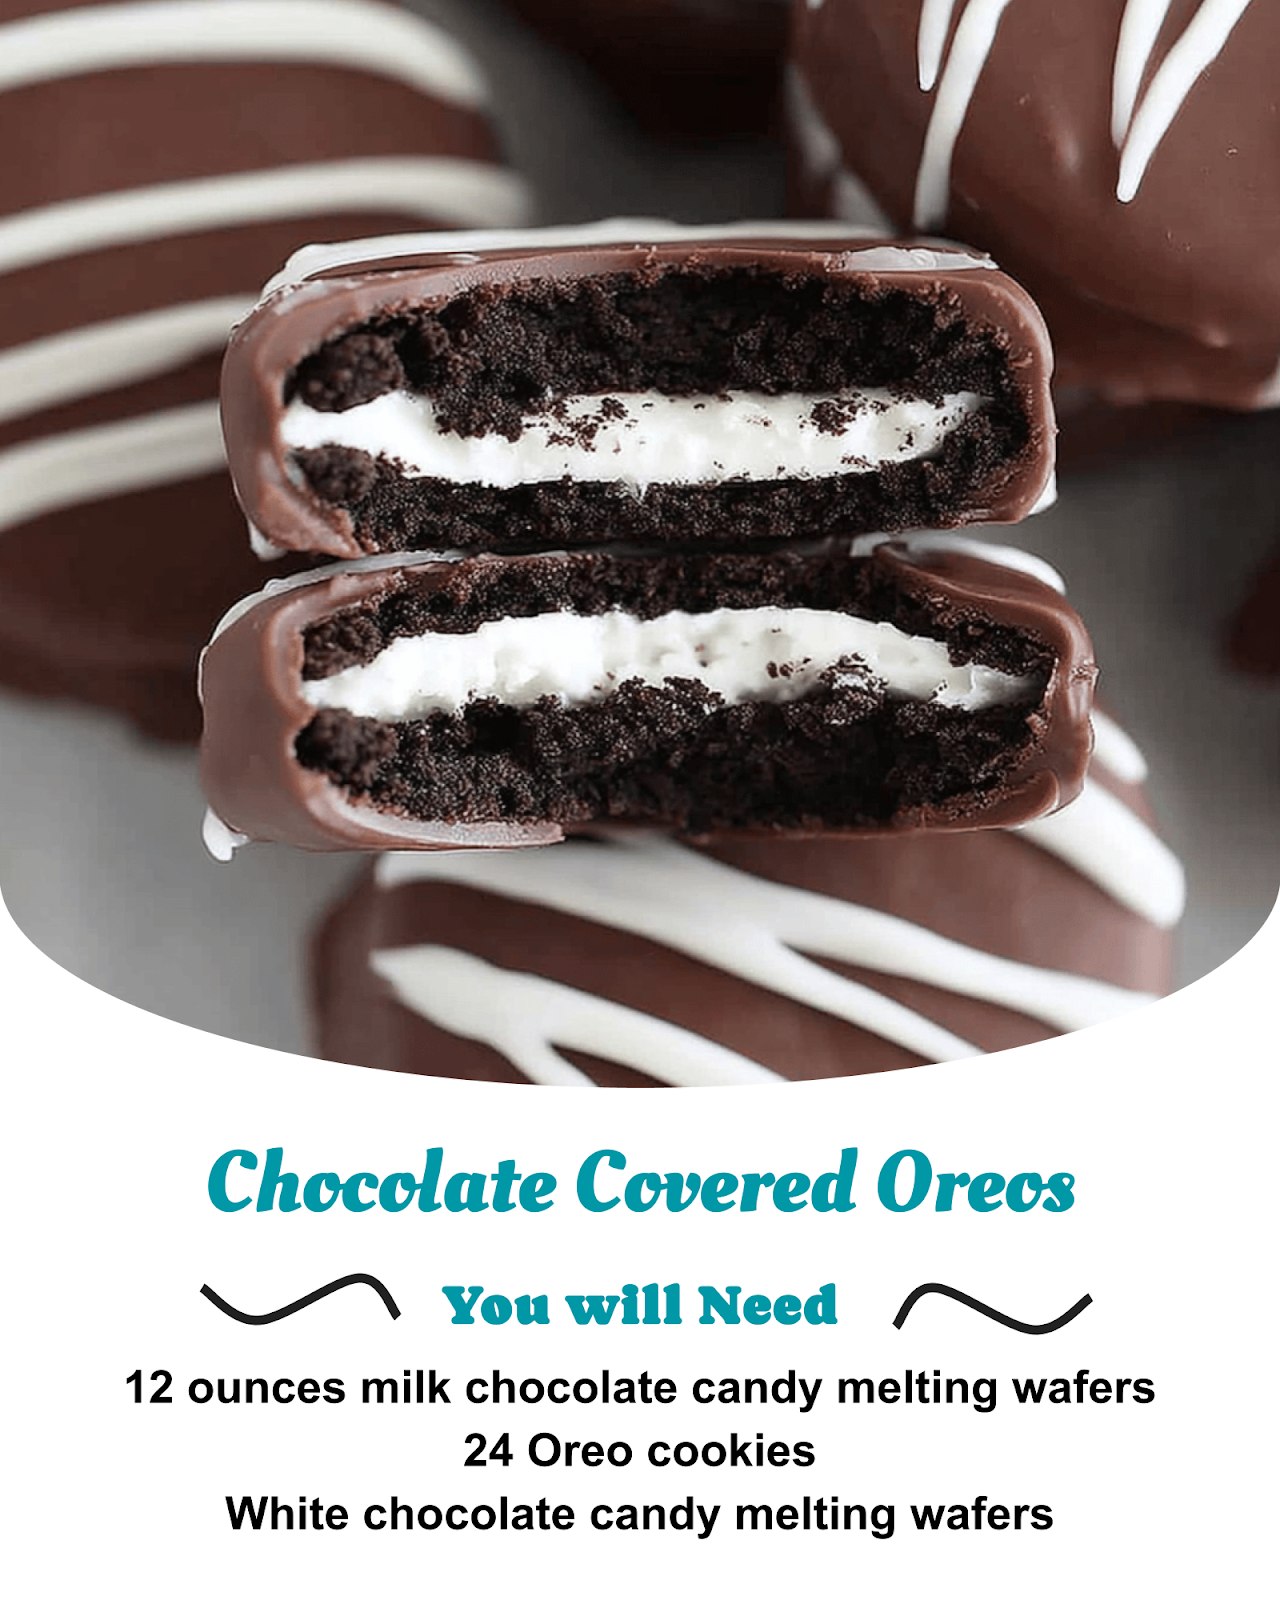
- 1 package Oreo cookies (originals, double-stuf, or flavored)
- 12–16 ounces chocolate, chopped bars or melting wafers (milk, white, or dark)
- 2 teaspoons coconut oil or vegetable shortening (optional, for thinner, shinier dipping)
- Sprinkles, colored melting wafers, edible glitter, or chopped nuts for decorating
Oreo flavors abound—choose classic, Golden, birthday cake, or any seasonal variety for new tastes and visual fun. Melting chocolate or candy melts yields the most professional finish. Oil or shortening is optional for an extra-smooth shell, especially if using chocolate chips, which can be thick.
Prep and Setup
Start by placing a wire rack or parchment-lined baking sheet near your dipping area. Set out all decoration options, and get the cookies unwrapped and ready—speed is important once chocolate is melted.
To avoid fingerprints and help dipping, use a fork, dipping tool, or chopsticks. For ultra-smooth, perfect circles, you can use silicone Oreo molds, but hand-dipping on parchment is easier for large batches.
Melting the Chocolate
Chop the chocolate if using bars. Microwave in a heatproof bowl in 20–30 second bursts, stirring well after each, until completely smooth and glossy. If desired, add coconut oil or shortening and mix well—this makes the chocolate more fluid and gives a shinier coating.
Don’t overheat! White and dark chocolate both scorch easily. Stop microwaving as soon as the last pieces melt in the residual heat.
Dipping the Oreos
Drop a cookie into the bowl of melted chocolate. Using a fork or dipping tool, flip to coat, letting excess chocolate drip back into the bowl. Gently tap the fork on the bowl edge to shed extra chocolate—this helps avoid puddling.
Place chocolate-coated Oreos on prepared parchment in rows. While chocolate is still wet, sprinkle immediately with your chosen decorations. If drizzling with colored chocolate or additional white/dark layers, let the first shell set, then use a spoon or piping bag to add swirls or zig-zags.
Work in batches so the chocolate doesn’t set before you decorate. If your kitchen is warm, use a baking sheet that’s been chilled in the freezer to help the chocolate set even faster.
Drying and Setting
Allow cookies to set at room temperature until the shell is hard—usually 30–60 minutes. For ultra-firm, glossy results, chill briefly in the refrigerator, but not for long—you don’t want condensation to cloud the finish as they come to room temp later.
If using a mold: Spoon a layer of chocolate into the mold, press an Oreo in gently, and spoon more chocolate over until covered. Chill until fully firm, pop out, and drizzle to finish.
Customizing and Theming Ideas
- Holidays: Use red and green sprinkles, or drizzle with colored candy melts.
- Weddings/Showers: Pick pastel or metallic drizzles and edible shimmer.
- Birthdays: Use rainbow sprinkles or write initials/numbers with icing.
- Game Days: Go for team colors in chocolate and sprinkles.
- Flavor spins: Dip Mint Oreos in dark chocolate, Birthday Cake Oreos in white chocolate, or use peanut butter chips for nutty shells.
Let kids choose and mix decorations—this is a perfect family baking project!
Make-Ahead, Storage, and Gifting
Chocolate Covered Oreos store well for 2–3 weeks in an airtight container at room temp—if your room is very warm, refrigerate to avoid melting but bring to room temp before serving.
They layer nicely between sheets of parchment in tins or gift boxes. Pack in cellophane bags and tie with ribbons for easy, inexpensive party favors or edible gifts. (Add a tag with the flavor and date for an extra-special touch.)
Troubleshooting & FAQs
Chocolate is too thick? Add a teaspoon or two of coconut oil or shortening and rewarm gently—never add water.
Shell blooms or spreads streaks while cooling? Slight heat shock or moisture—try to keep temperatures moderate and humidity low.
Cookies falling apart when dipping? Use fresh, intact Oreos, and handle gently; some off-brands are more crumbly.
Cracks in shell? Usually from fridge condensation—let cookies set at room temp after chilling.
Can I freeze? Yes! Freeze in airtight layers, but allow to slowly thaw unwrapped for the shiniest surface.
Serving and Pairings
Serve on platters, cake stands, or tiered trays with other cookies, candies, or fruits. They’re a dream for holiday dessert tables or as a sweet surprise next to birthday cake or ice cream sundaes. Pair with milk, coffee, or hot cocoa for instant nostalgia.
Who Will Love This Recipe
Everyone! Kids adore the fun visual and creamy crunch, while adults appreciate the flavor and nostalgia. Chocolate Covered Oreos are gluten-free if using GF sandwich cookies and can fit any party, from birthdays and baby showers to holiday and “just because” treats.
Conclusion
Chocolate Covered Oreos bring the bakery home—simple, stunning, and always a best-seller on any dessert table. With endless ways to theme them, a make-ahead nature, and a recipe anyone can master, they’re sure to earn a spot in your favorite celebrations. Dip, decorate, devour—this is happiness by the handful!