
Finally, the grand finale: the dip. I take a few chilled coconut balls out of the freezer at a time. Using a fork, I lower one ball into the melted chocolate, swirl it to coat completely, then lift it out, gently tapping the fork on the edge of the bowl to let the excess chocolate drip off. I then slide it off the fork back onto the parchment paper. Sometimes I’ll use a second fork to help push it off cleanly. I let them set completely at room temperature—the chocolate will harden into a beautiful, snappy shell. The sight of that glossy, dark chocolate against the white parchment paper is pure candy-making joy.
Pro Tips for Best Results
My number one tip is all about that freezer time. I’ve tested chilling them for 15 minutes versus an hour. Trust me, a full 30 minutes to an hour is non-negotiable. The centers need to be rock solid cold. If they are even slightly soft, they can slump, crack, or fall off the fork into your chocolate bowl. That deep chill ensures a smooth, easy dip and a perfect round shape. I often make the centers a day ahead and freeze them overnight for ultimate convenience.
For the smoothest chocolate coating, temperature is everything. Your melted chocolate should be warm, not hot. If it’s too hot, it will melt the frozen coconut center, causing it to expand and crack the shell. I always let my melted chocolate sit for a minute or two off the heat before I start dipping. Test it by dipping just one ball first. If the center holds its shape and the chocolate sets with a nice sheen, you’re at the perfect temperature.
To get that classic Mounds bar look with a thin, even chocolate shell, the tapping-off step is crucial. Don’t just lift and drop. After dipping, I gently tap the fork against the bowl’s rim 5-6 times, rotating the ball slightly. This removes the excess chocolate so you don’t end up with a thick, clumsy, pooled bottom. It creates a professional, even coating that’s crisp to bite into and showcases the coconut center inside.
Common Mistakes to Avoid
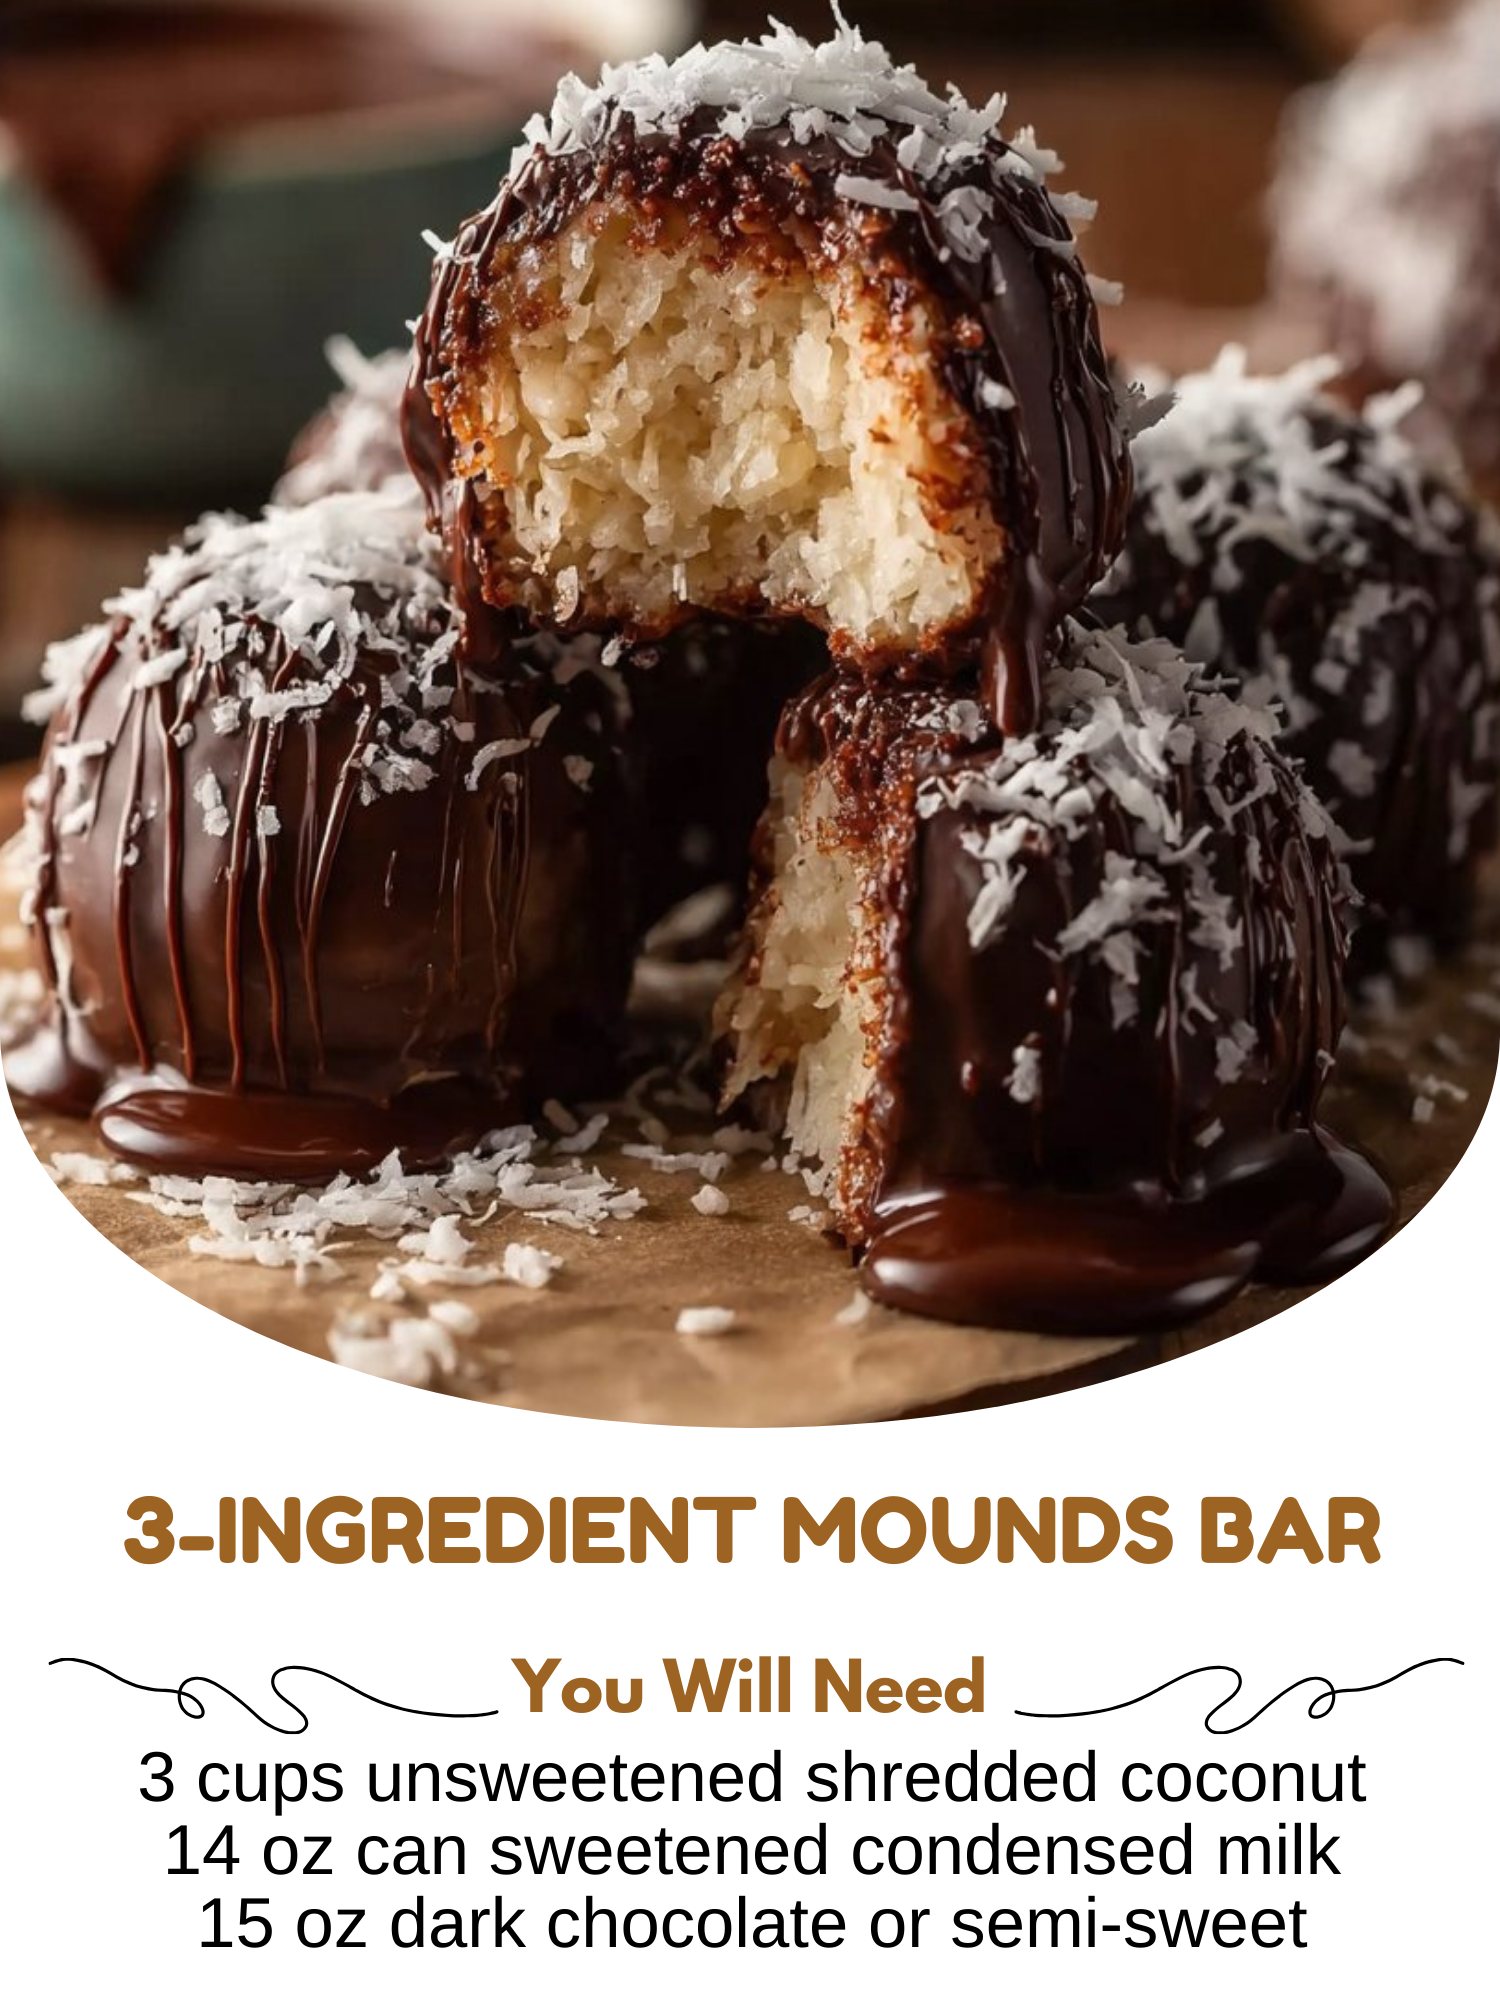
The first time I made these, I used sweetened shredded coconut because it was what I had on hand. Big mistake. The filling was cloyingly sweet, almost gritty, and it refused to hold a proper shape. The sweetness from the condensed milk is plenty. Using unsweetened coconut is essential—it gives you control over the sweetness and provides the perfect chewy, textural base. Don’t even think about substituting it; it makes all the difference in the world.(See the next page below to continue…)